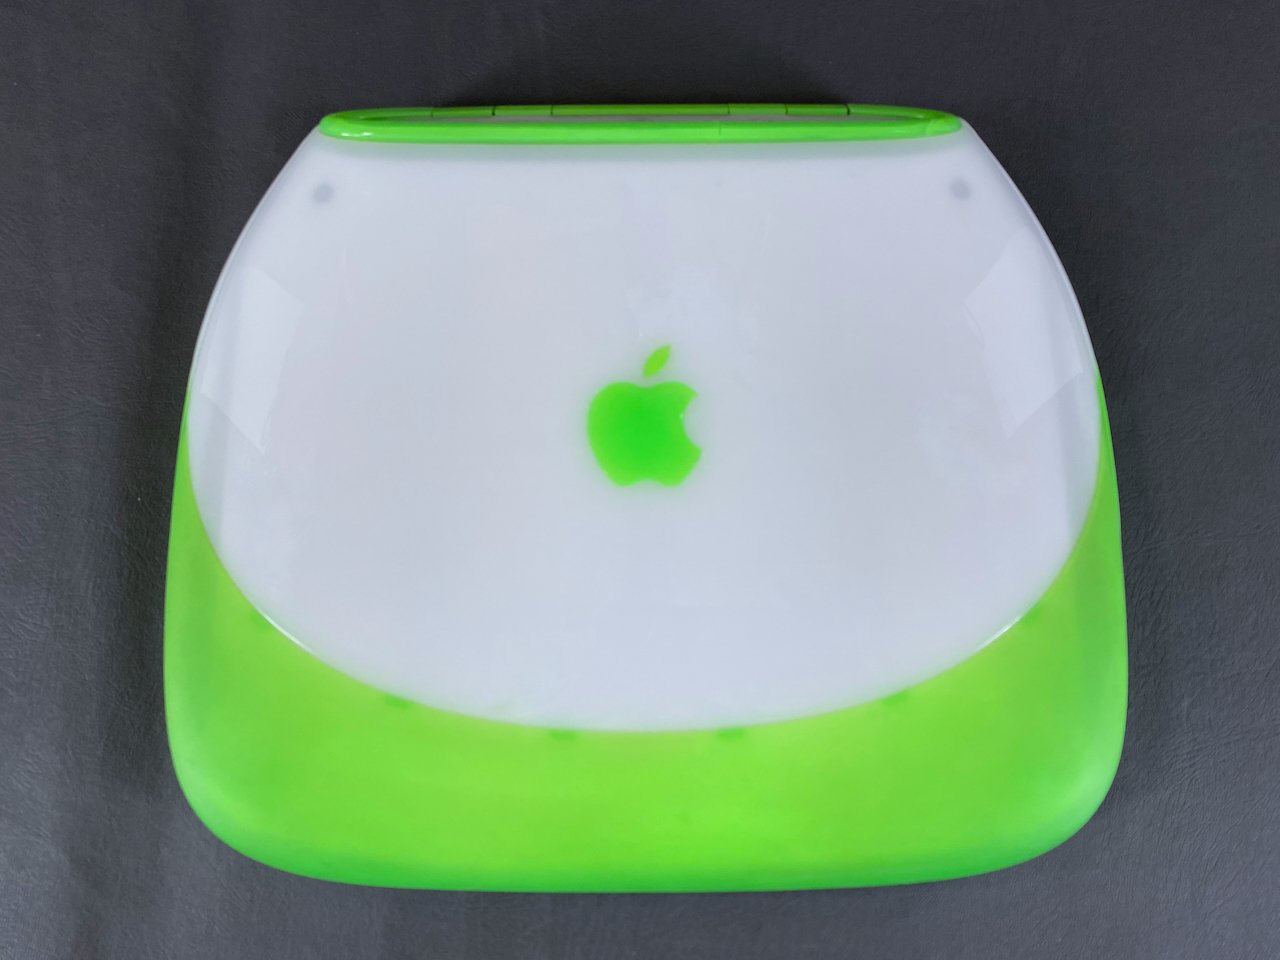
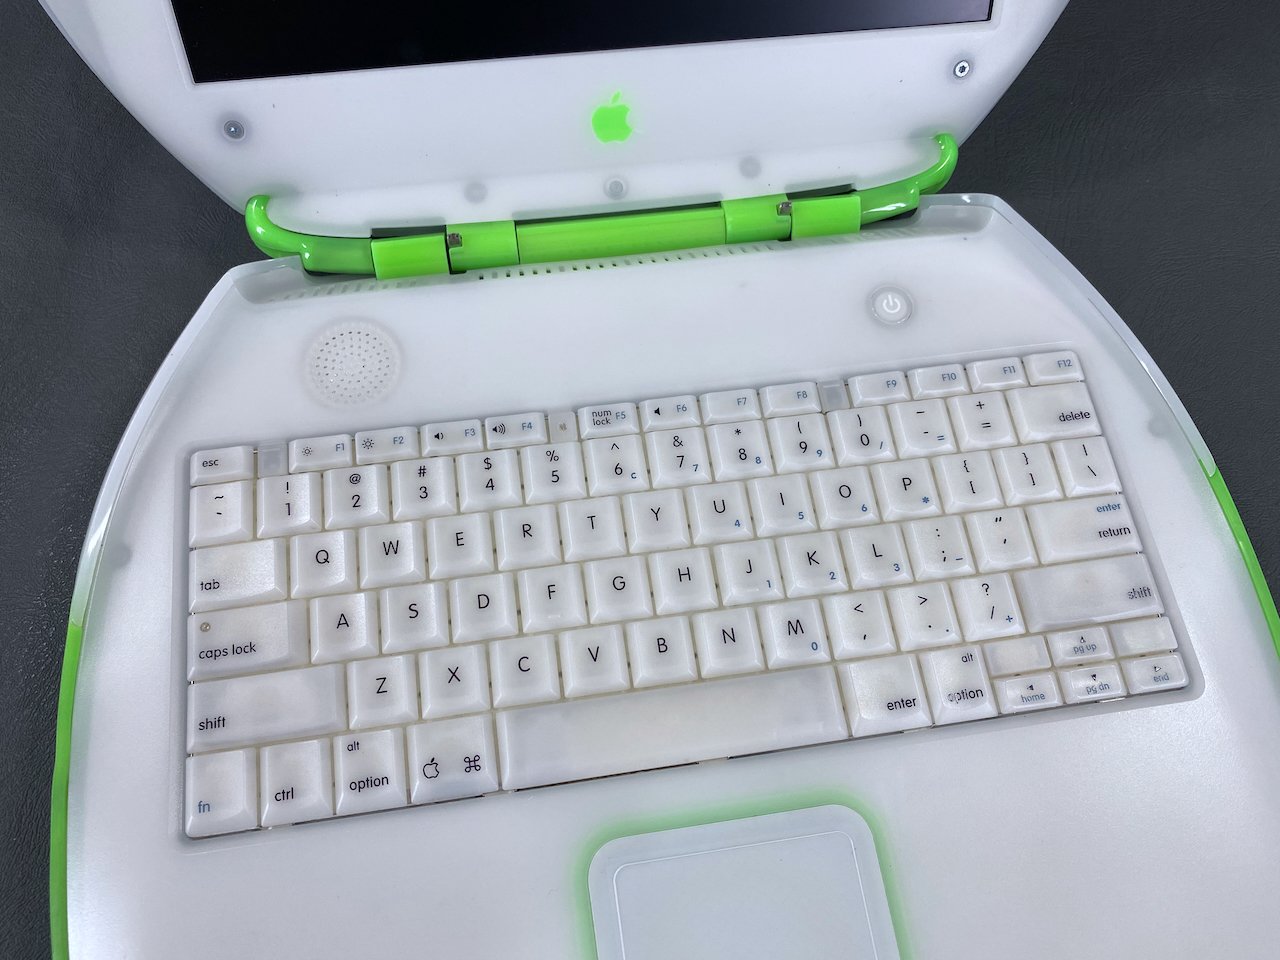
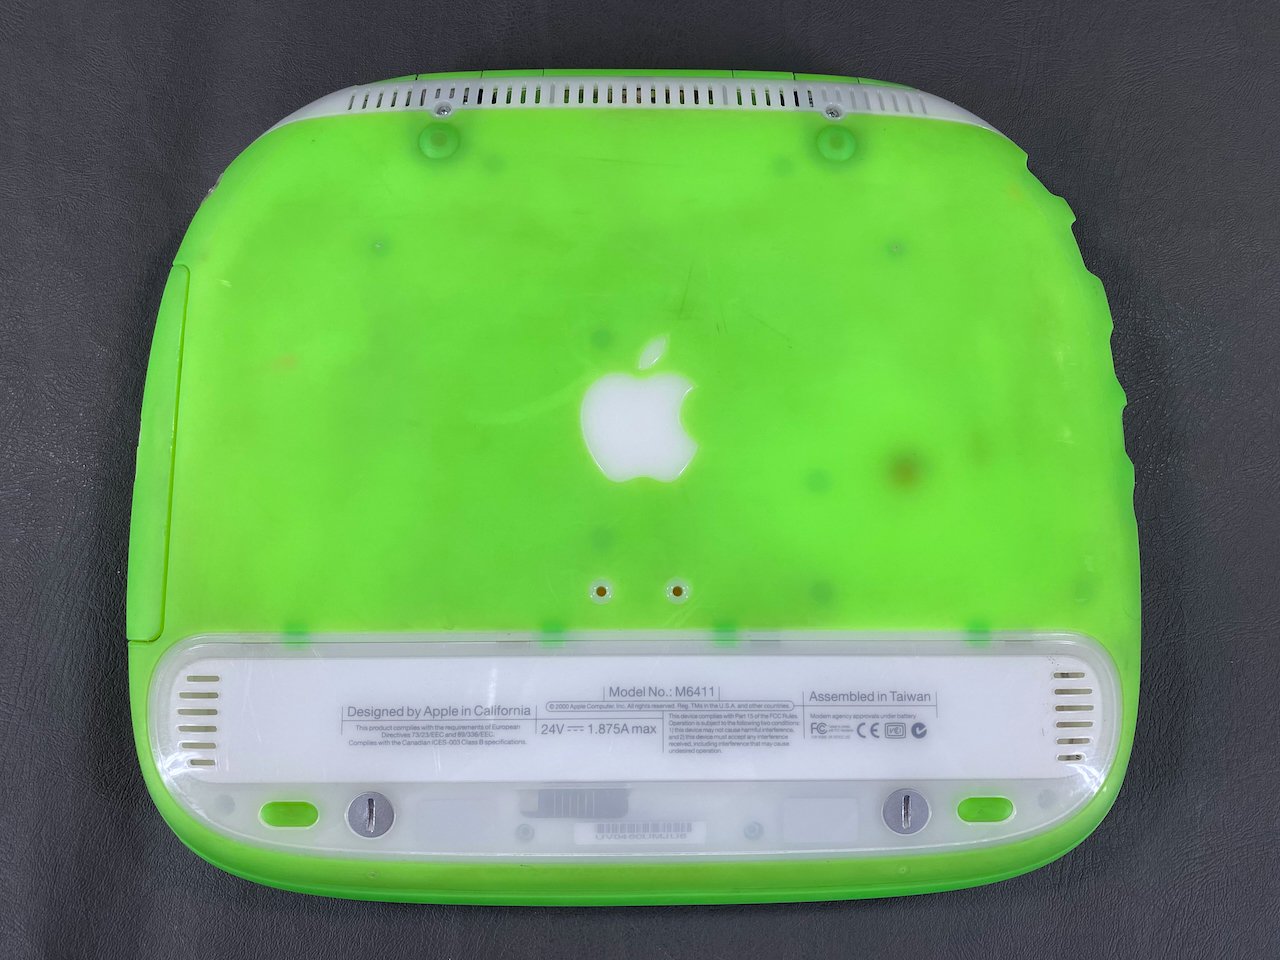
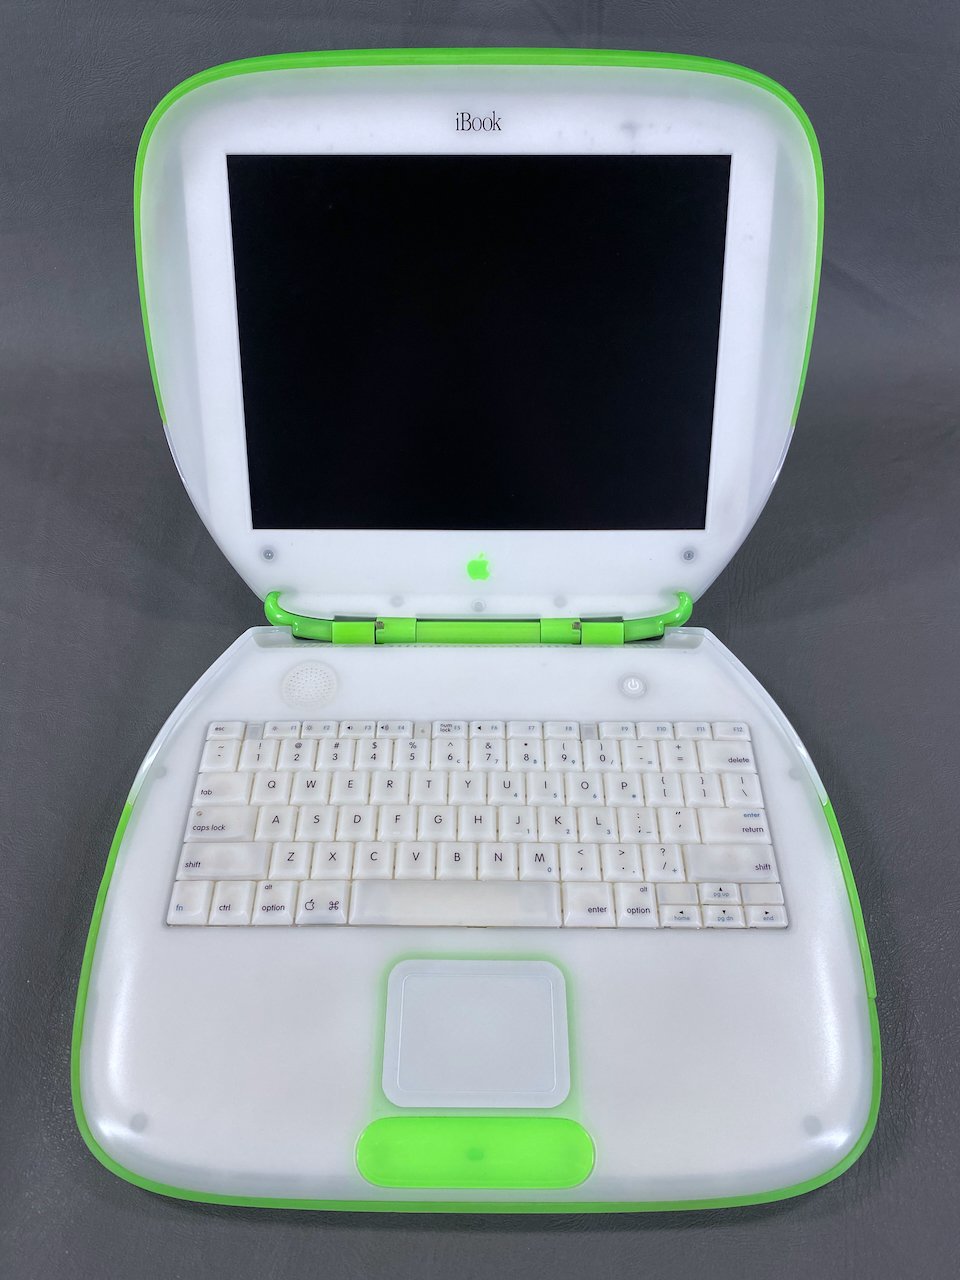
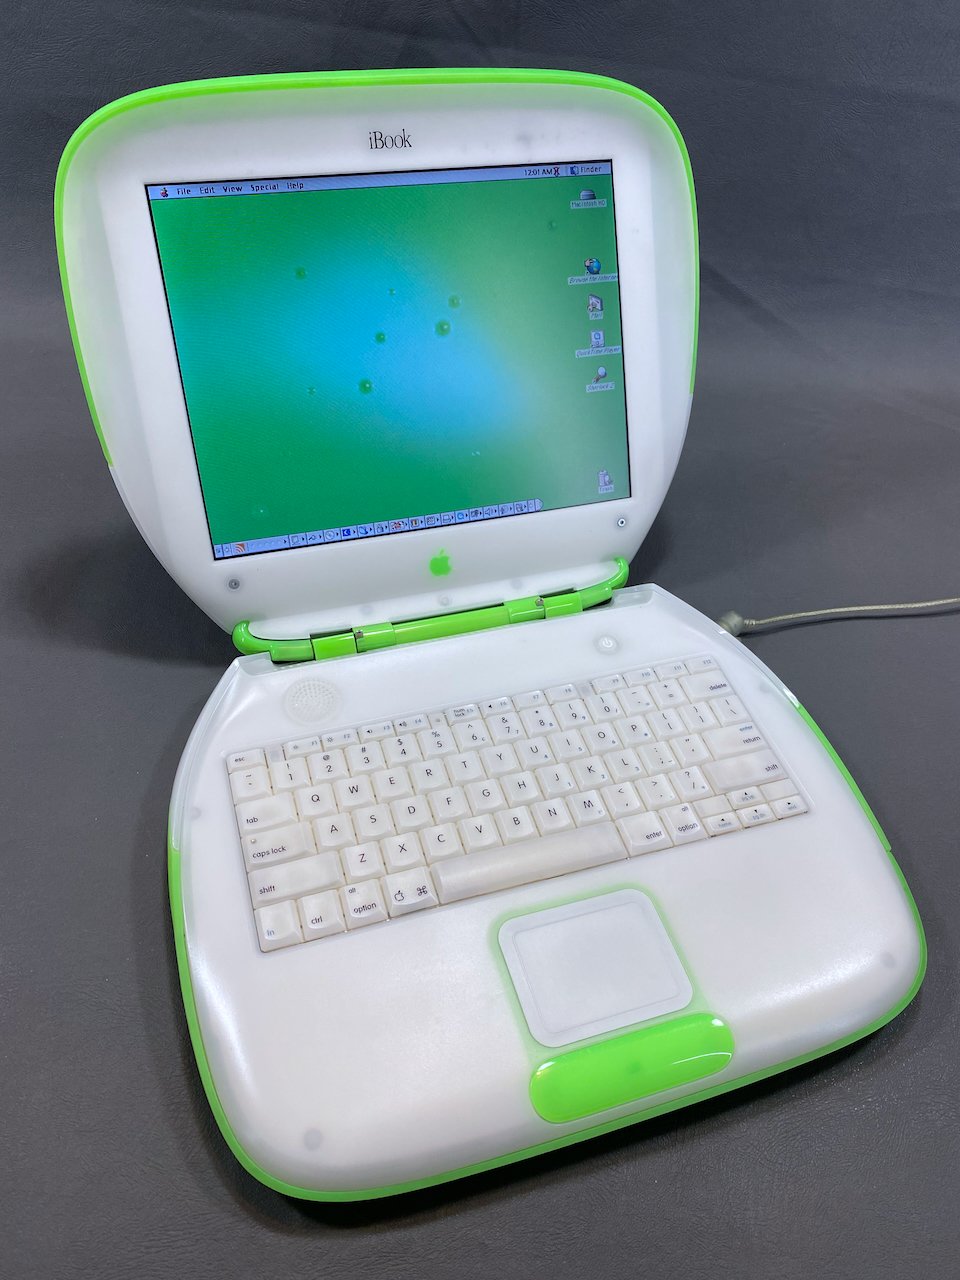
iBook G3
Key Lime
History
Introduced: September 13, 2000
Discontinued: May 1, 2001
Original Retail Price: $1,499
Model #: M6411
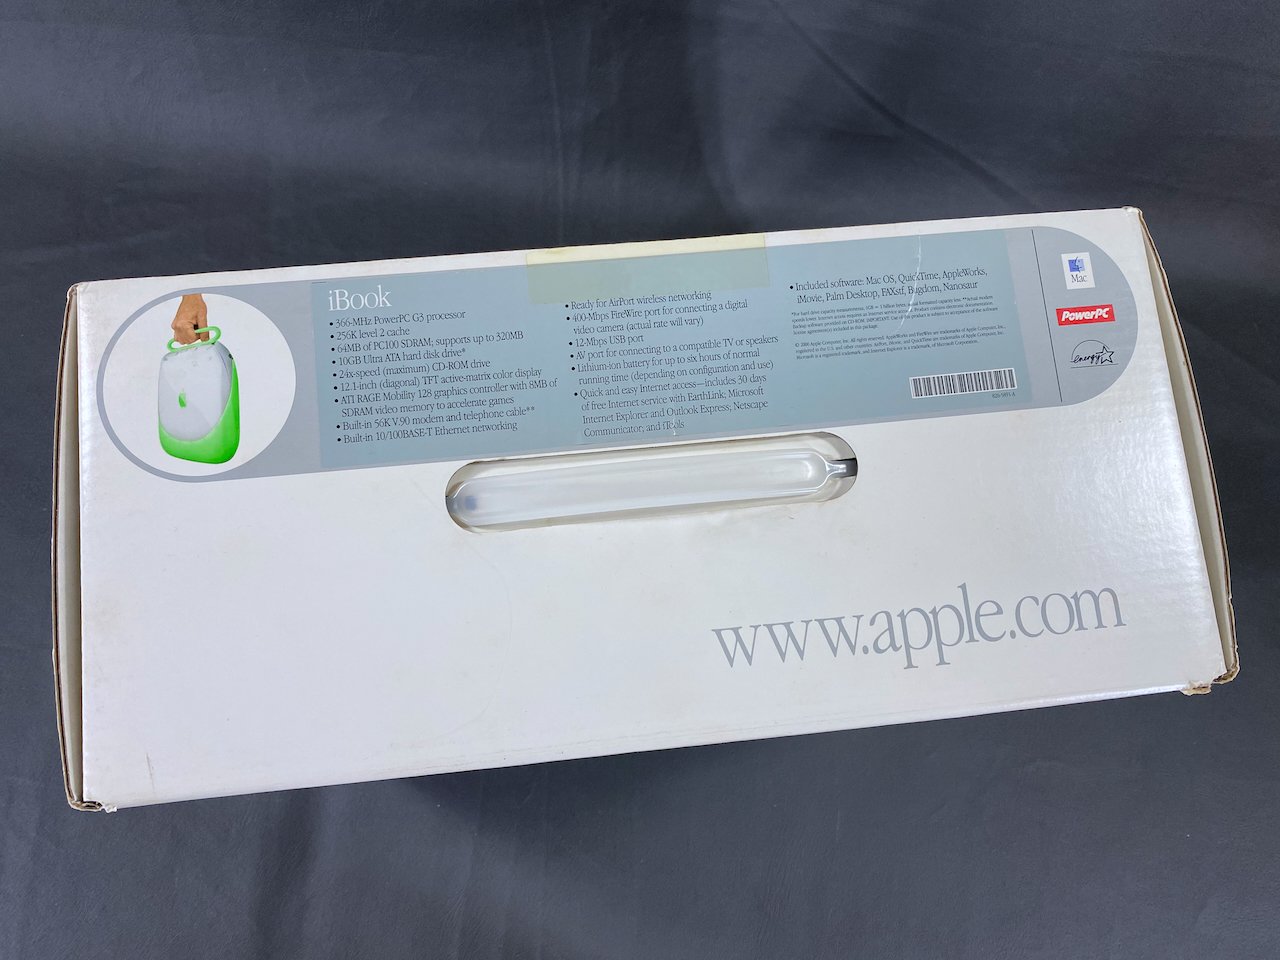
Tech Specs
Display: 12.1'“ TFT LCD
Processor: 366 MHz PowerPC G3
RAM: 320 MB (upgraded)
Hard Drive: 64 GB SSD (upgraded)
Optical Drive: CD-ROM
OS: 9.0.4
Condition & Notes
This unit is in excellent condition, and is complete with all the original packaging, power adapter, modem cable, software CDs, and documentation.
This is likely the second most rare and valuable item in my collection — after the TAM — as boxed Key Lime iBooks are exceedingly uncommon today.
In 2024 I replaced the original 10 GB hard drive with a 64 GB SSD. HDD to SSD conversion is a common technique used in vintage computer preservation, as the original hard drives are prone to failure due to age. This upgrade also makes the computer quieter, faster, and more reliable. Scroll to the bottom of the page for more on this.
In 2025 I also replaced the original LCD display panel, as it had developed vinegar syndrome. Scroll to the bottom of the page for more on this as well.
As is to be expected with a 20+ -year-old machine, the battery no longer holds a charge.
It is in beautiful working order and is currently running Mac OS 9.0.4.
Model Identifier

The red ‘X’ denotes the location of this iBook within the overall series.
Key Lime was one of the three colors available in the second generation of iBook clamshells from 2000-2001. This color was available in both regular and SE models (my unit is a regular model), but was only sold through the Apple online store.
Packaging
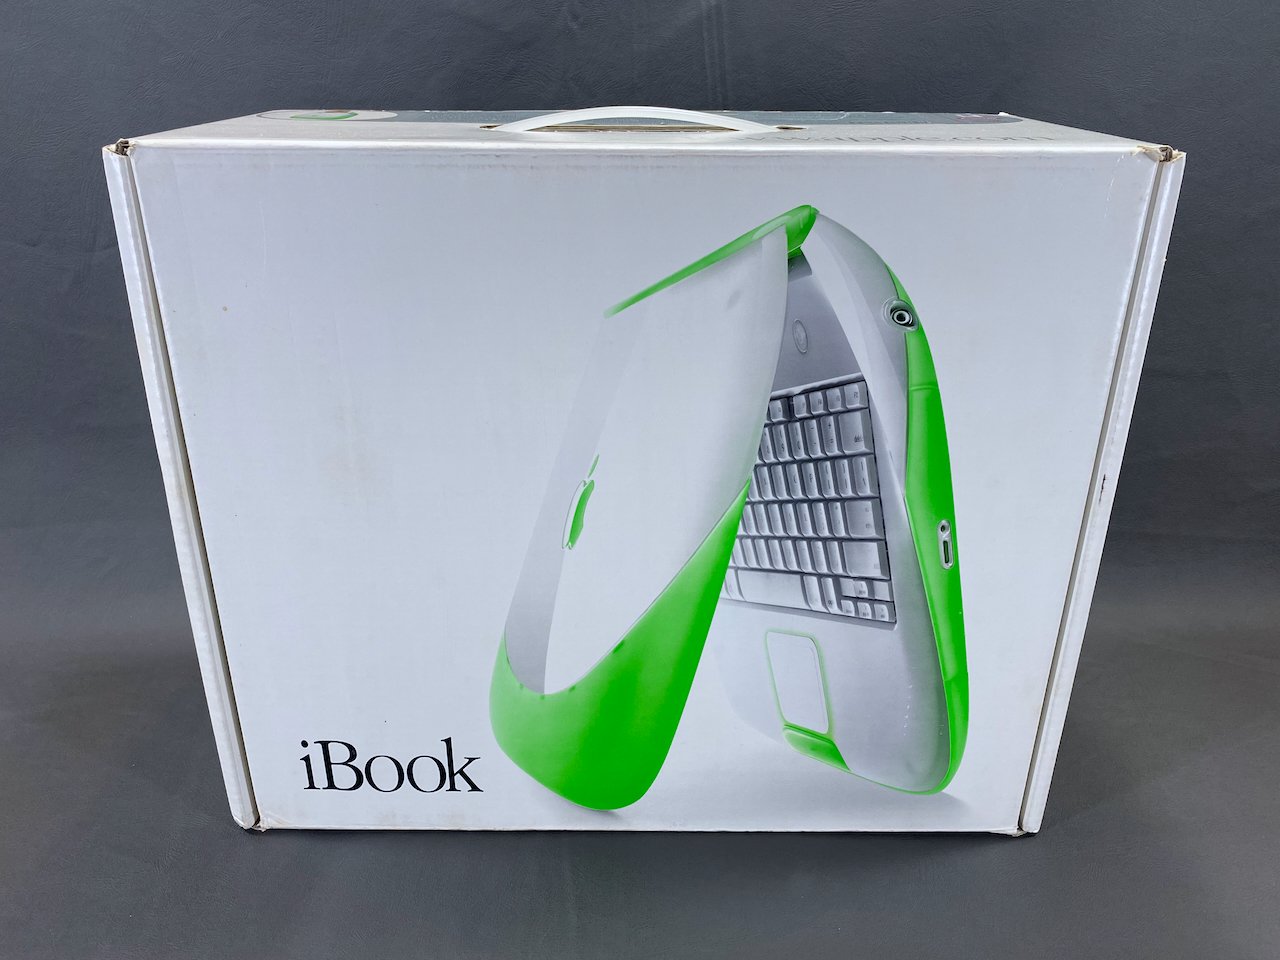


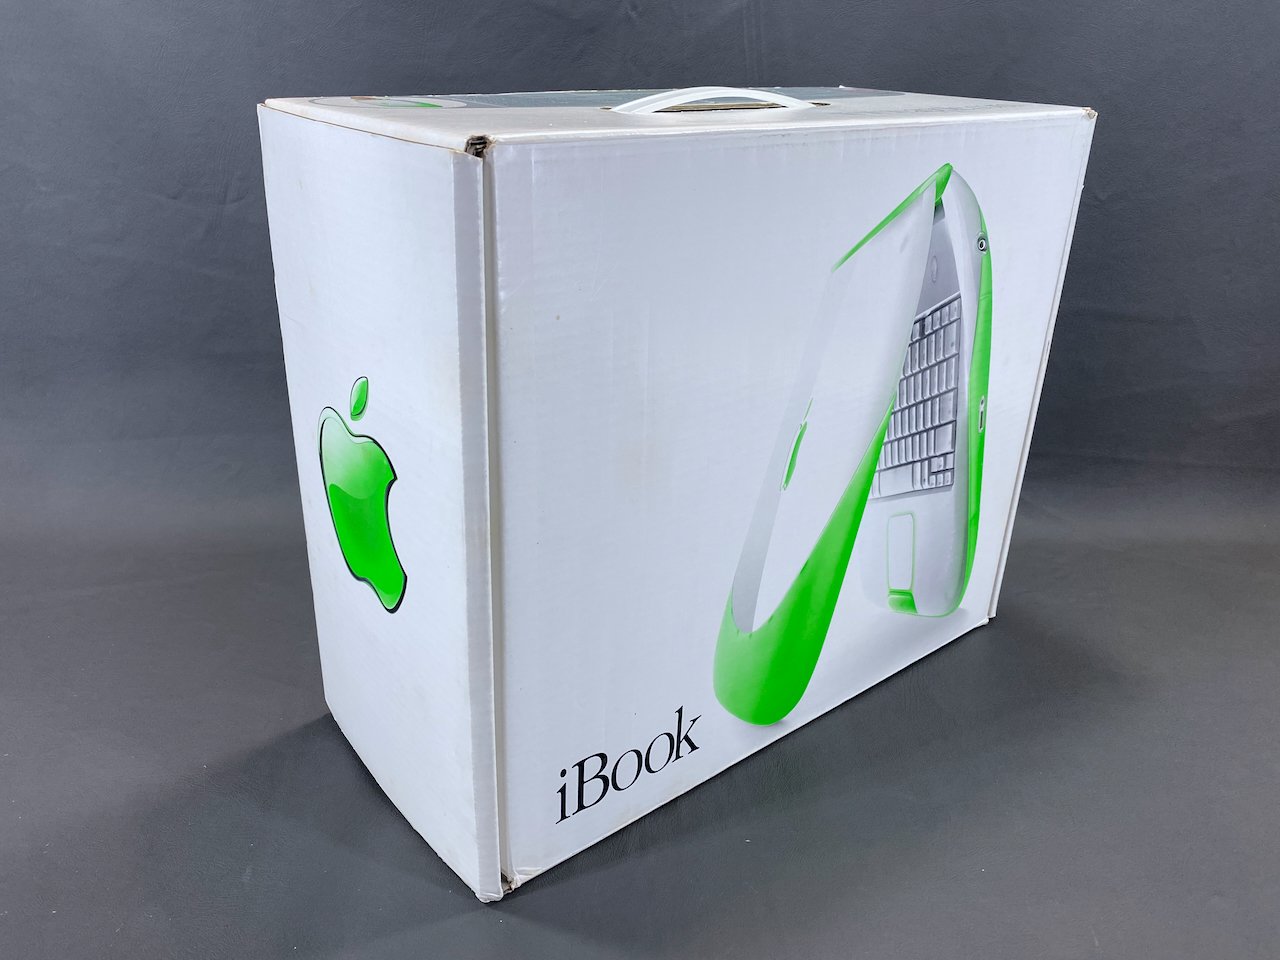


iBook


Accessory Kit
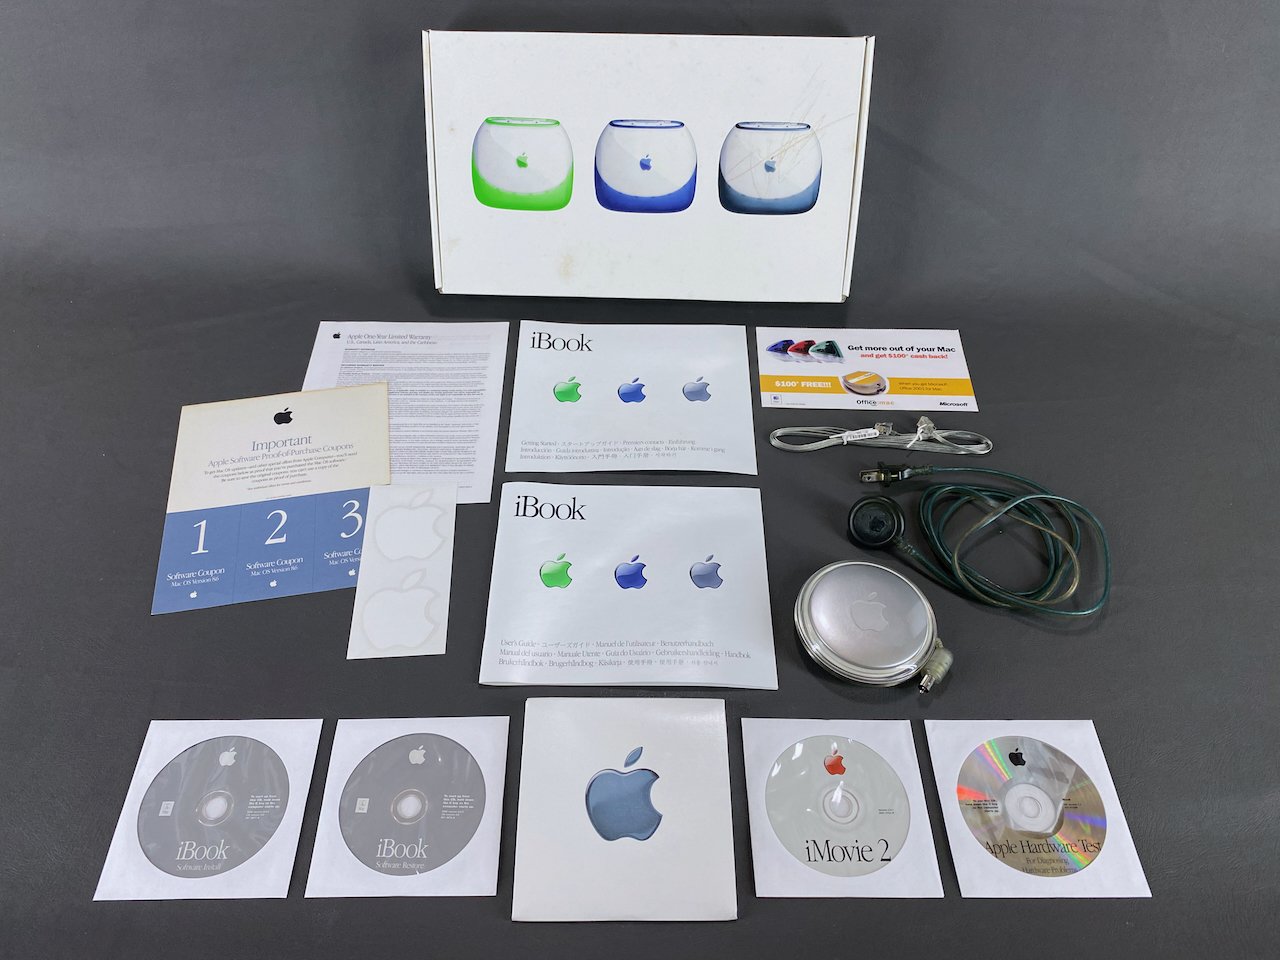
Getting Started Guide, User’s Guide, warranty info, software coupons, Office for Mac promo flyer, modem cable, charger, Apple stickers, and software CDs.
System Specs


mSATA SSD Installation

This upgrade makes the computer quieter, faster, and more reliable. I chose to install a 64 GB mSATA SSD using an mSATA-to-IDE 2.5” adapter housing.

The SSD (right) slots directly in to where the original HDD (left) was installed, using the OEM IDE cable harness and installation bracket.
Display Panel Replacement
In late 2025, I noticed that the iBook’s display had started to develop vinegar syndrome. This is a common occurrence where the uppermost (polarizer) layer of the panel begins to separate, usually manifesting as raised/bumpy transparent to whitish diagonal streaks across the screen or concentrated in patches. Fixing this requires replacement of either the entire panel or the polarizer layer, neither of which are easy to do.

The original panel, with vinegar syndrome present in the center - it’s hard to see in this image with the screen turned on, but it was very apparent in person.
Front of the original panel.
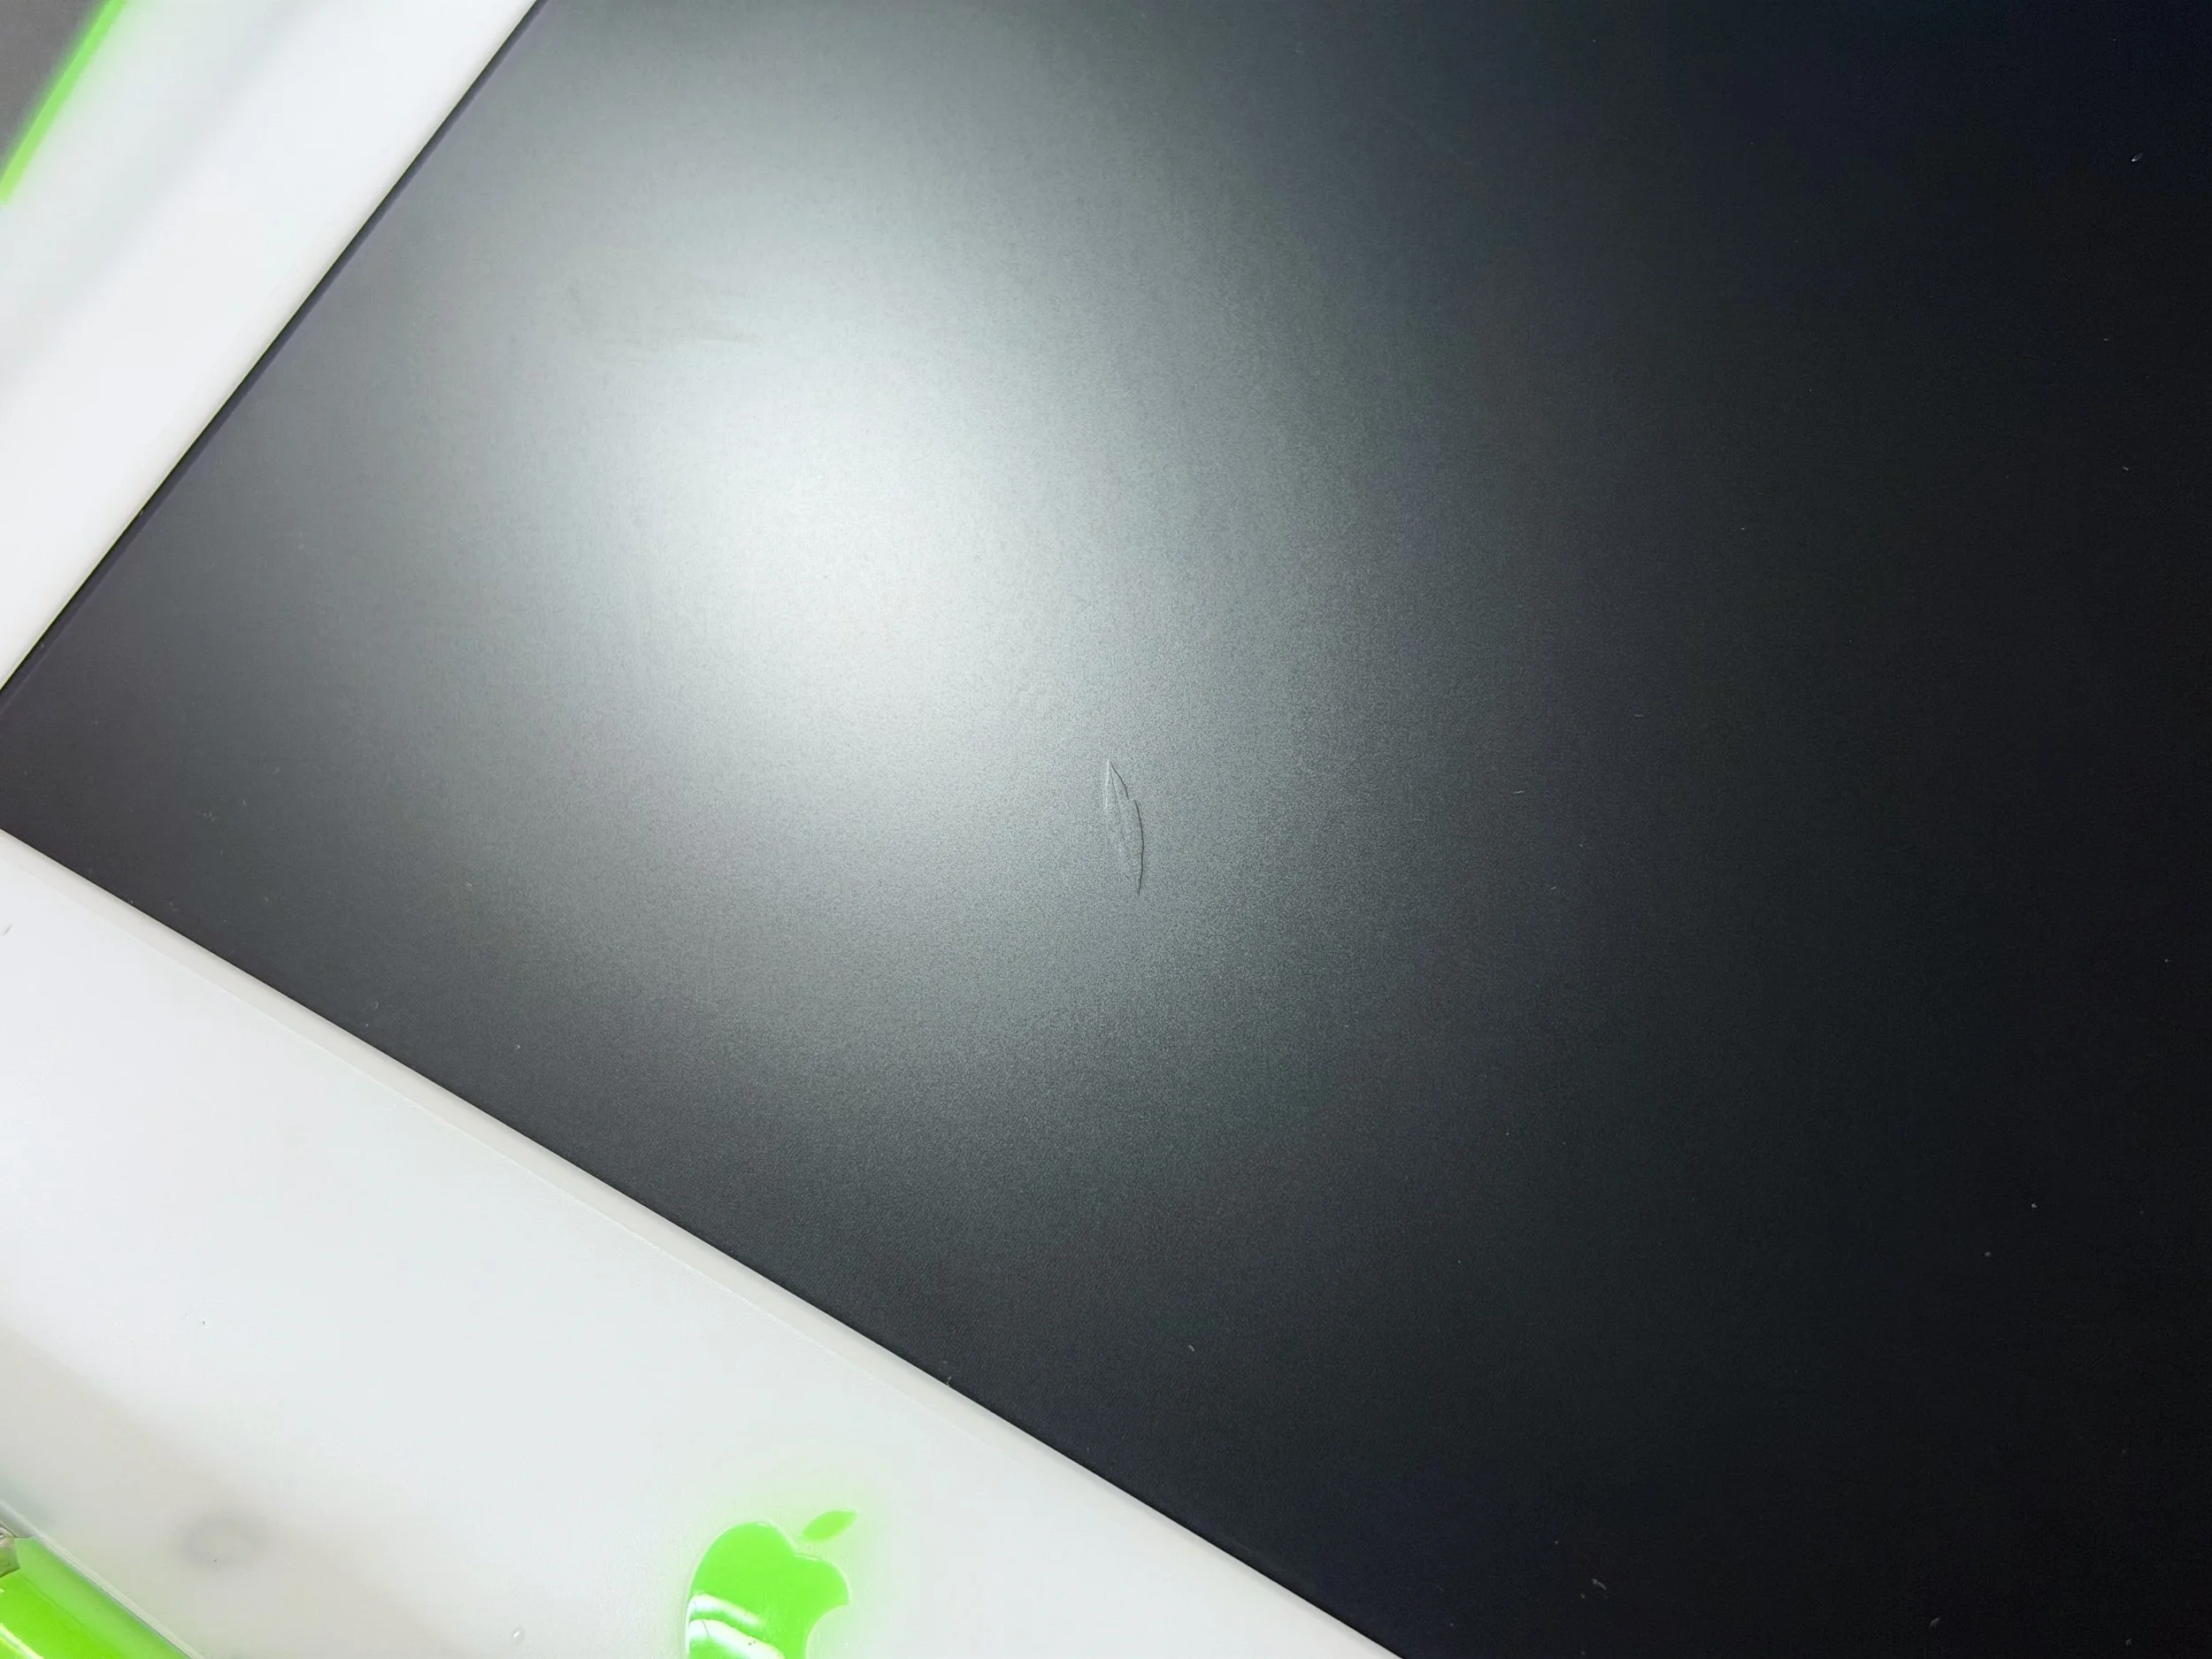
It was easier to see with the display off. I caught this in the very early stages so there was only a small raised/bumpy area near the center at this point.

Rear of the original panel.
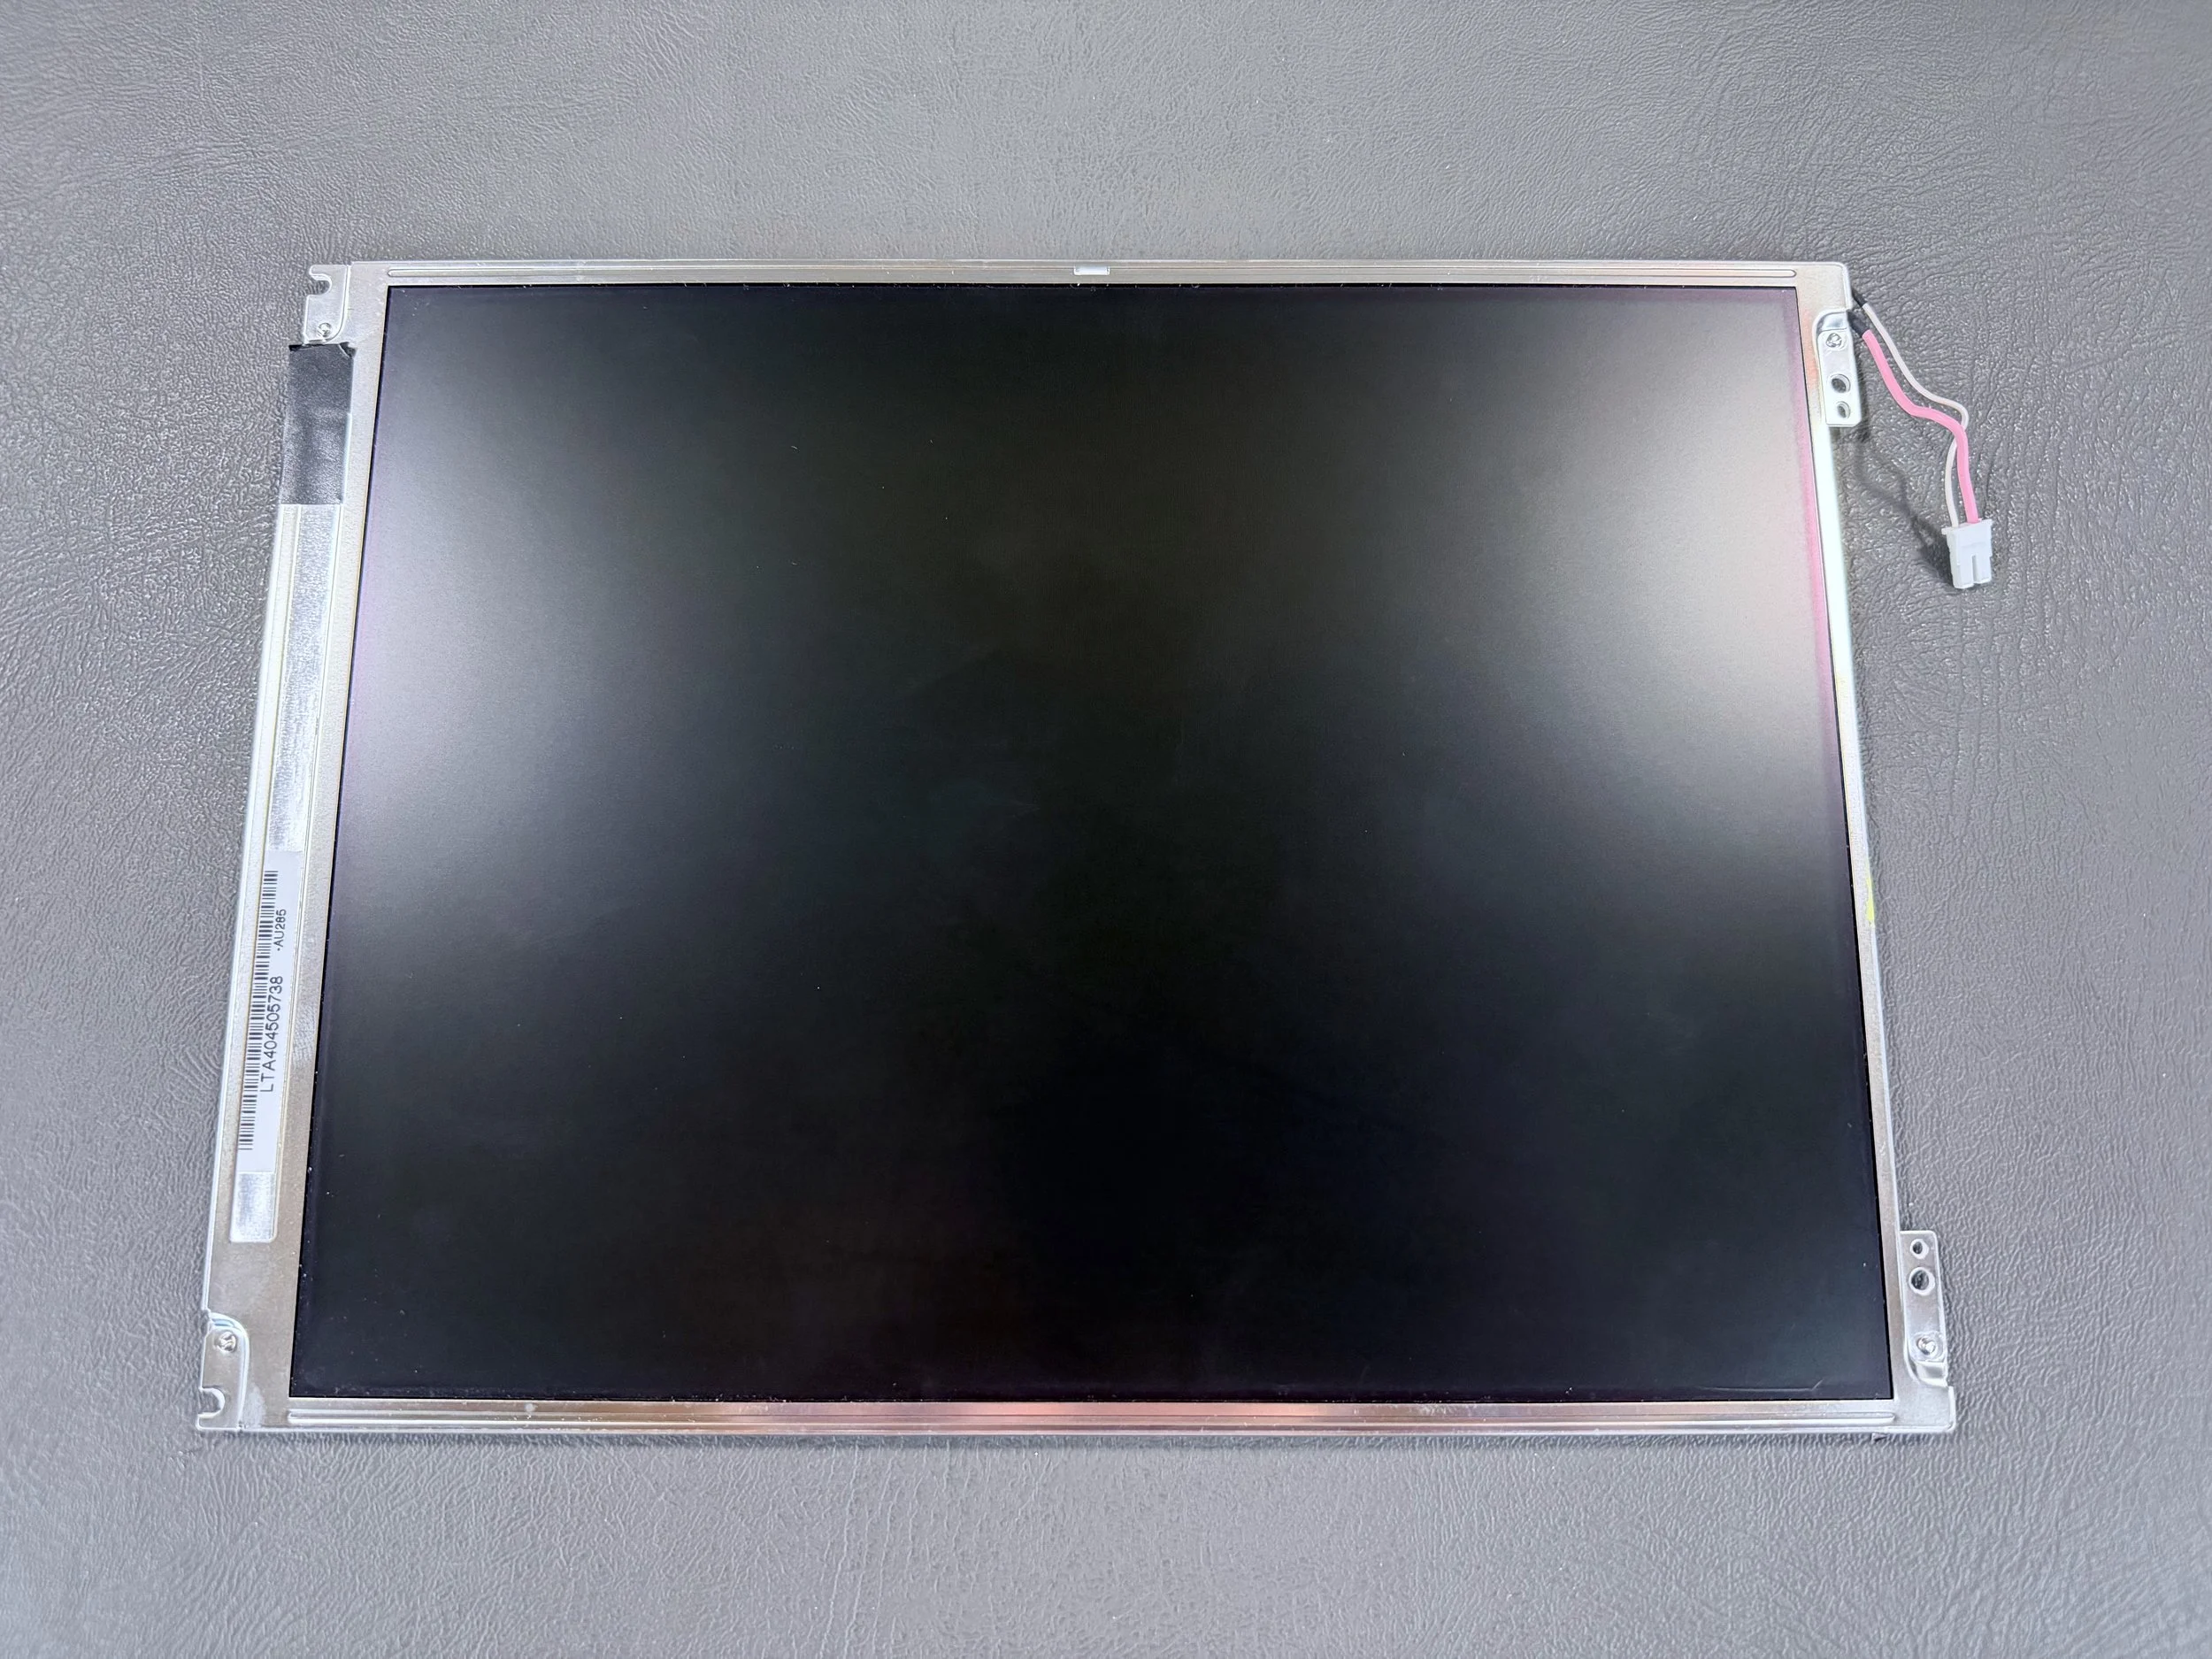
There were several models/manufacturers (LG, Samsung) of these display panels that were used in the “clamshell” iBooks, so since mine was a Samsung LT121SU-123, I ordered this replacement panel with the same brand and model identifier.
Unfortunately, I had major problems with this at first. The iBook’s display connector is directional, as it has two very tiny plastic tabs/ridges on the sides meaning it can only be installed one way. The replacement panel’s socket was flipped 180 degrees from how the original’s was, so I flipped the connector around and attempted to install the new panel this way.
This caused a short which DAMAGED the iBook’s motherboard and required me to replace it. After replacing the motherboard, I had to snip the plastic tabs off the iBook’s display connector so it could be fit into the replacement panel’s socket in the correct direction. This worked for me and solved the issue.
For more details and technical information, see this thread on 68kMLA or this thread on TinkerDifferent.
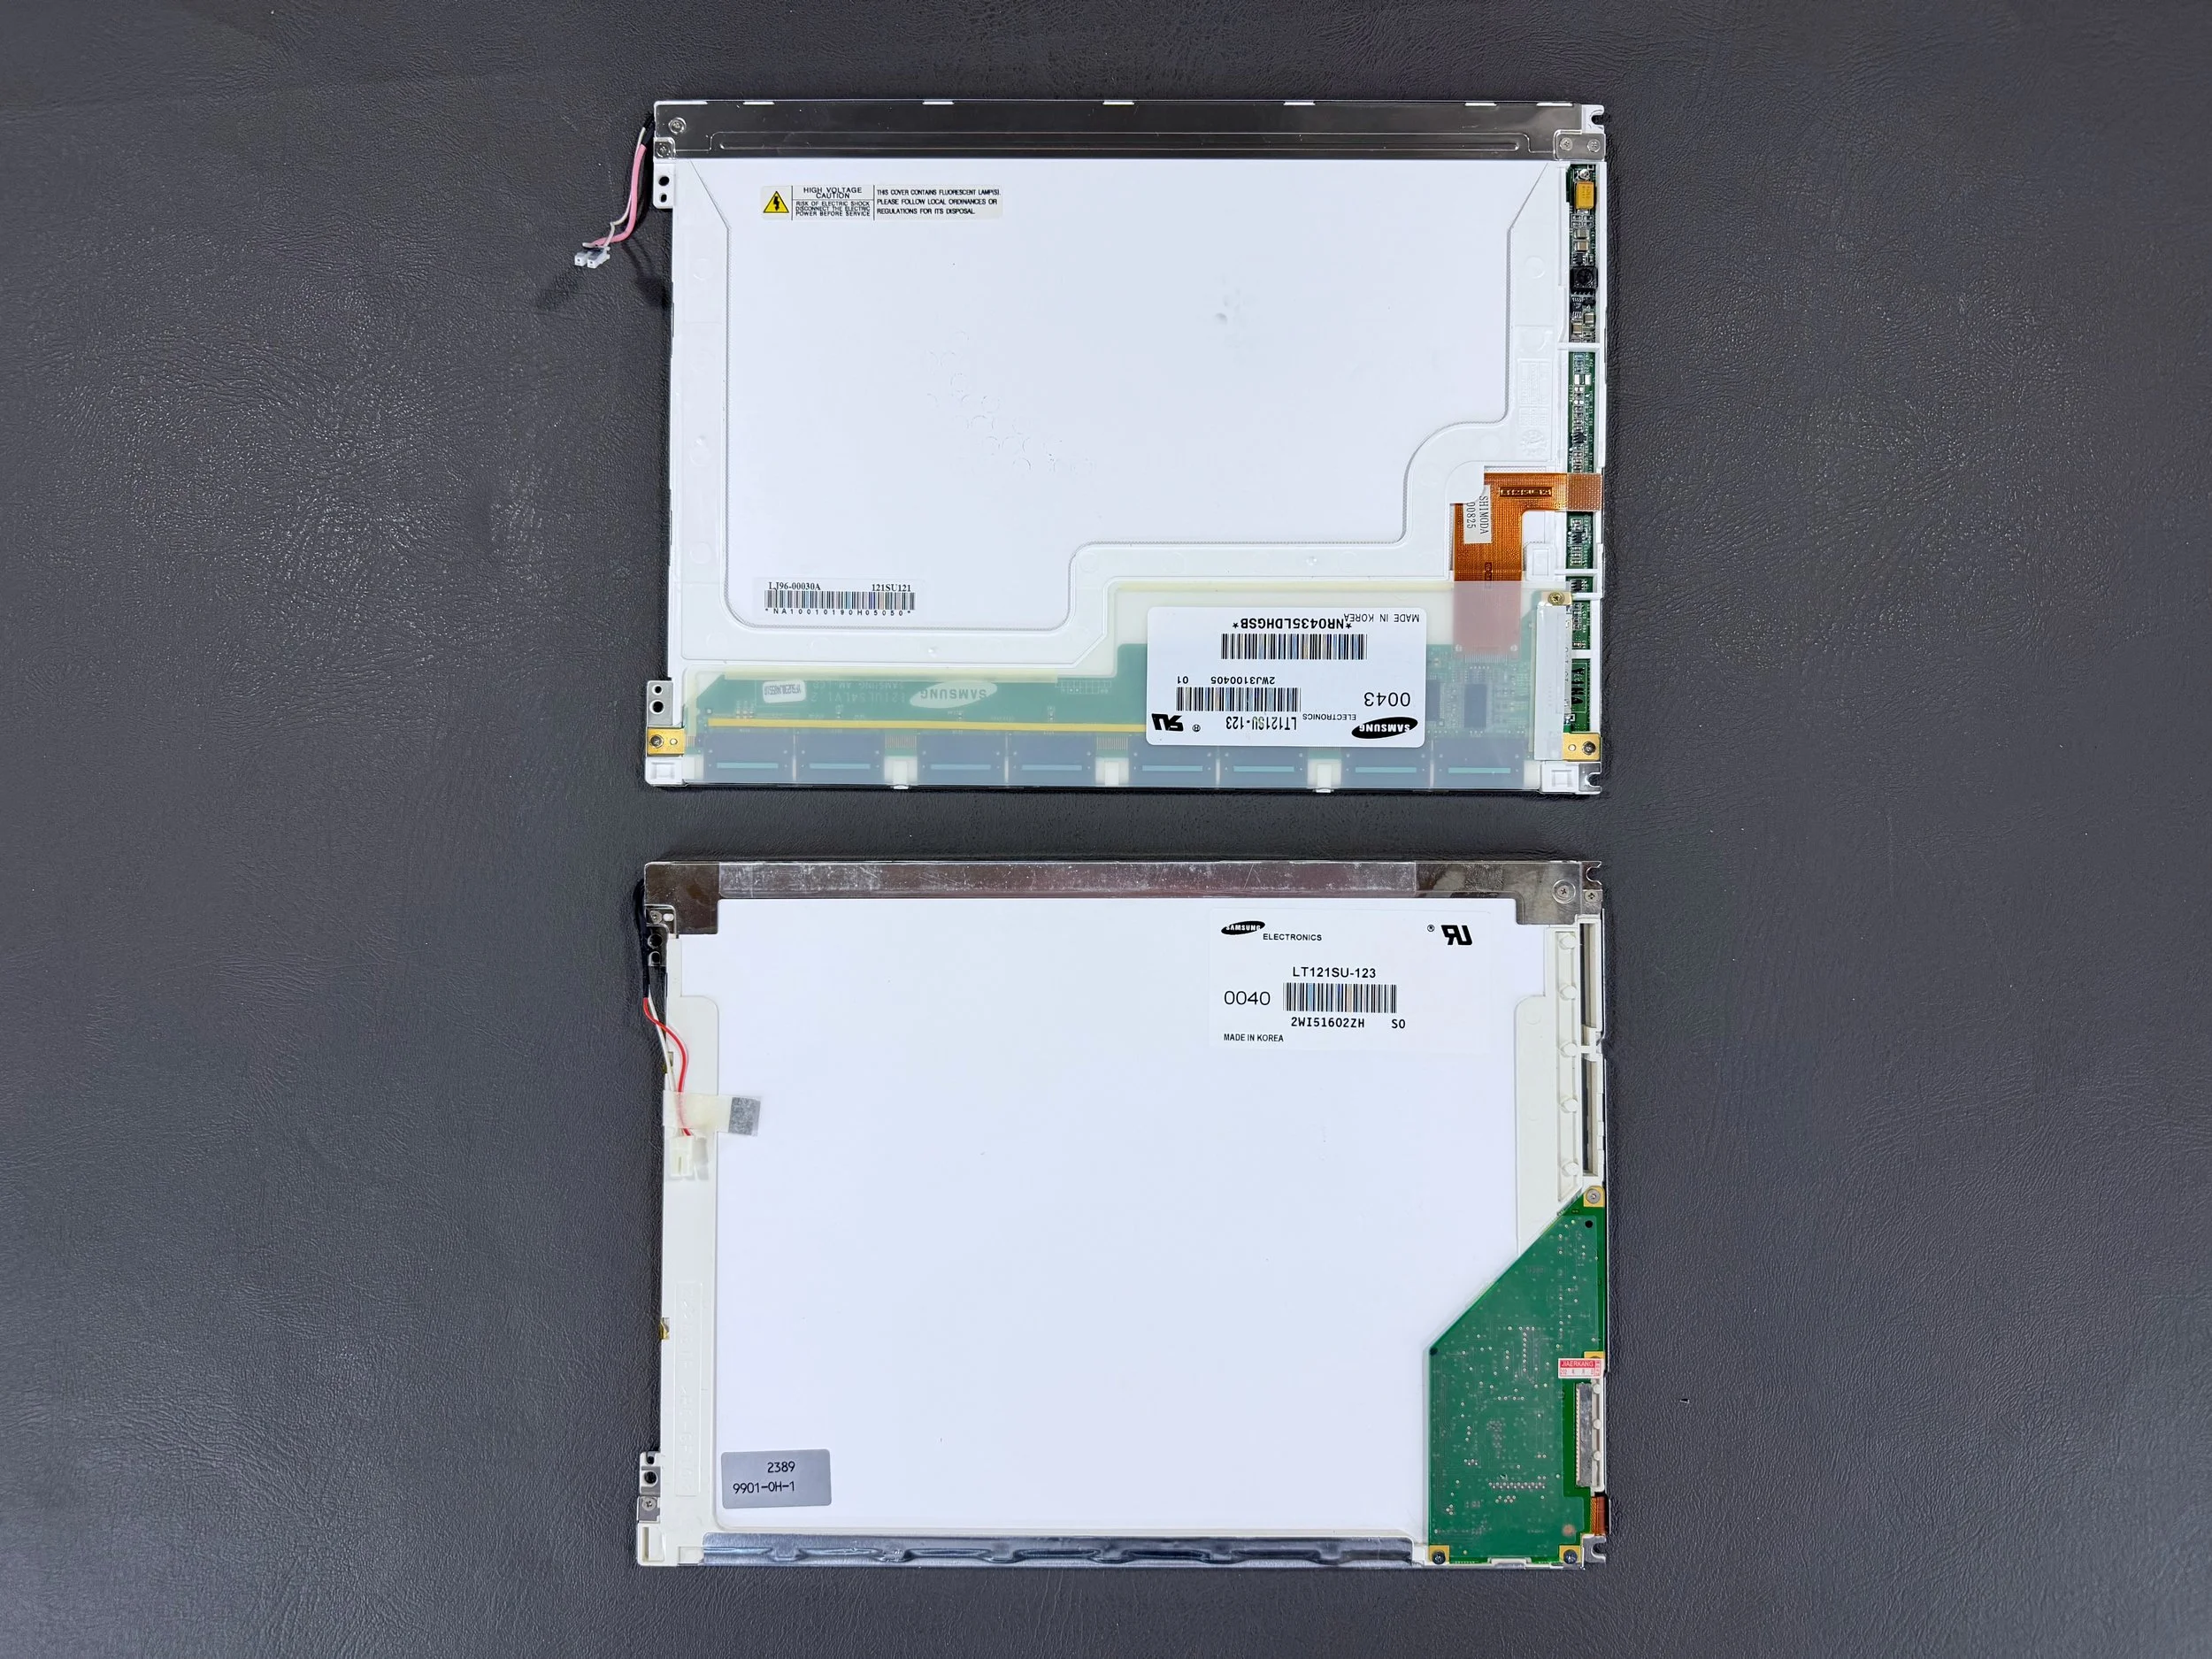
Rear view of original panel (top) and replacement panel (bottom) - they look quite different despite having identical model identifiers. The connectors and the screw holes used to mount the panels are in the same locations, so aside from the electrical difficulties it was just a direct swap-out.
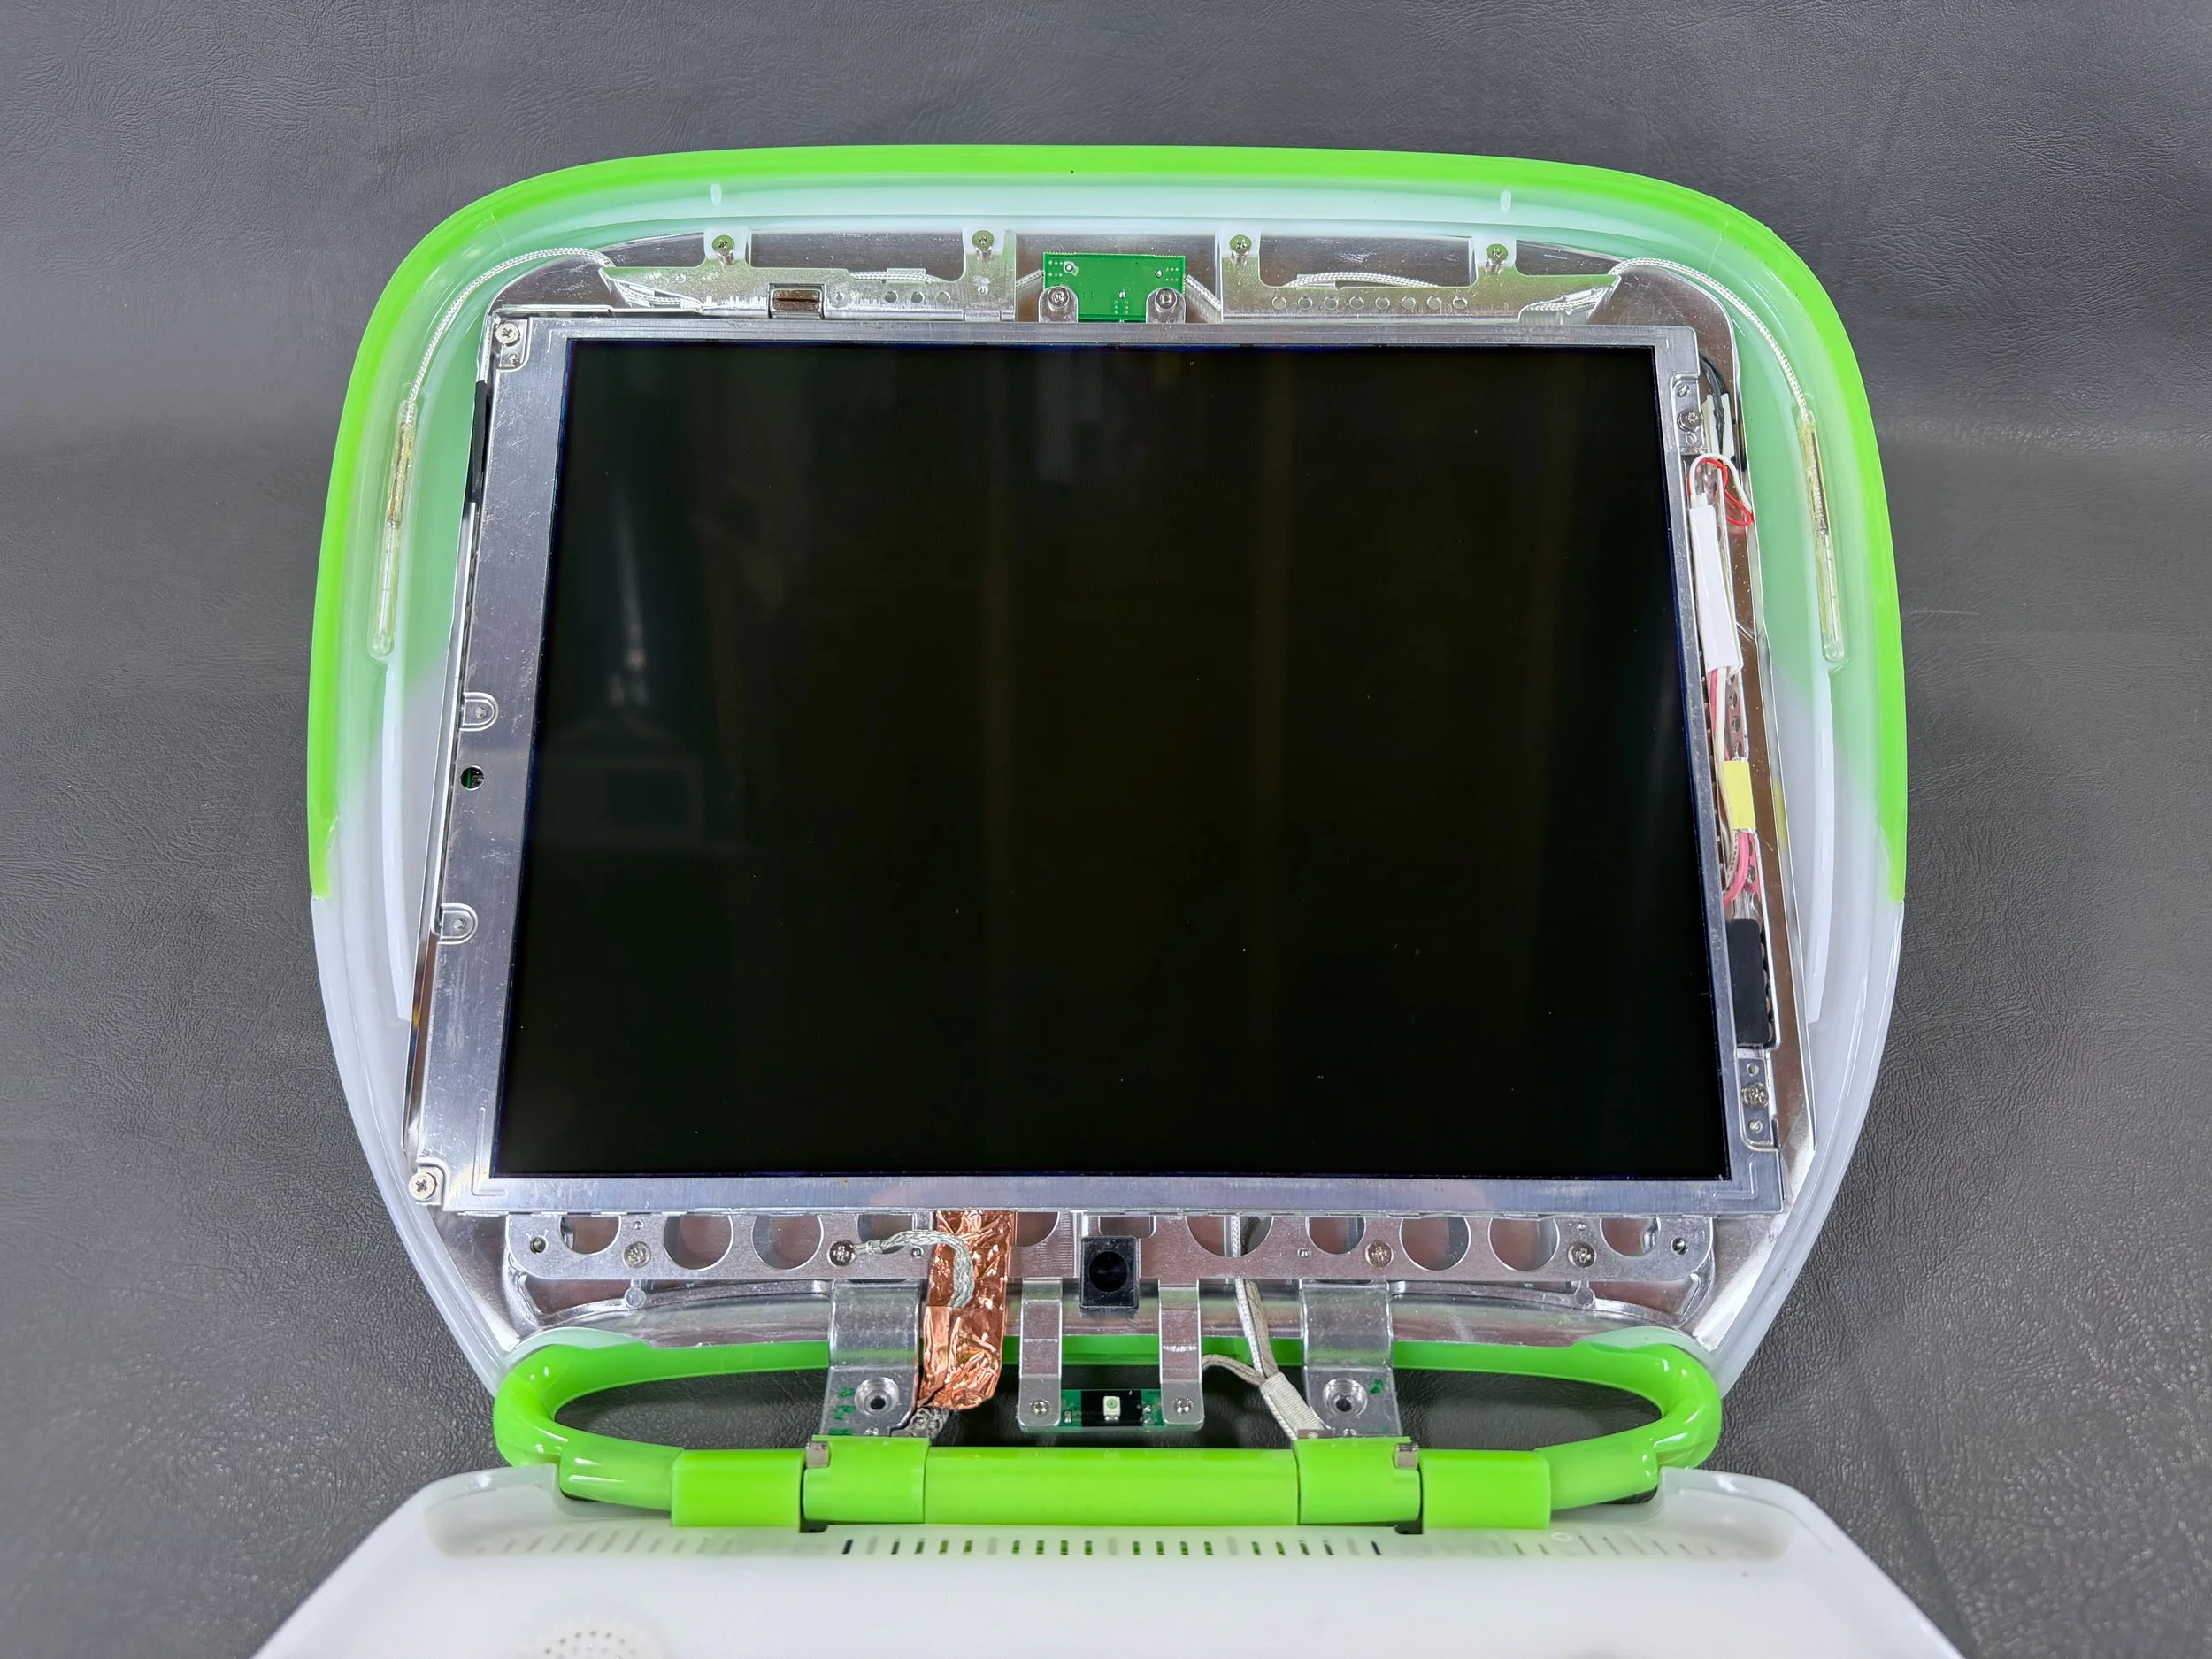
New panel fitted inside the iBook’s display housing.
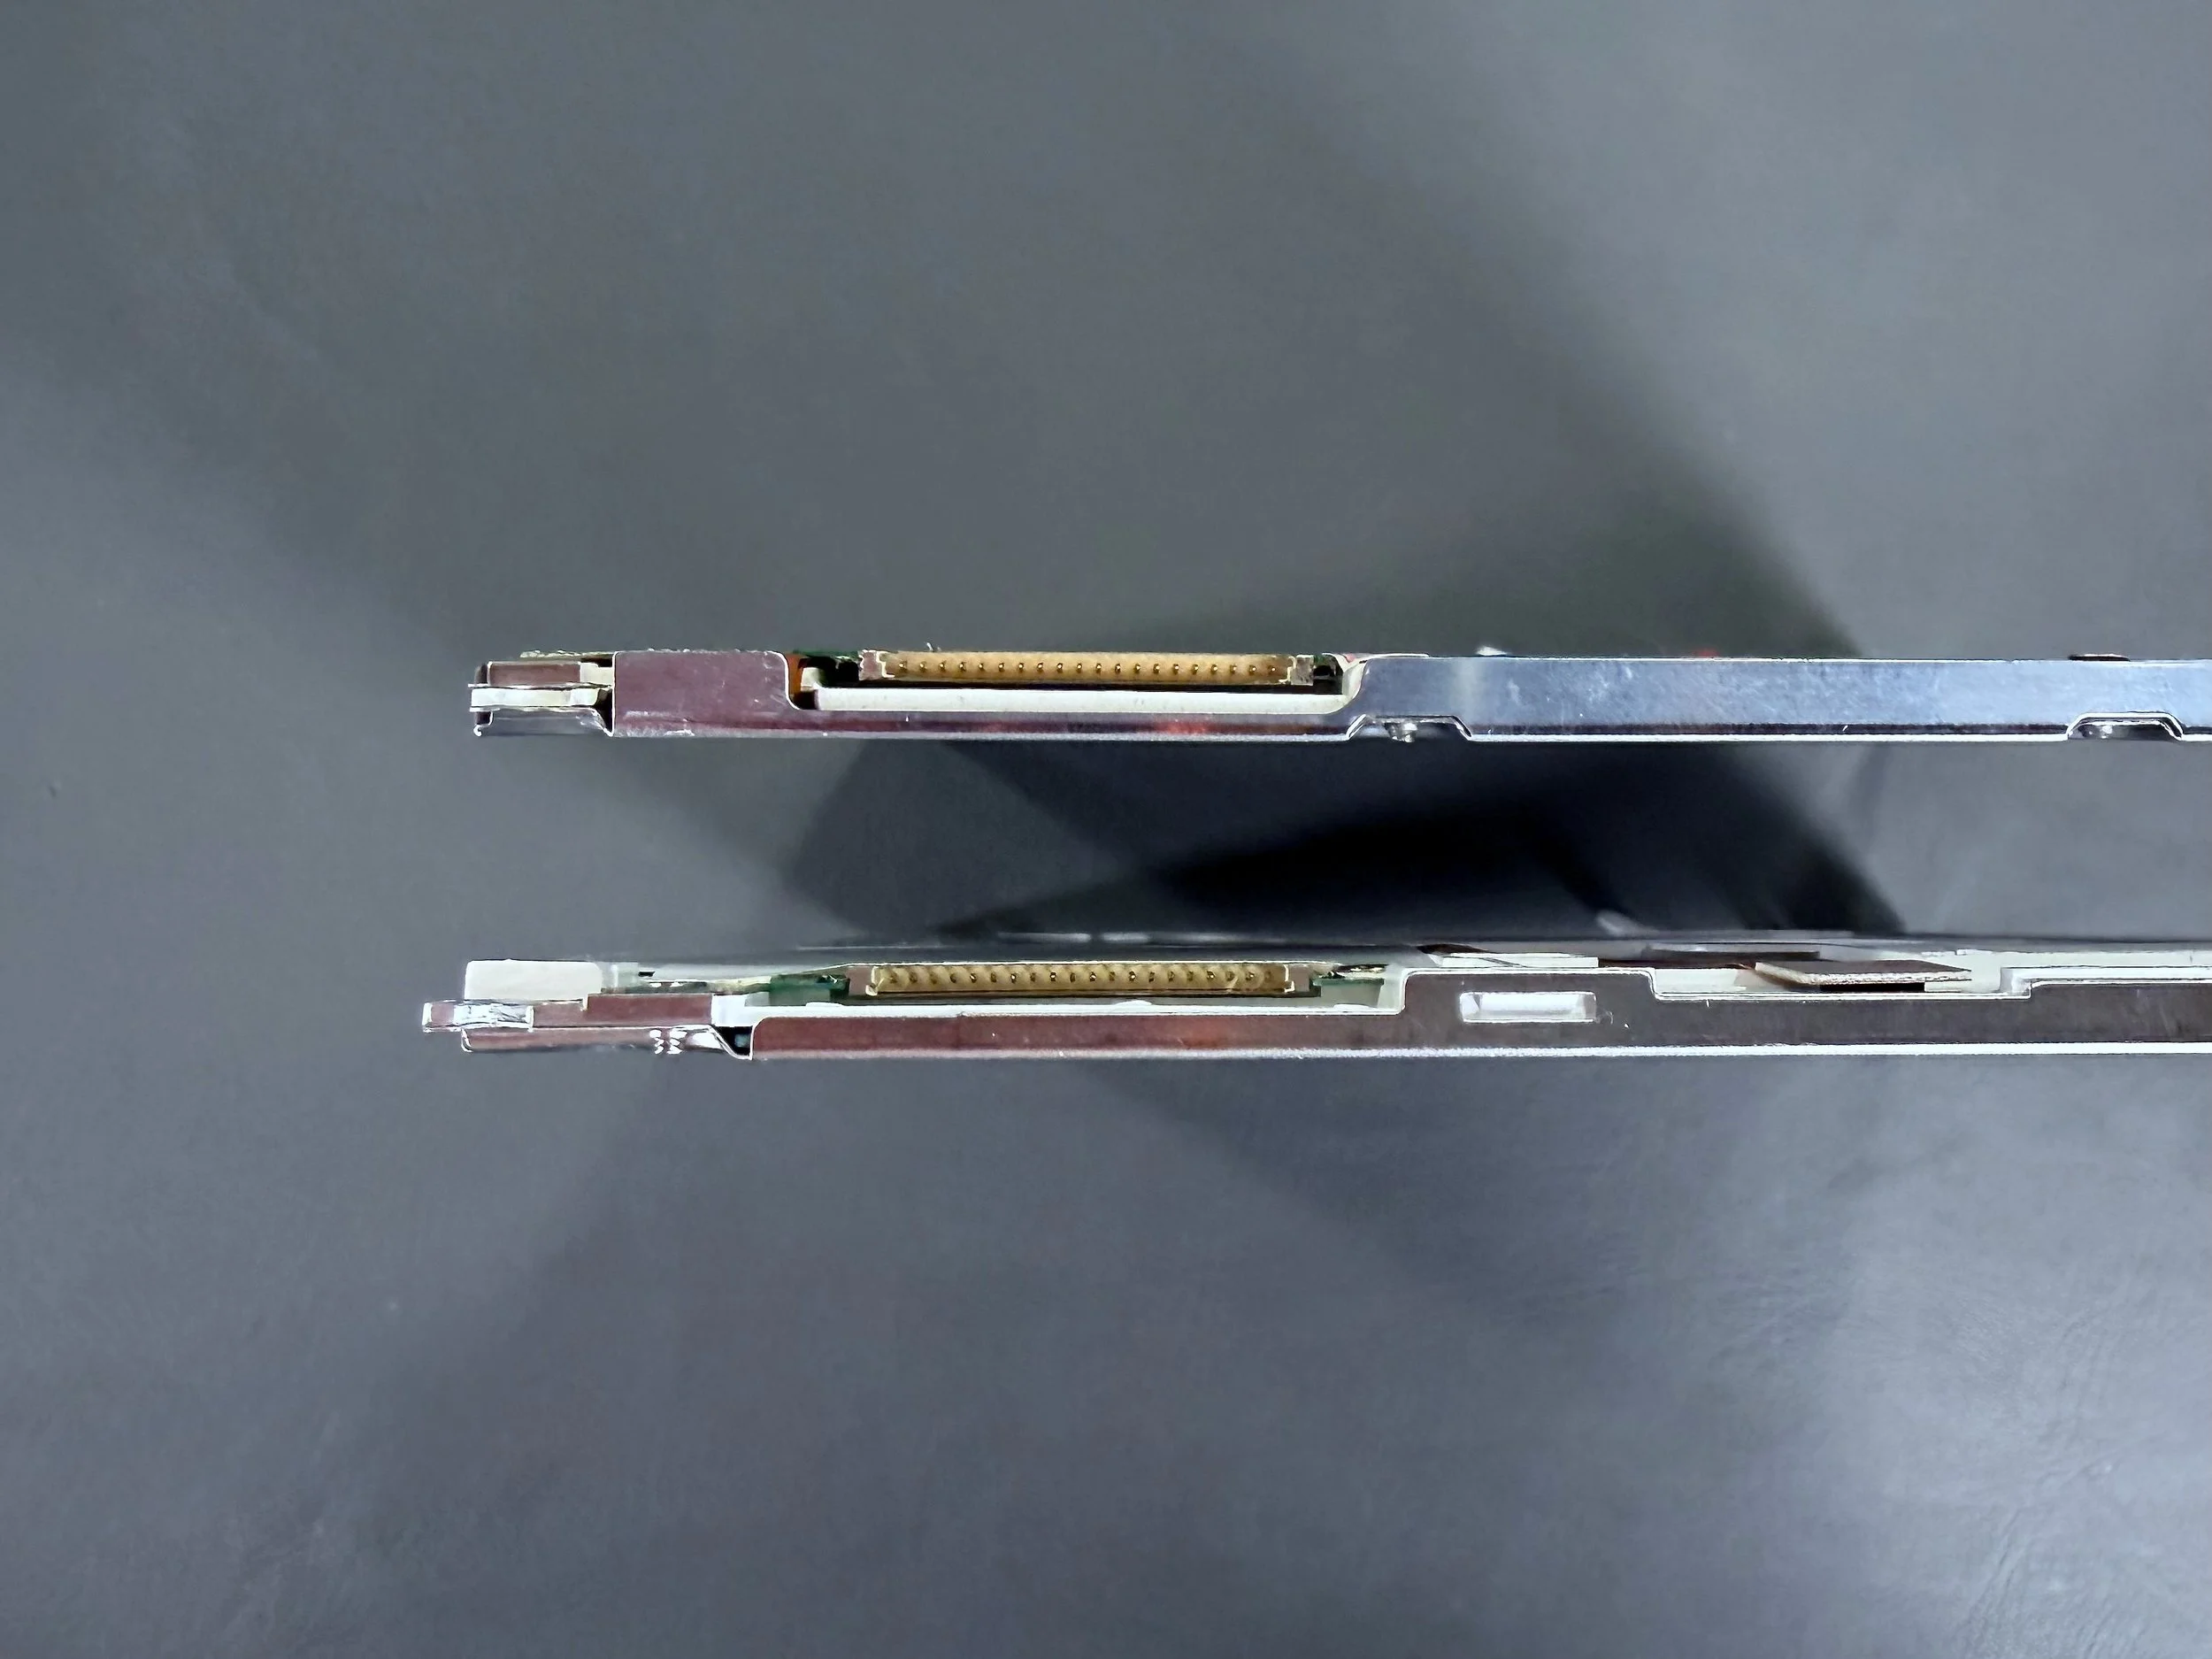
Display connector socket on the original panel (top) and the replacement panel (bottom). The physical socket (i.e., tab location) was rotated 180 degrees on the replacement panel even though the electrical connections were not! For anyone else attempting this repair - beware!
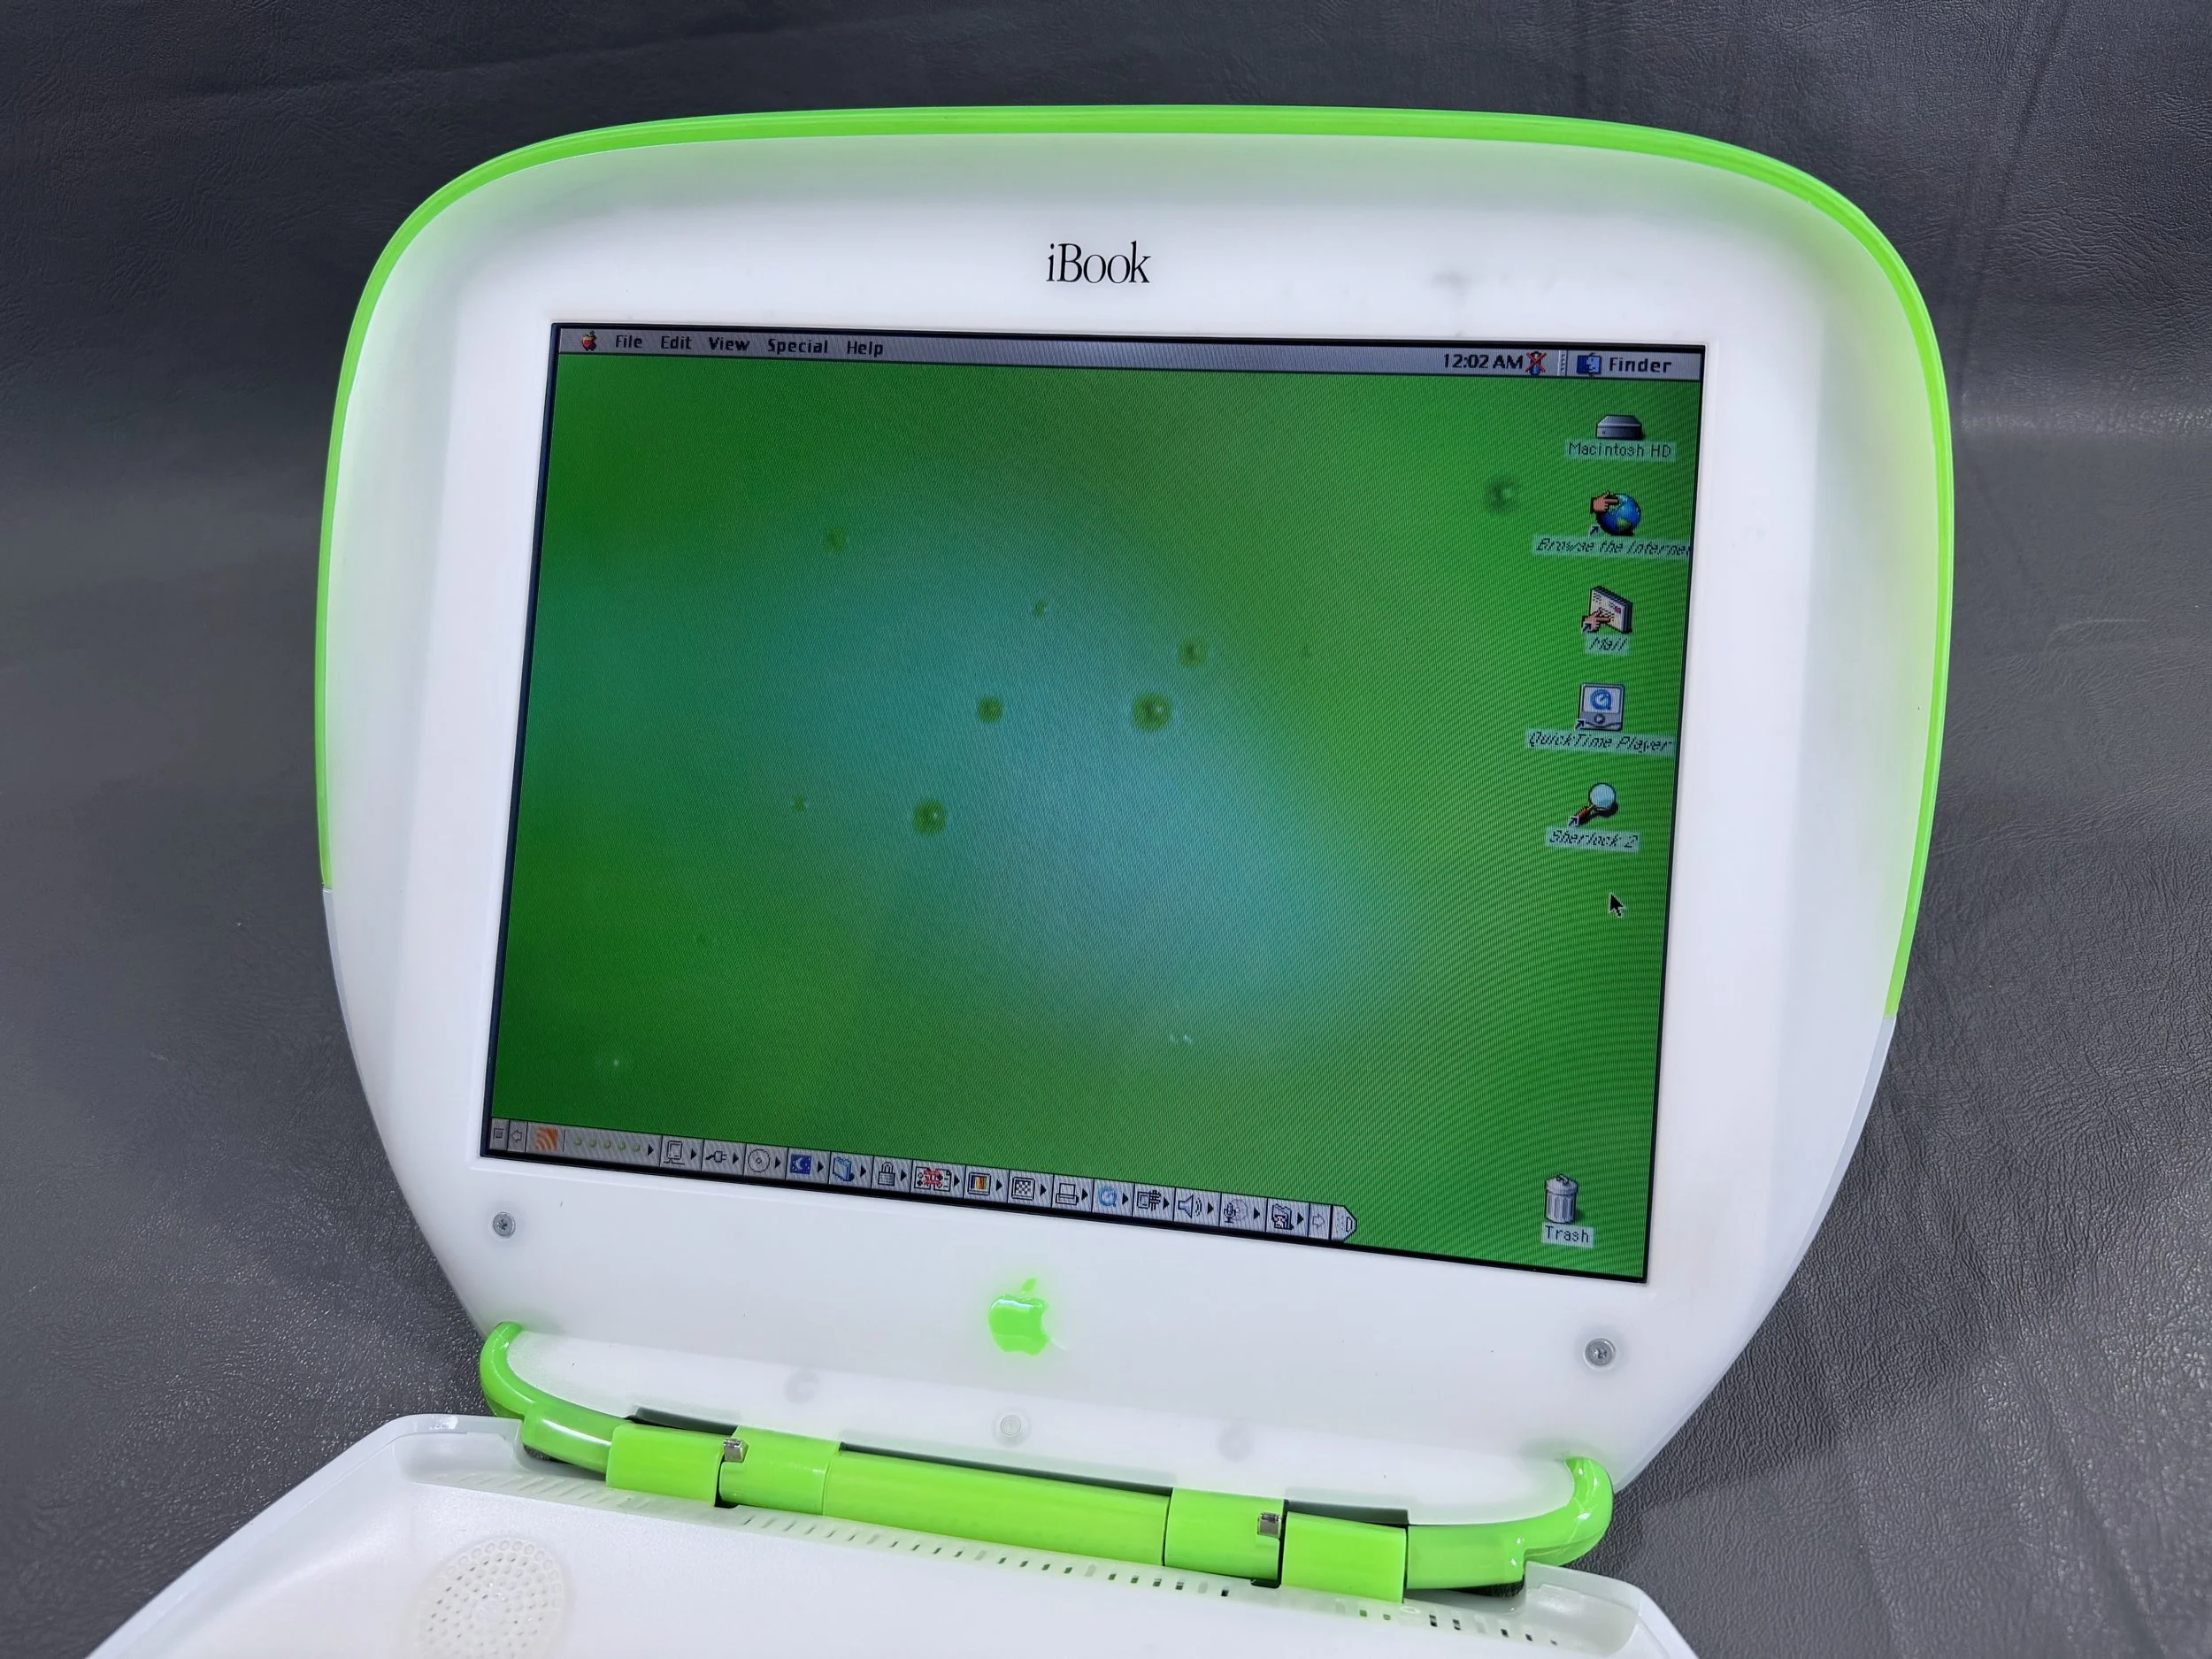
All put back together, with bezel reattached.
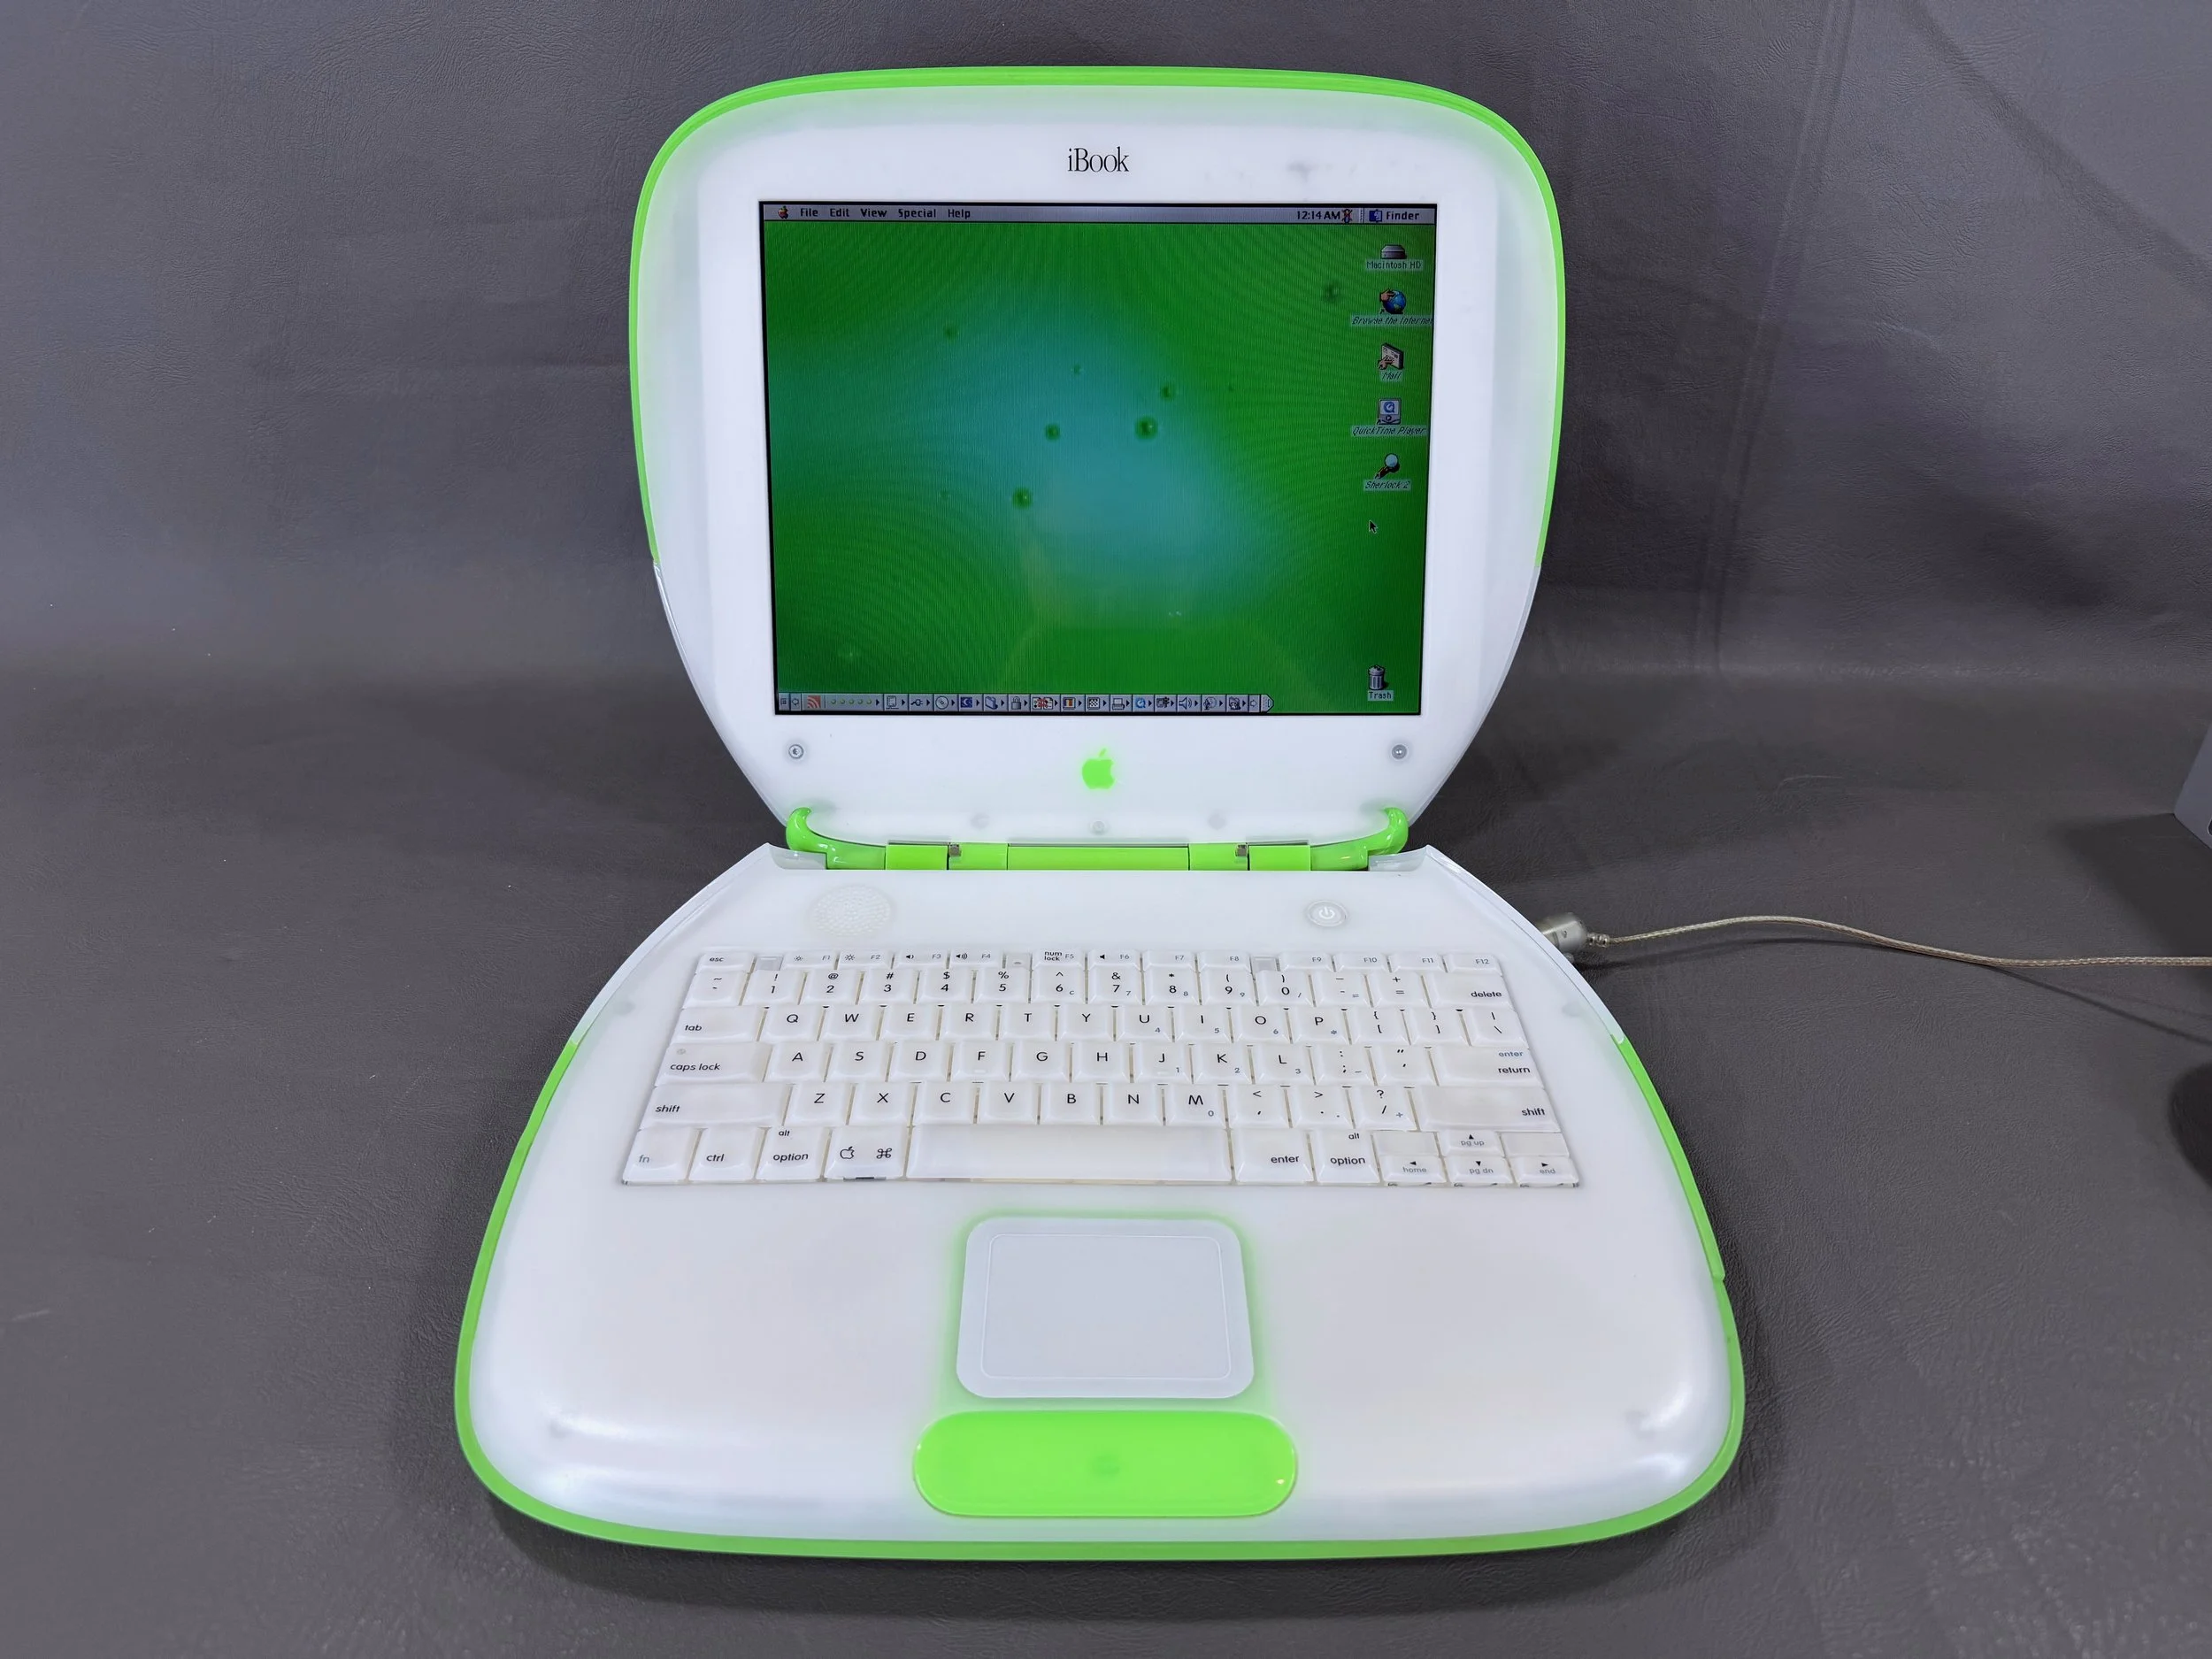
The iBook looks great with its new display! No more vinegar syndrome.