iMac G3
Slot-Loading - Indigo
History
[specific to slot-loading (SL) models]
Introduced: October 5, 1999
Discontinued: March 18, 2003
Original Retail Price: $999 (500 MHz ‘01 model)
Model #: M5521
Tech Specs
Display: 15” CRT
Processor: 500 MHz PowerPC G3
RAM: 256 MB (upgraded)
Hard Drive: 64 GB SSD (upgraded)
Optical Drive: CD-RW
OS: 9.1
Condition & Notes
This unit is in mint condition, and is complete with all the original packaging, power cable, modem cable, 4-pin-to-6-pin FireWire cable, keyboard, mouse, rear panel cover, software CDs, and documentation. It was purchased from its original owner, who originally got it at CompUSA in 2001.
The iMac G3 is of course generally regarded as one of the most iconic computers ever made. Over 6 million units were shipped from 1998 - 2003, and its enormous impact was felt in the technology world and many other parts of society and pop culture. This machine is a later “slot-loading” model, a 500 MHz example in the beautiful Indigo color.
In mid-2024 I replaced both of this iMac’s internal speaker drivers, and also replaced the original 20 GB hard drive with a 64 GB SSD. Scroll to the bottom of the page for more on both of these upgrades.
In 2026 I also replaced the iMac’s inner bezel with a modern replacement part from MacEffects. Scroll to the bottom of the page for more on this as well.
It is in beautiful working condition and is currently running Mac OS 9.1.
Model Identifier

The red ‘X’ denotes the location of this iMac within the overall series.
This particular machine is the 500 MHz Indigo model from the summer of 2001. This was the final major ‘refresh’ for the iMac G3, with the new iMac G4 being introduced the following January (although a low-end G3 model was sold all the way through 2003).
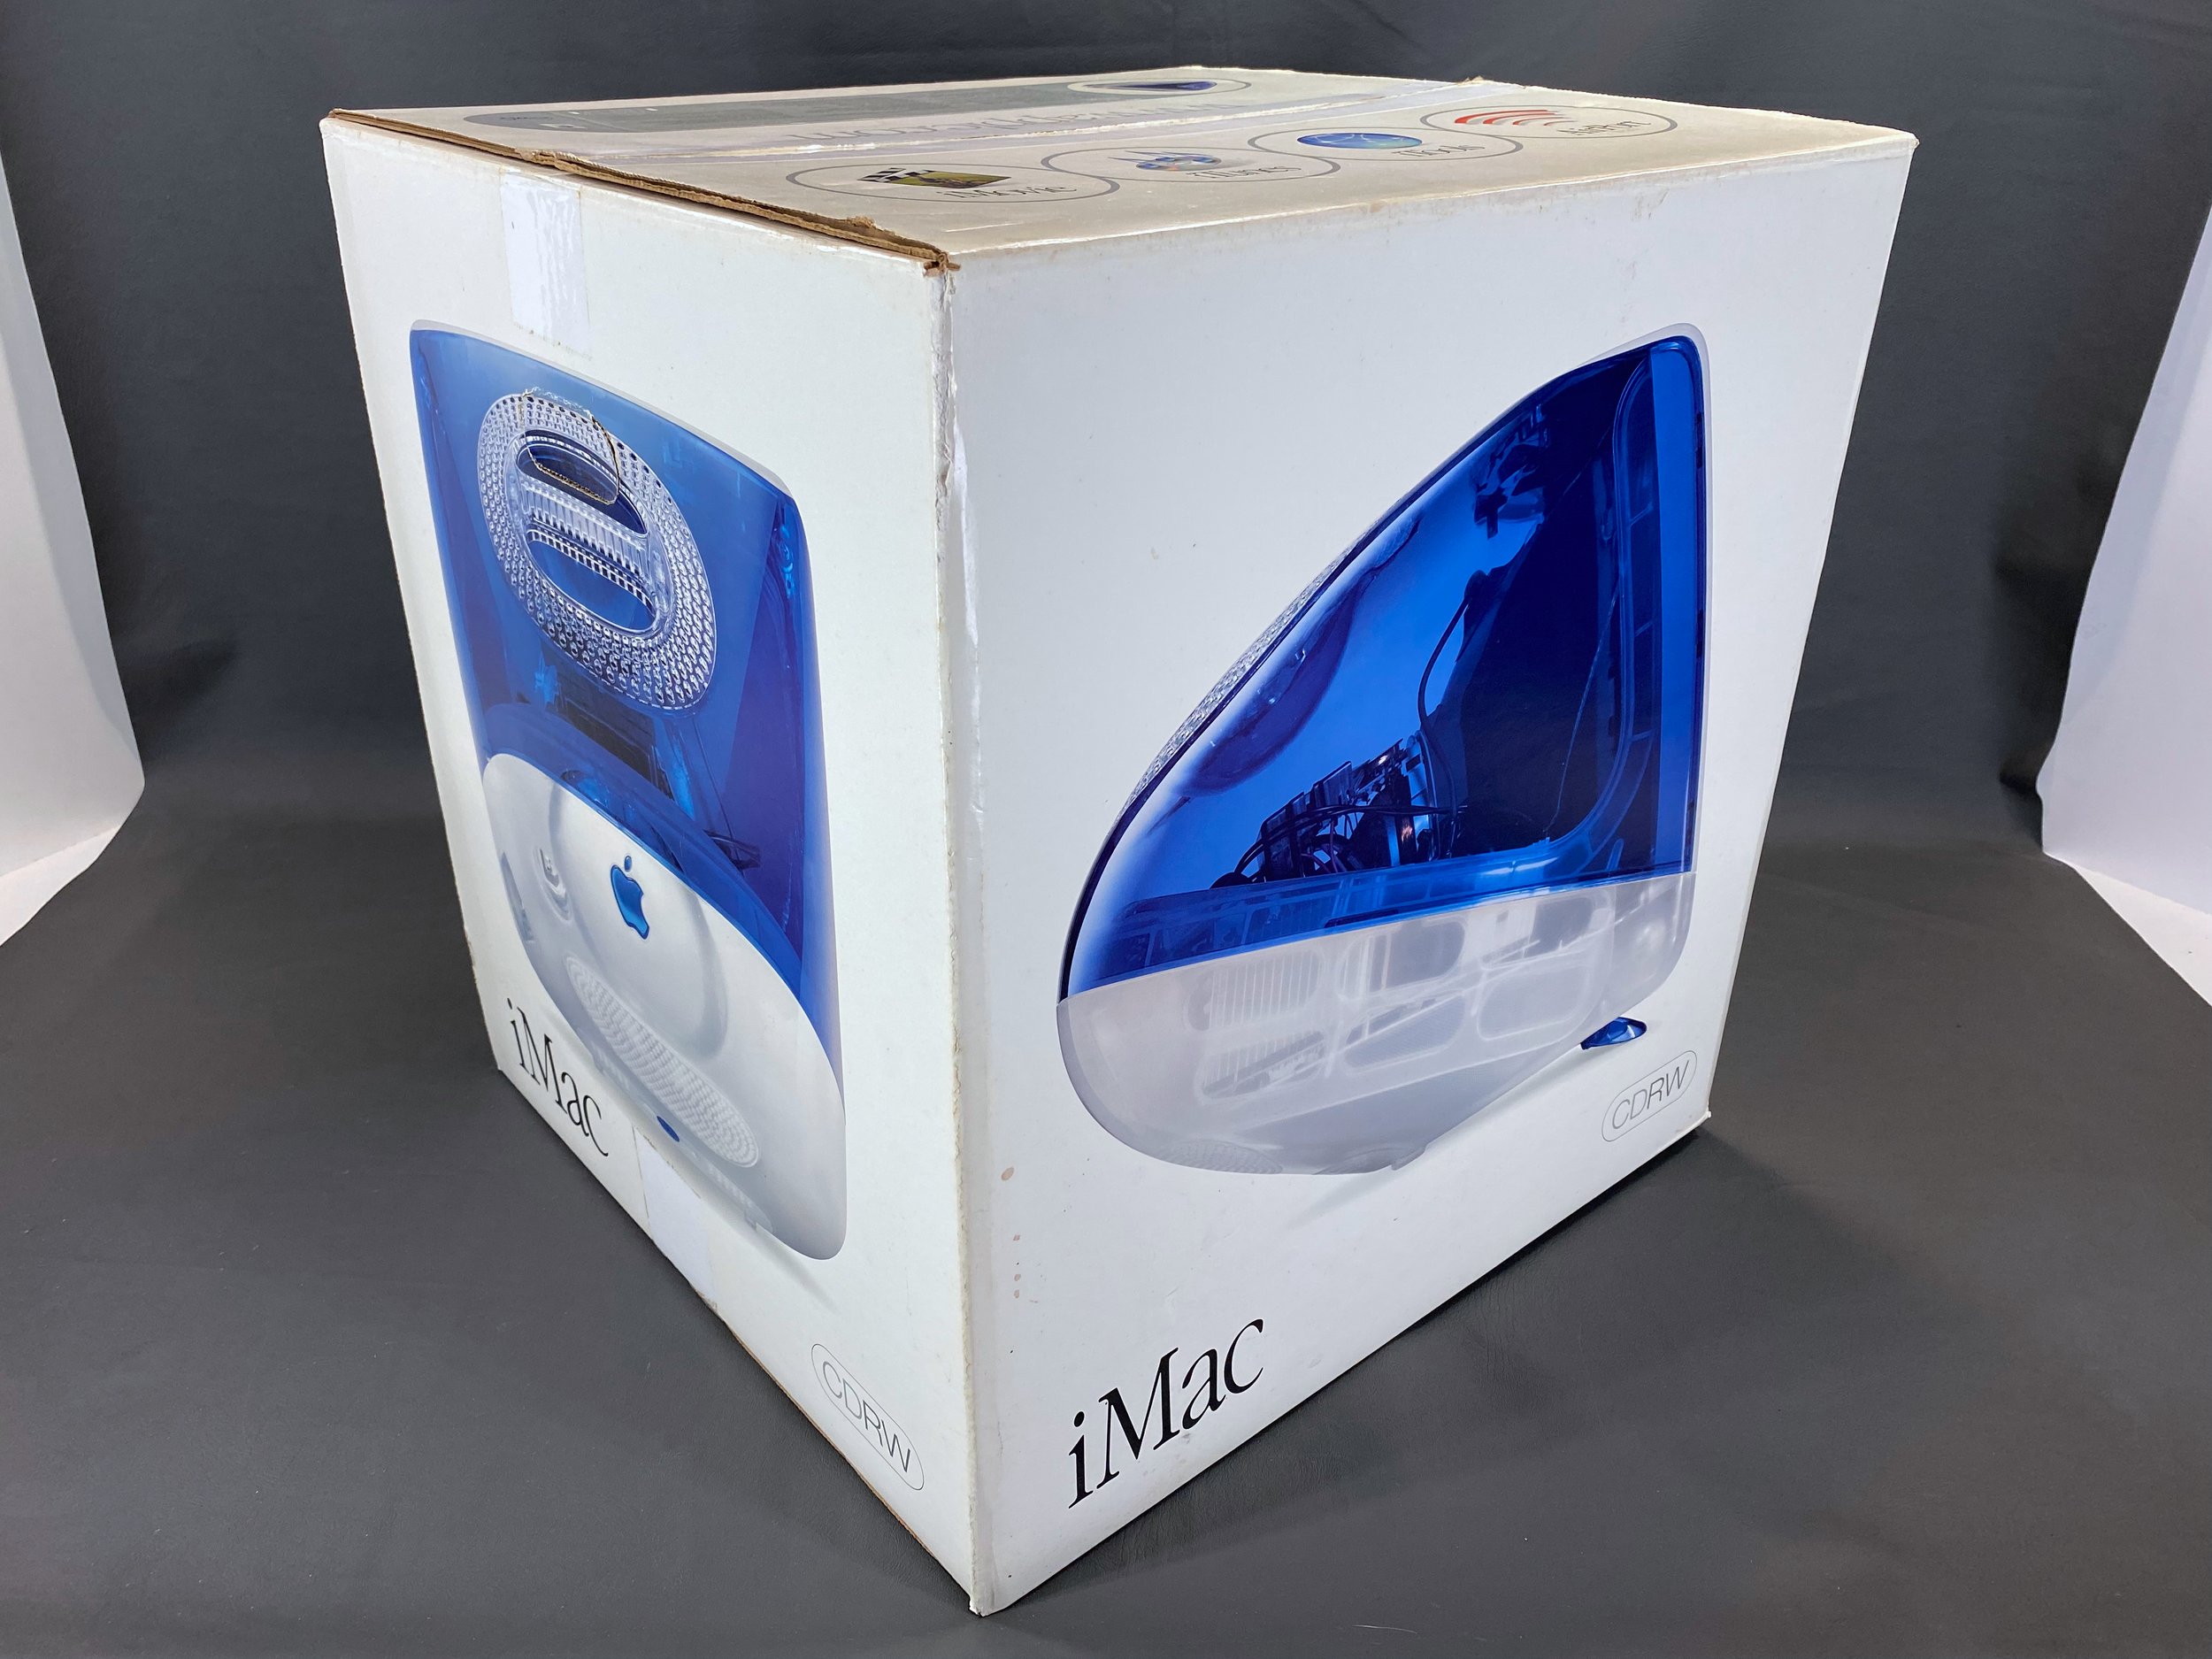
Packaging
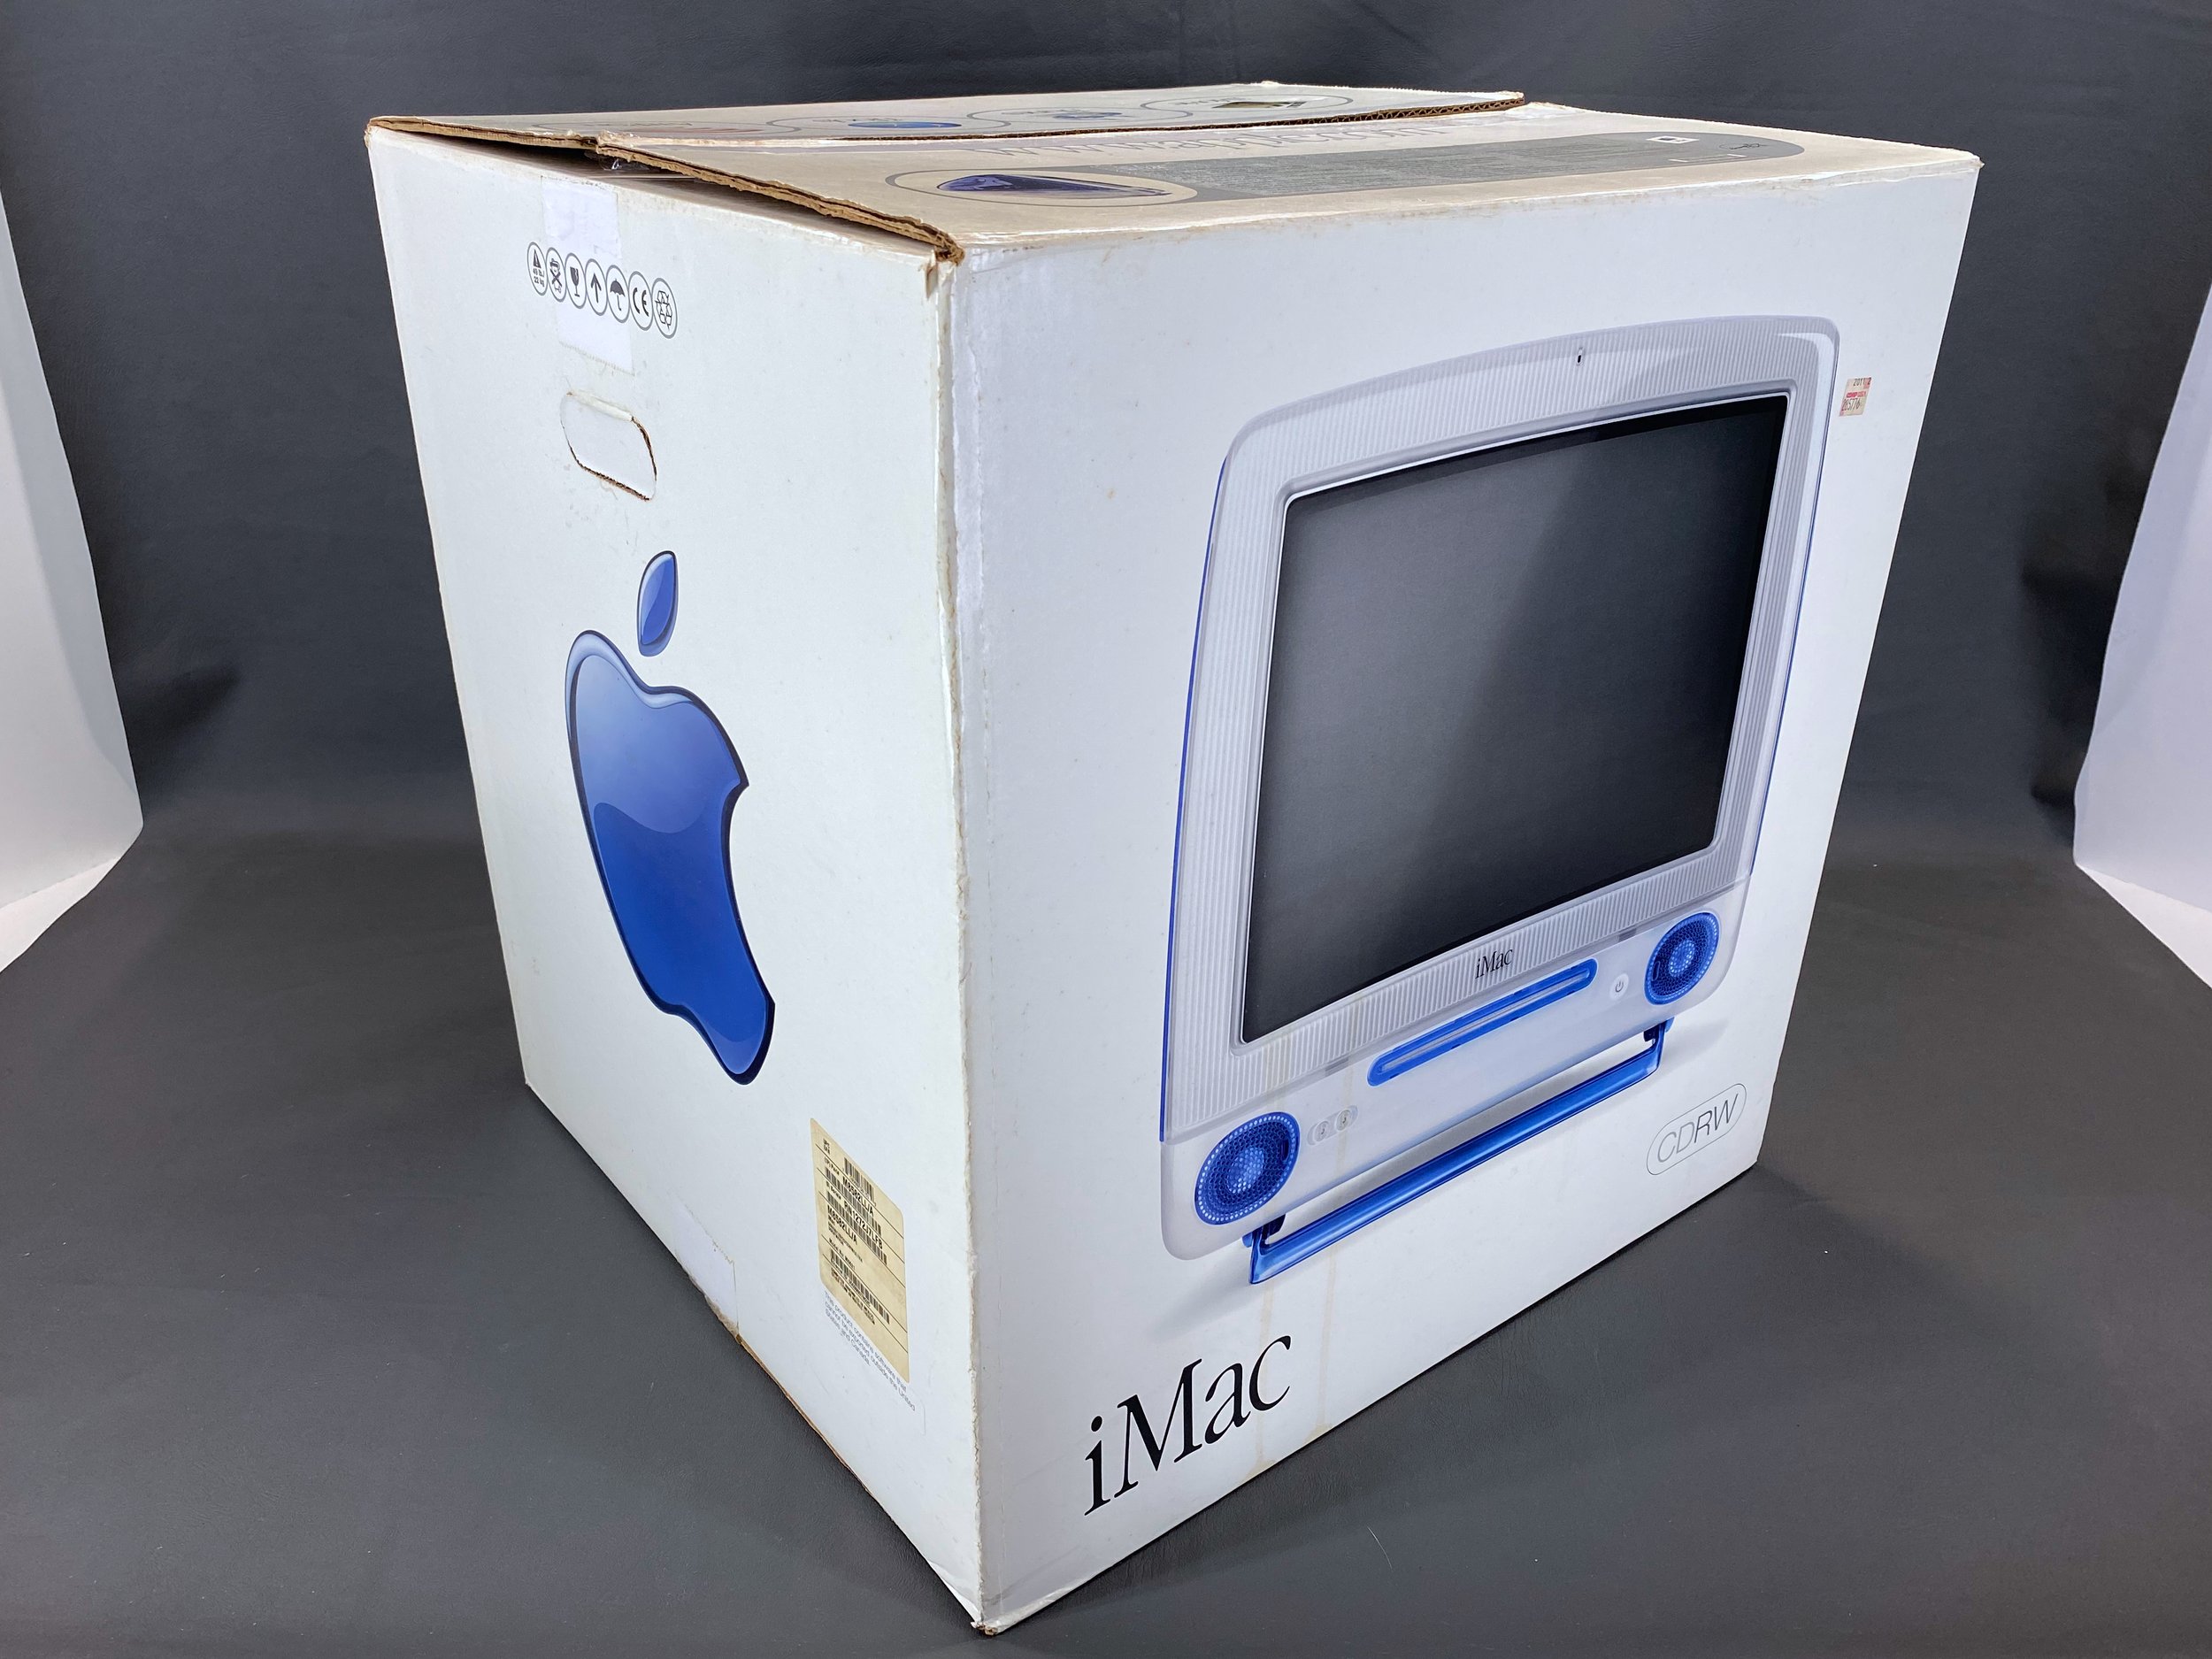


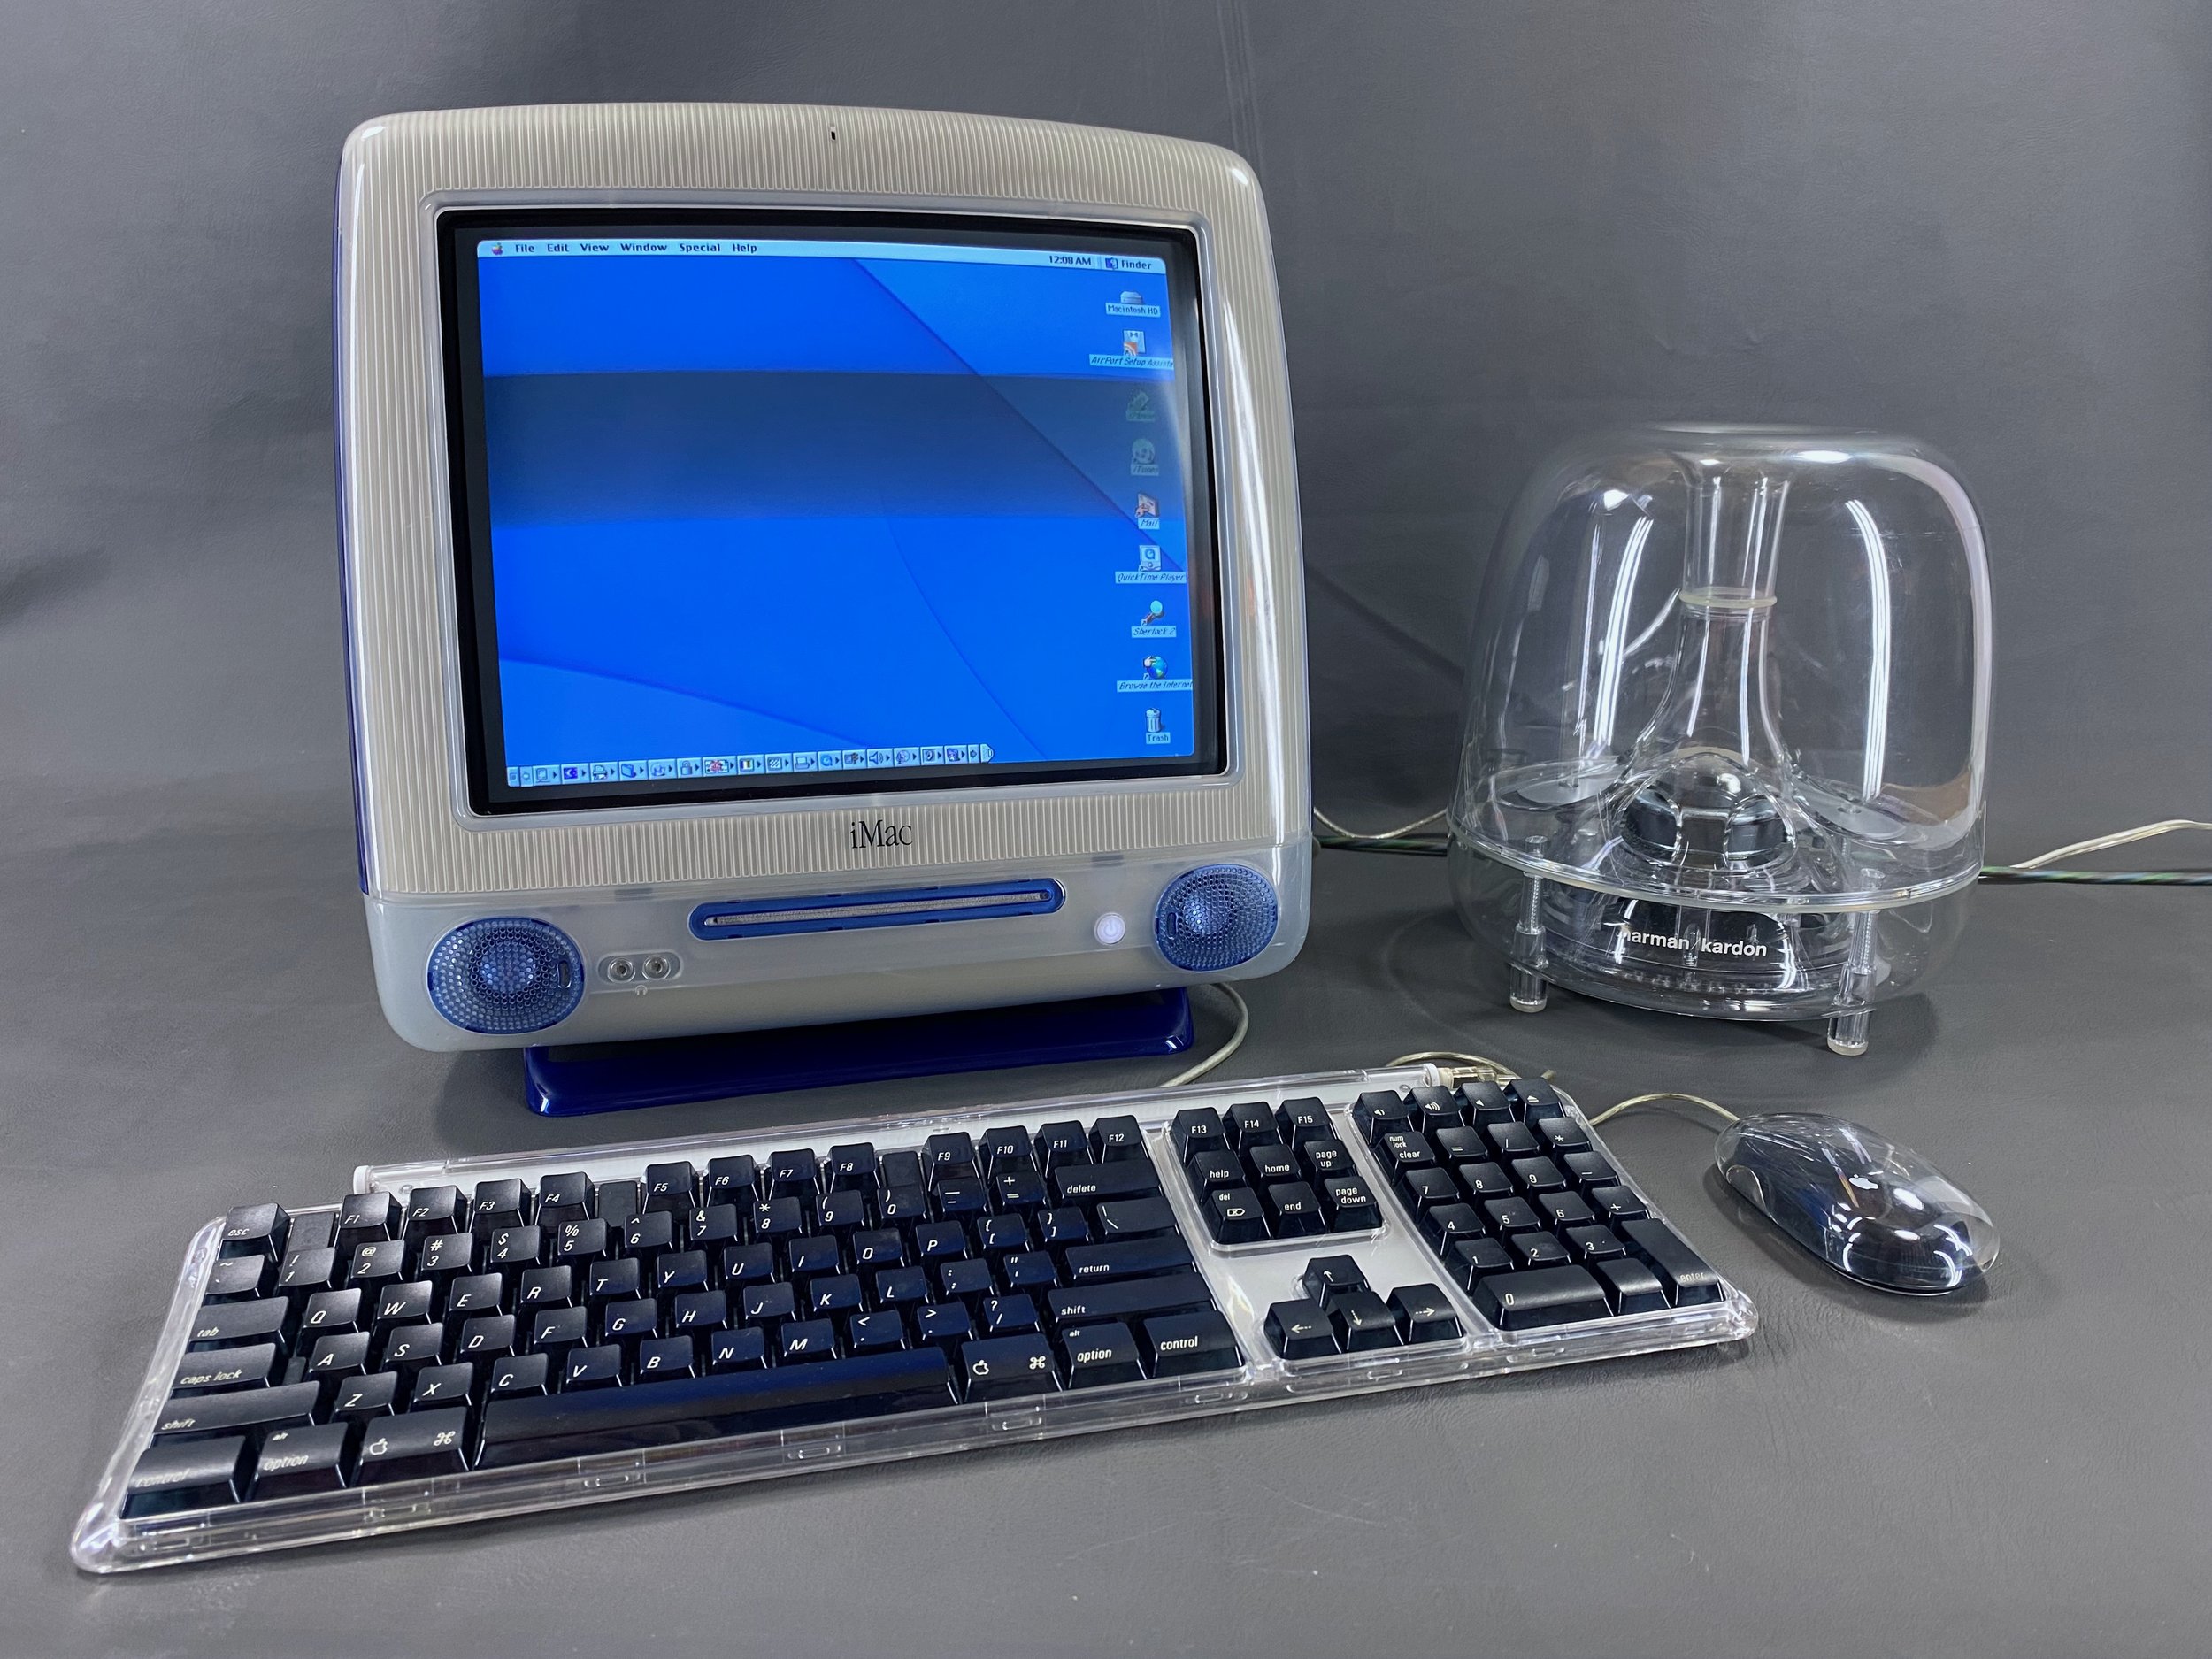
iMac
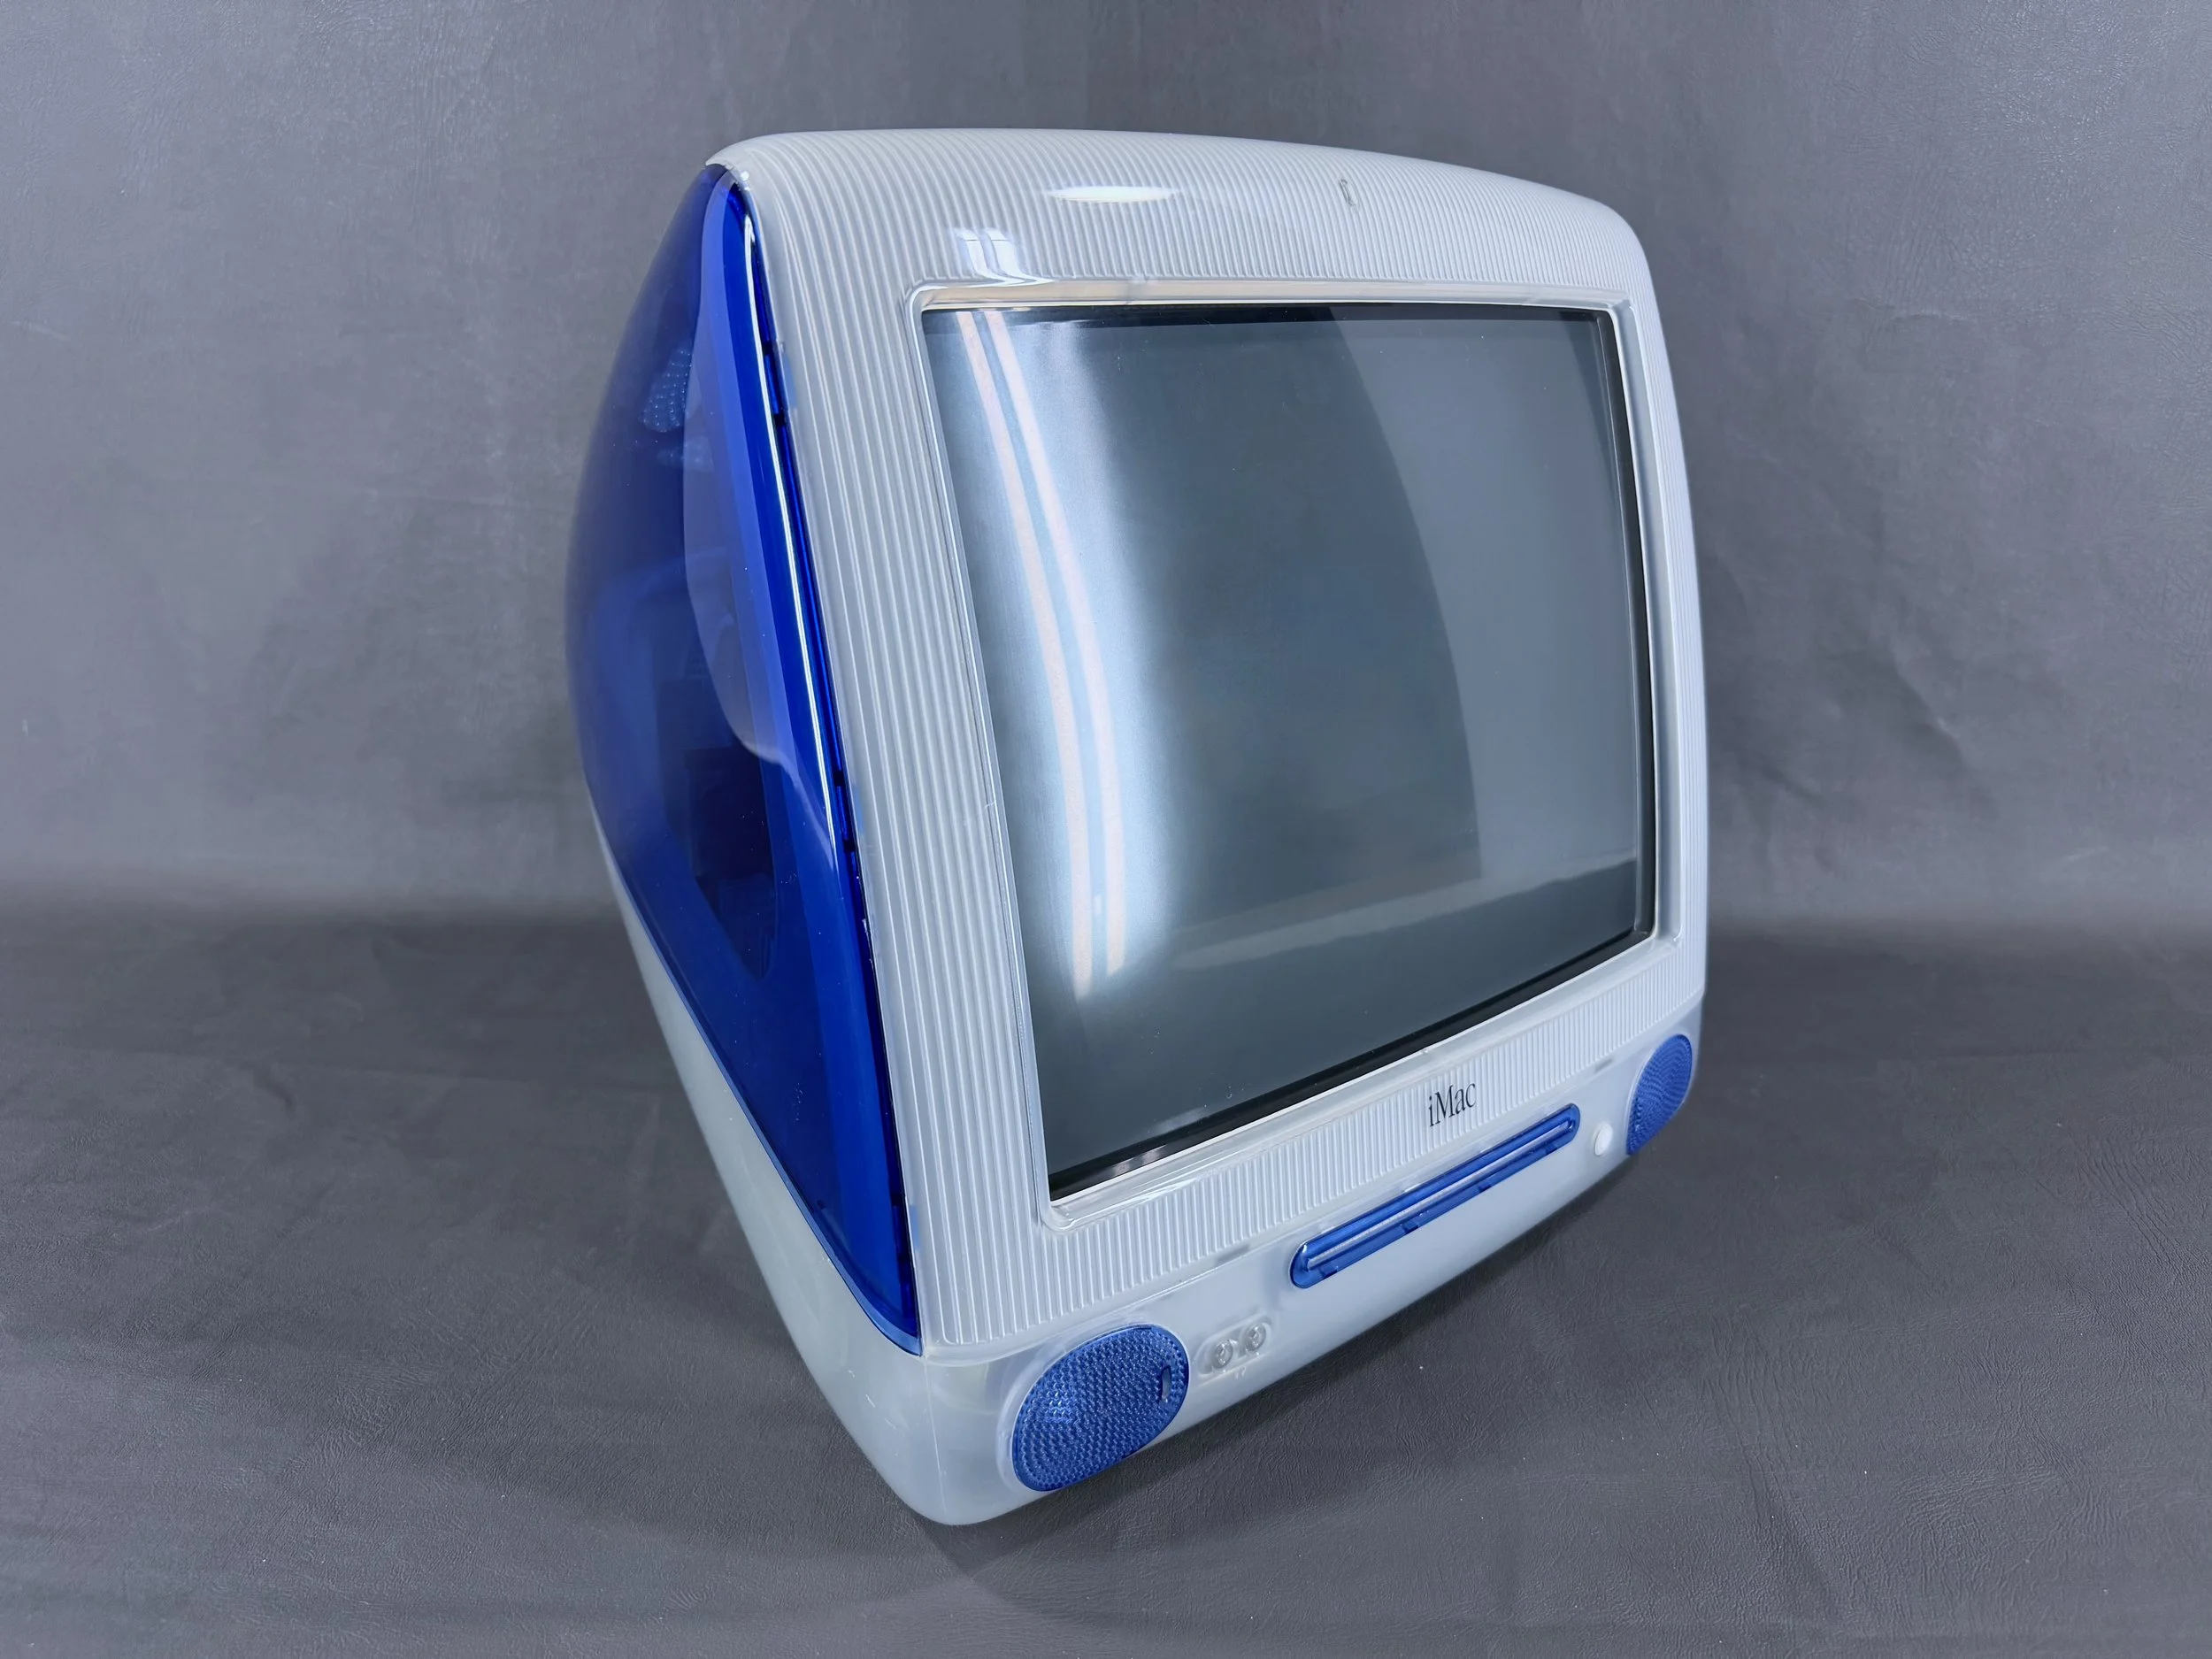
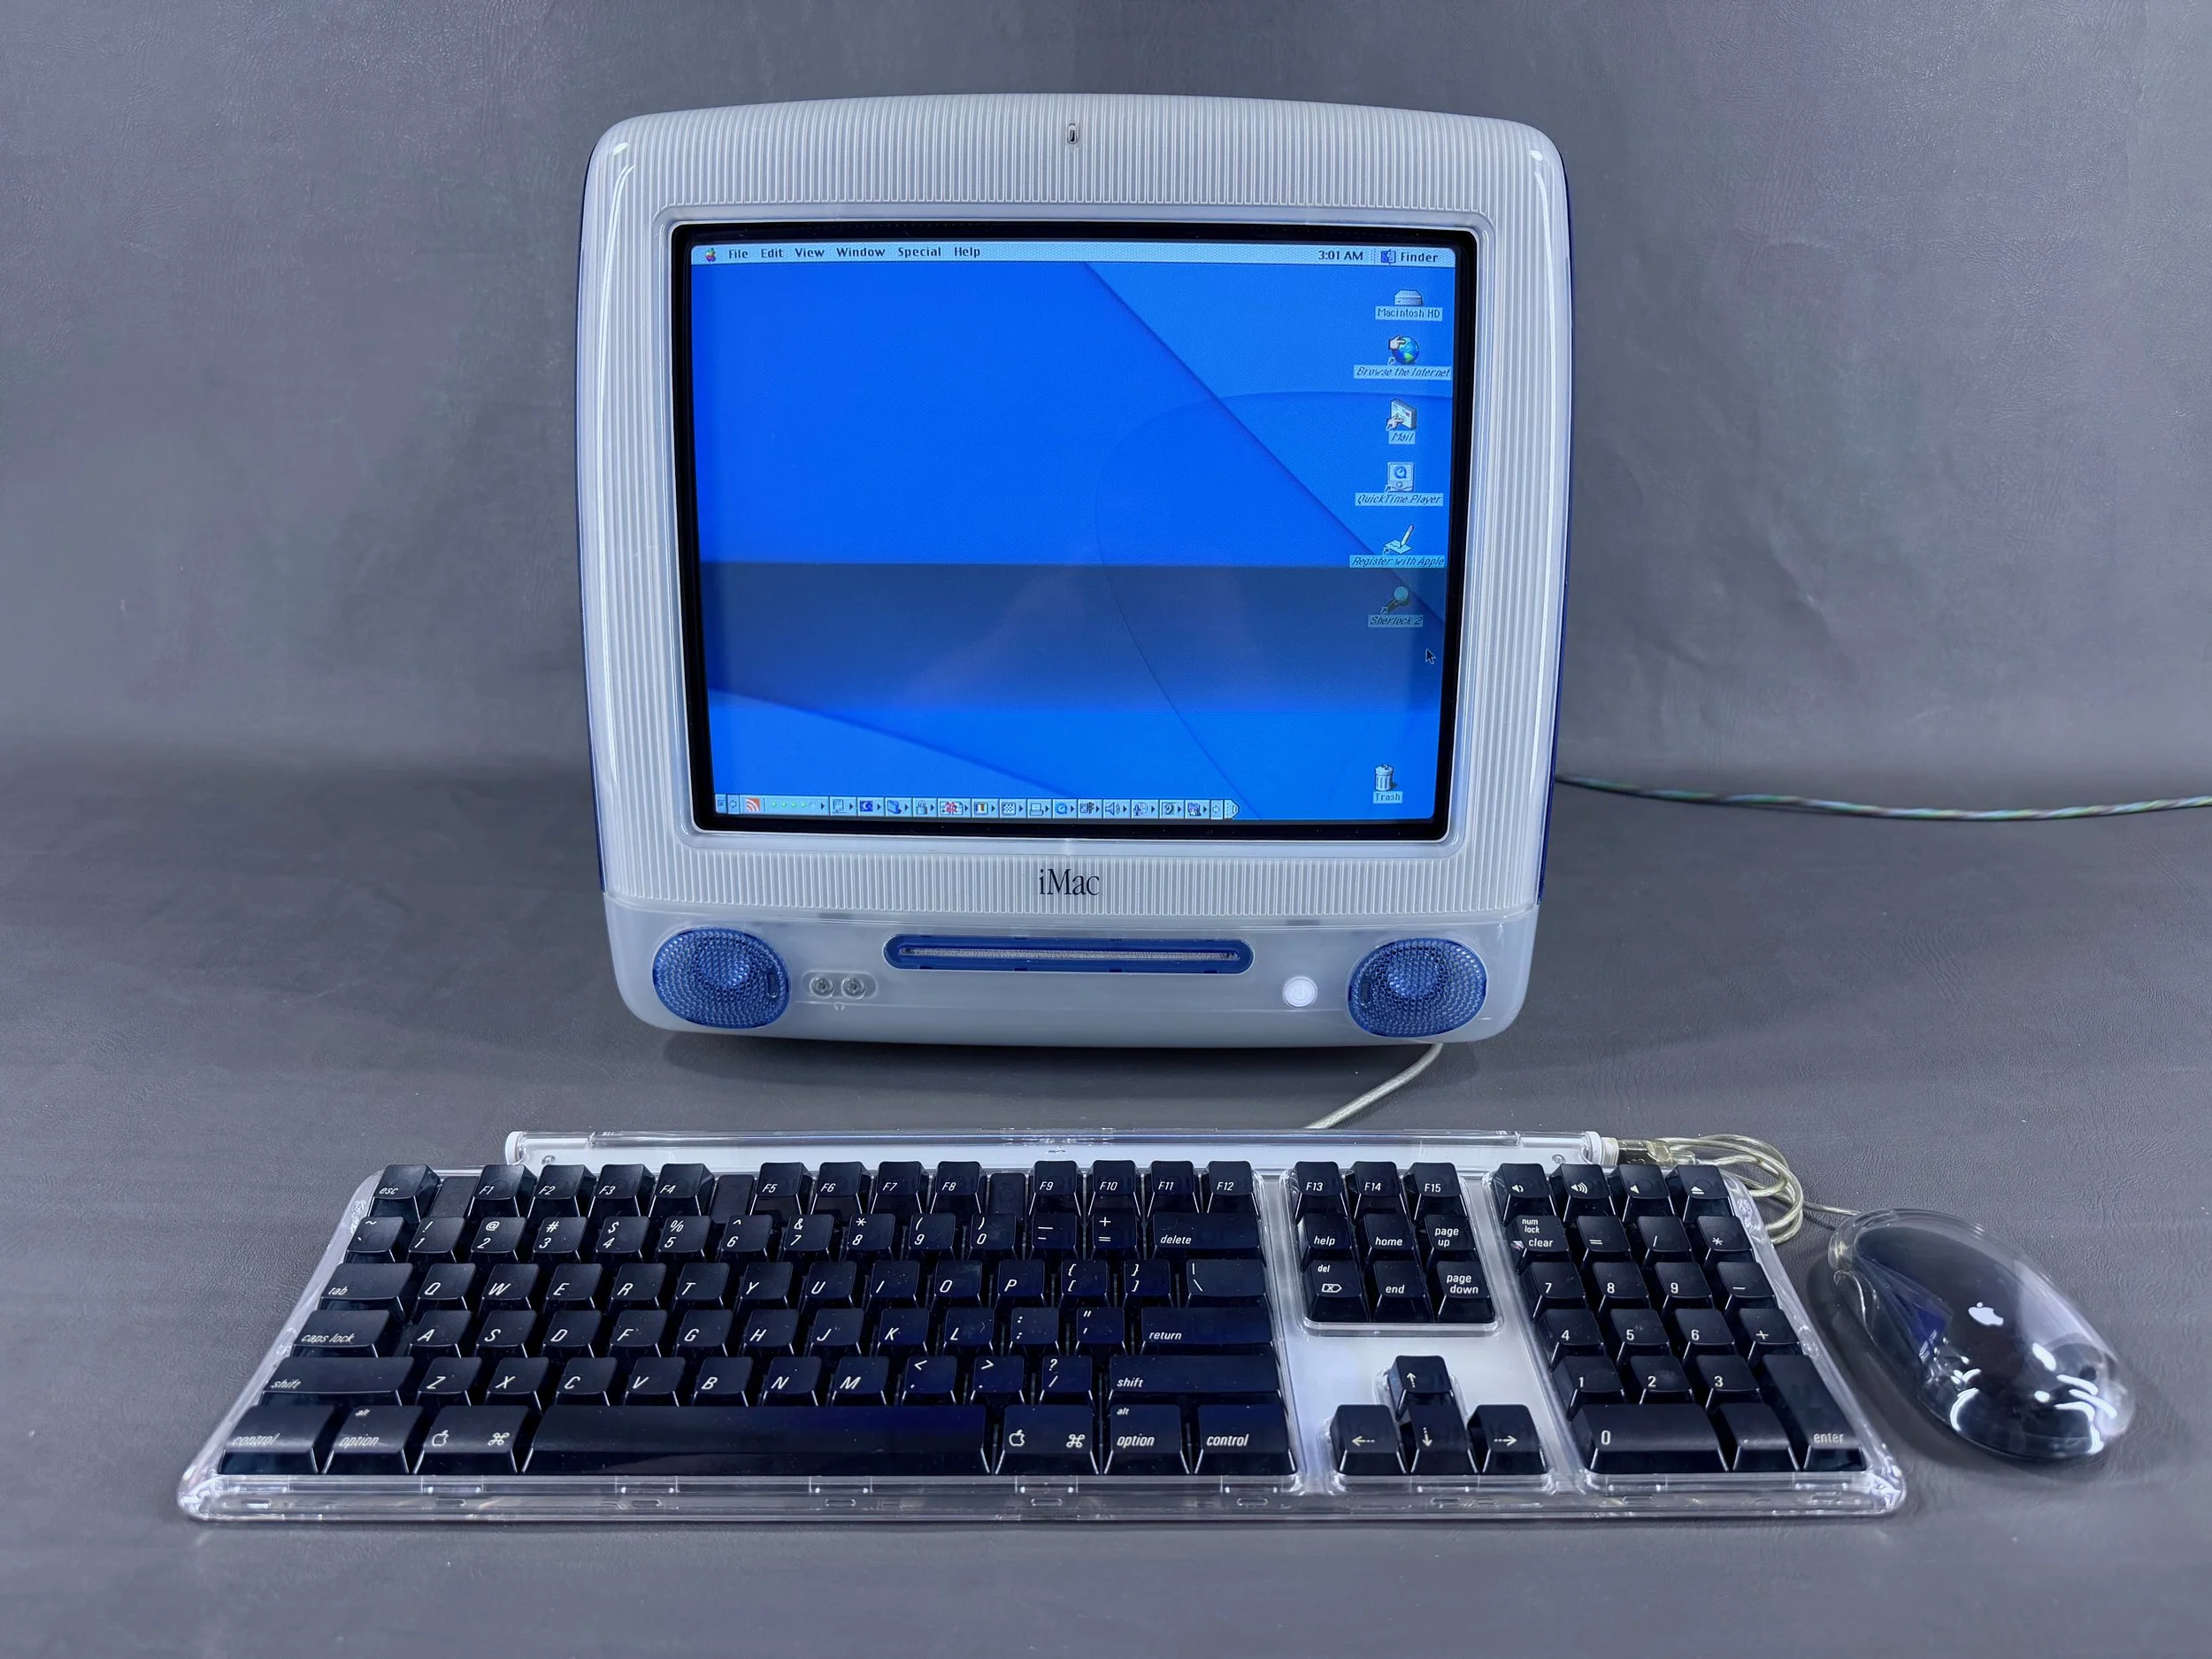
All set up with keyboard and mouse. The screen is crisp and sharp in person - these dark refresh bands/lines only appear on camera, as is typical for CRT displays.
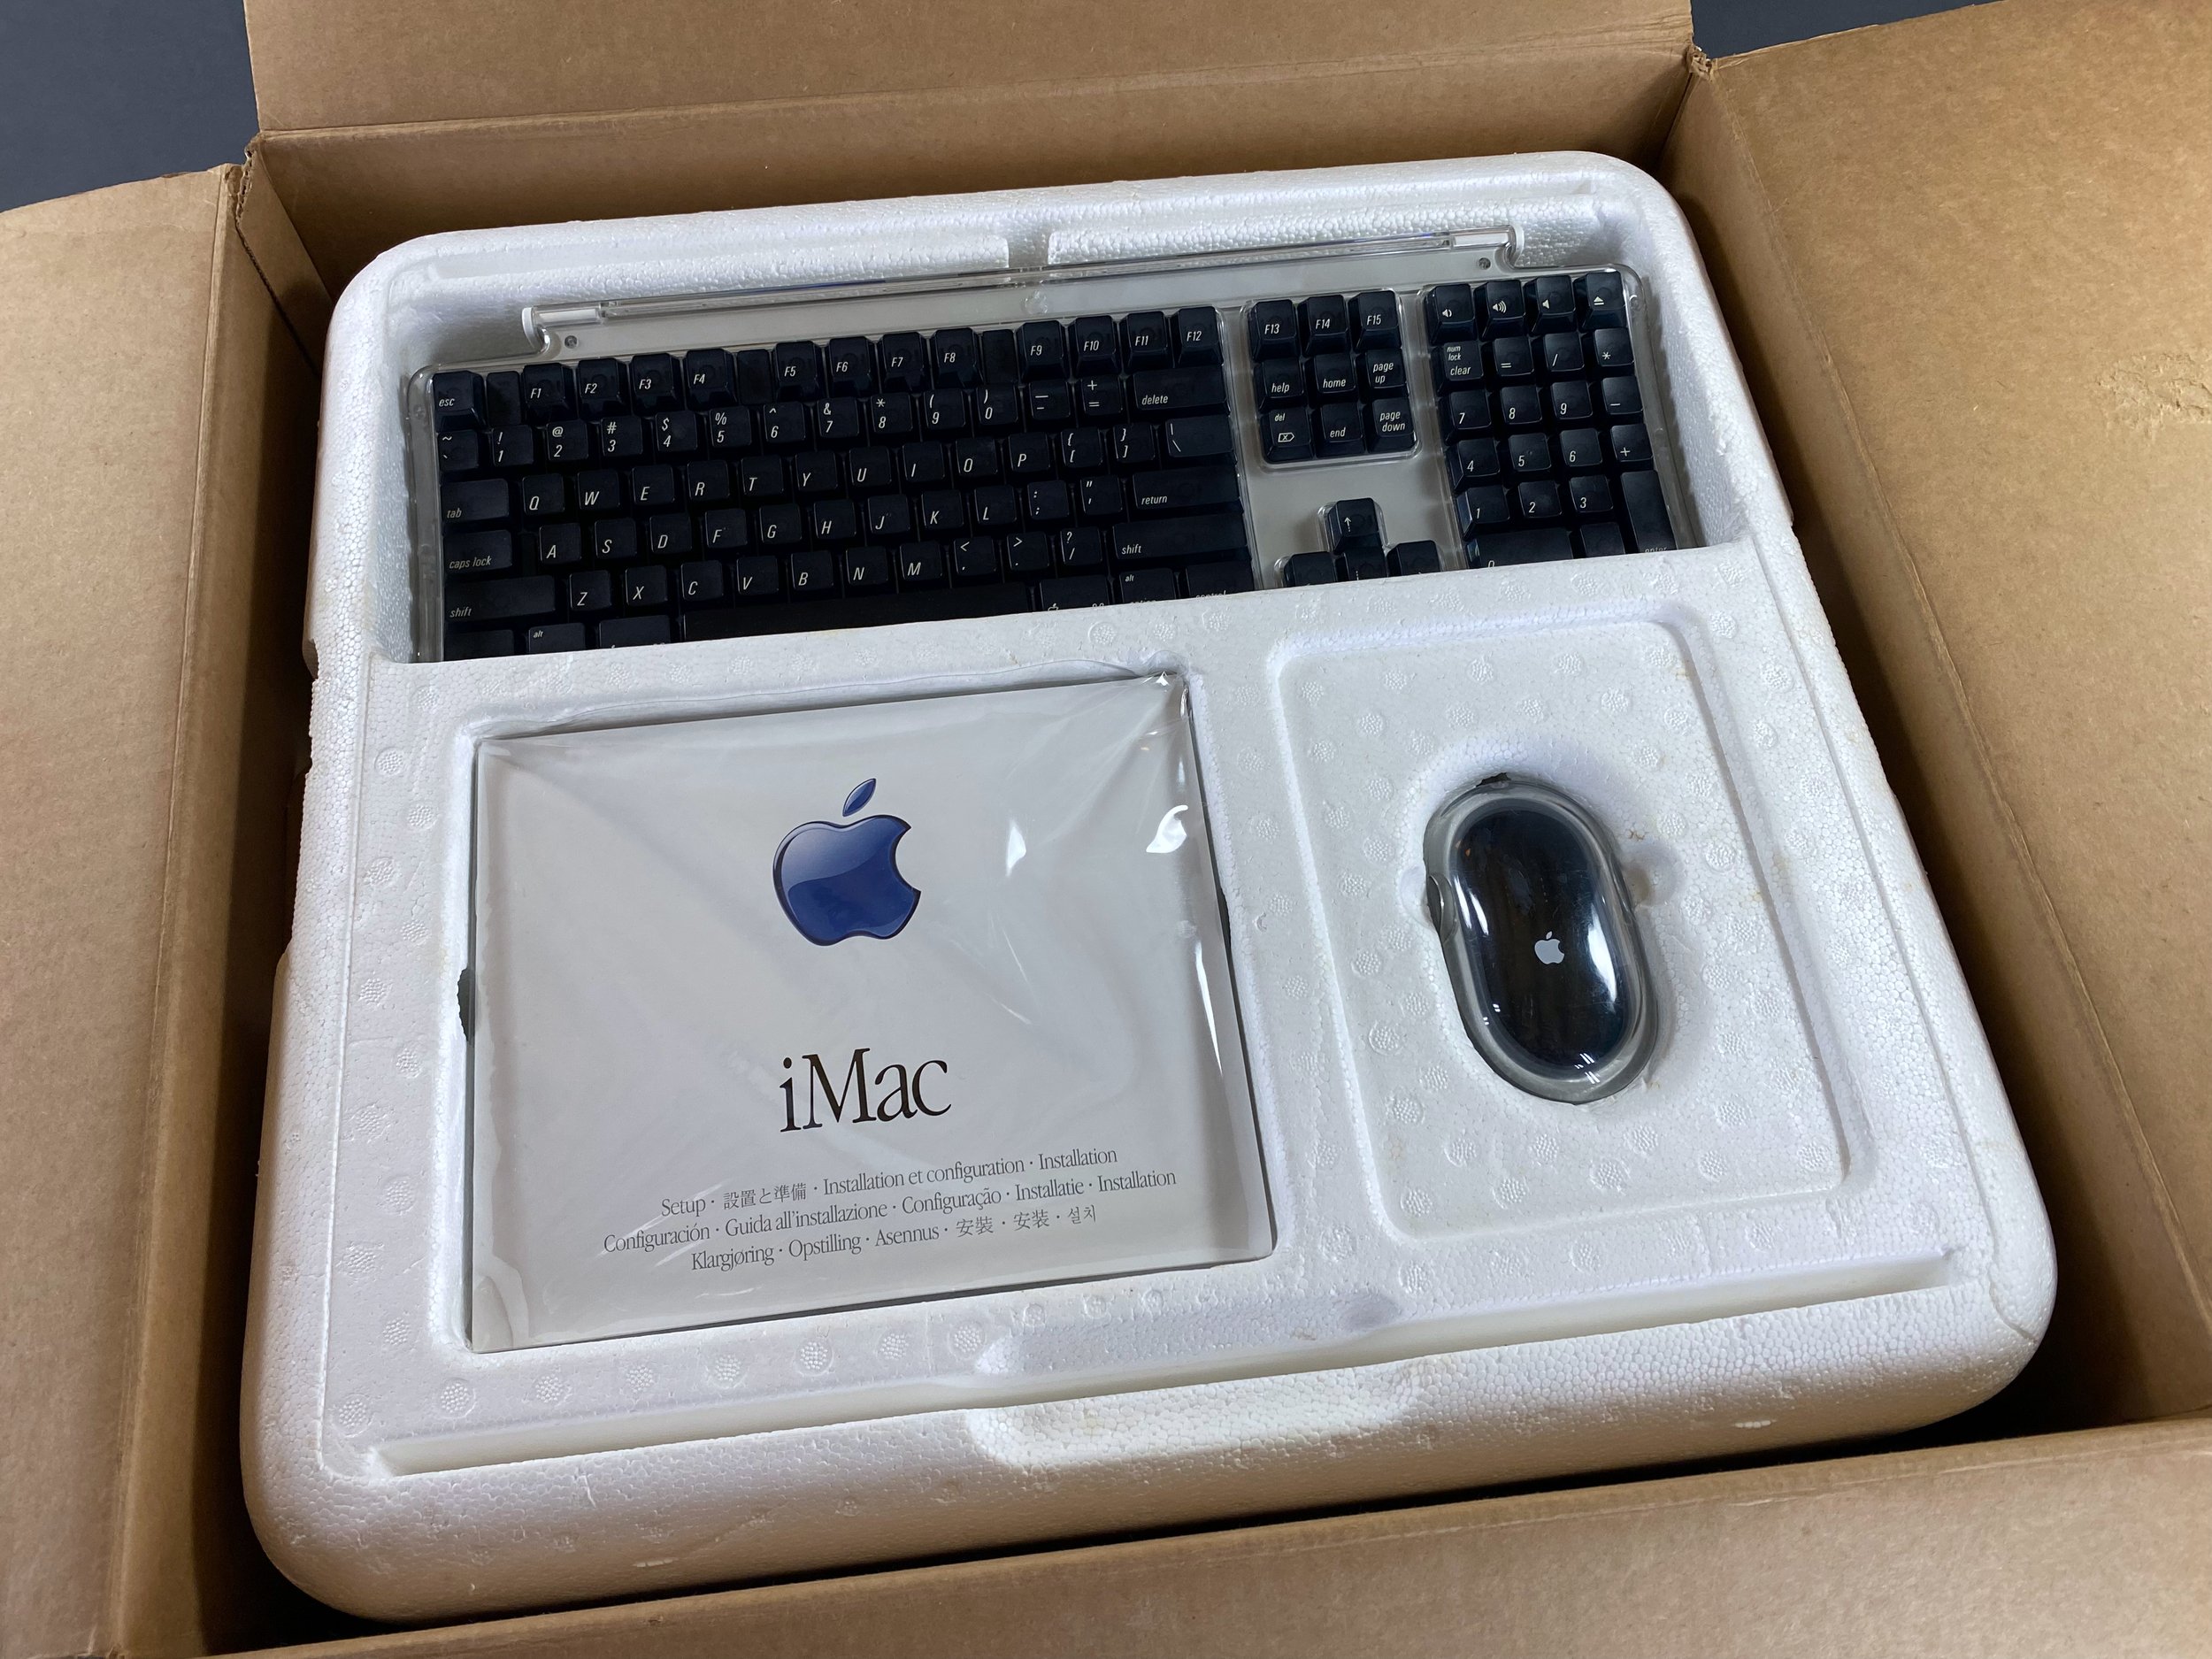
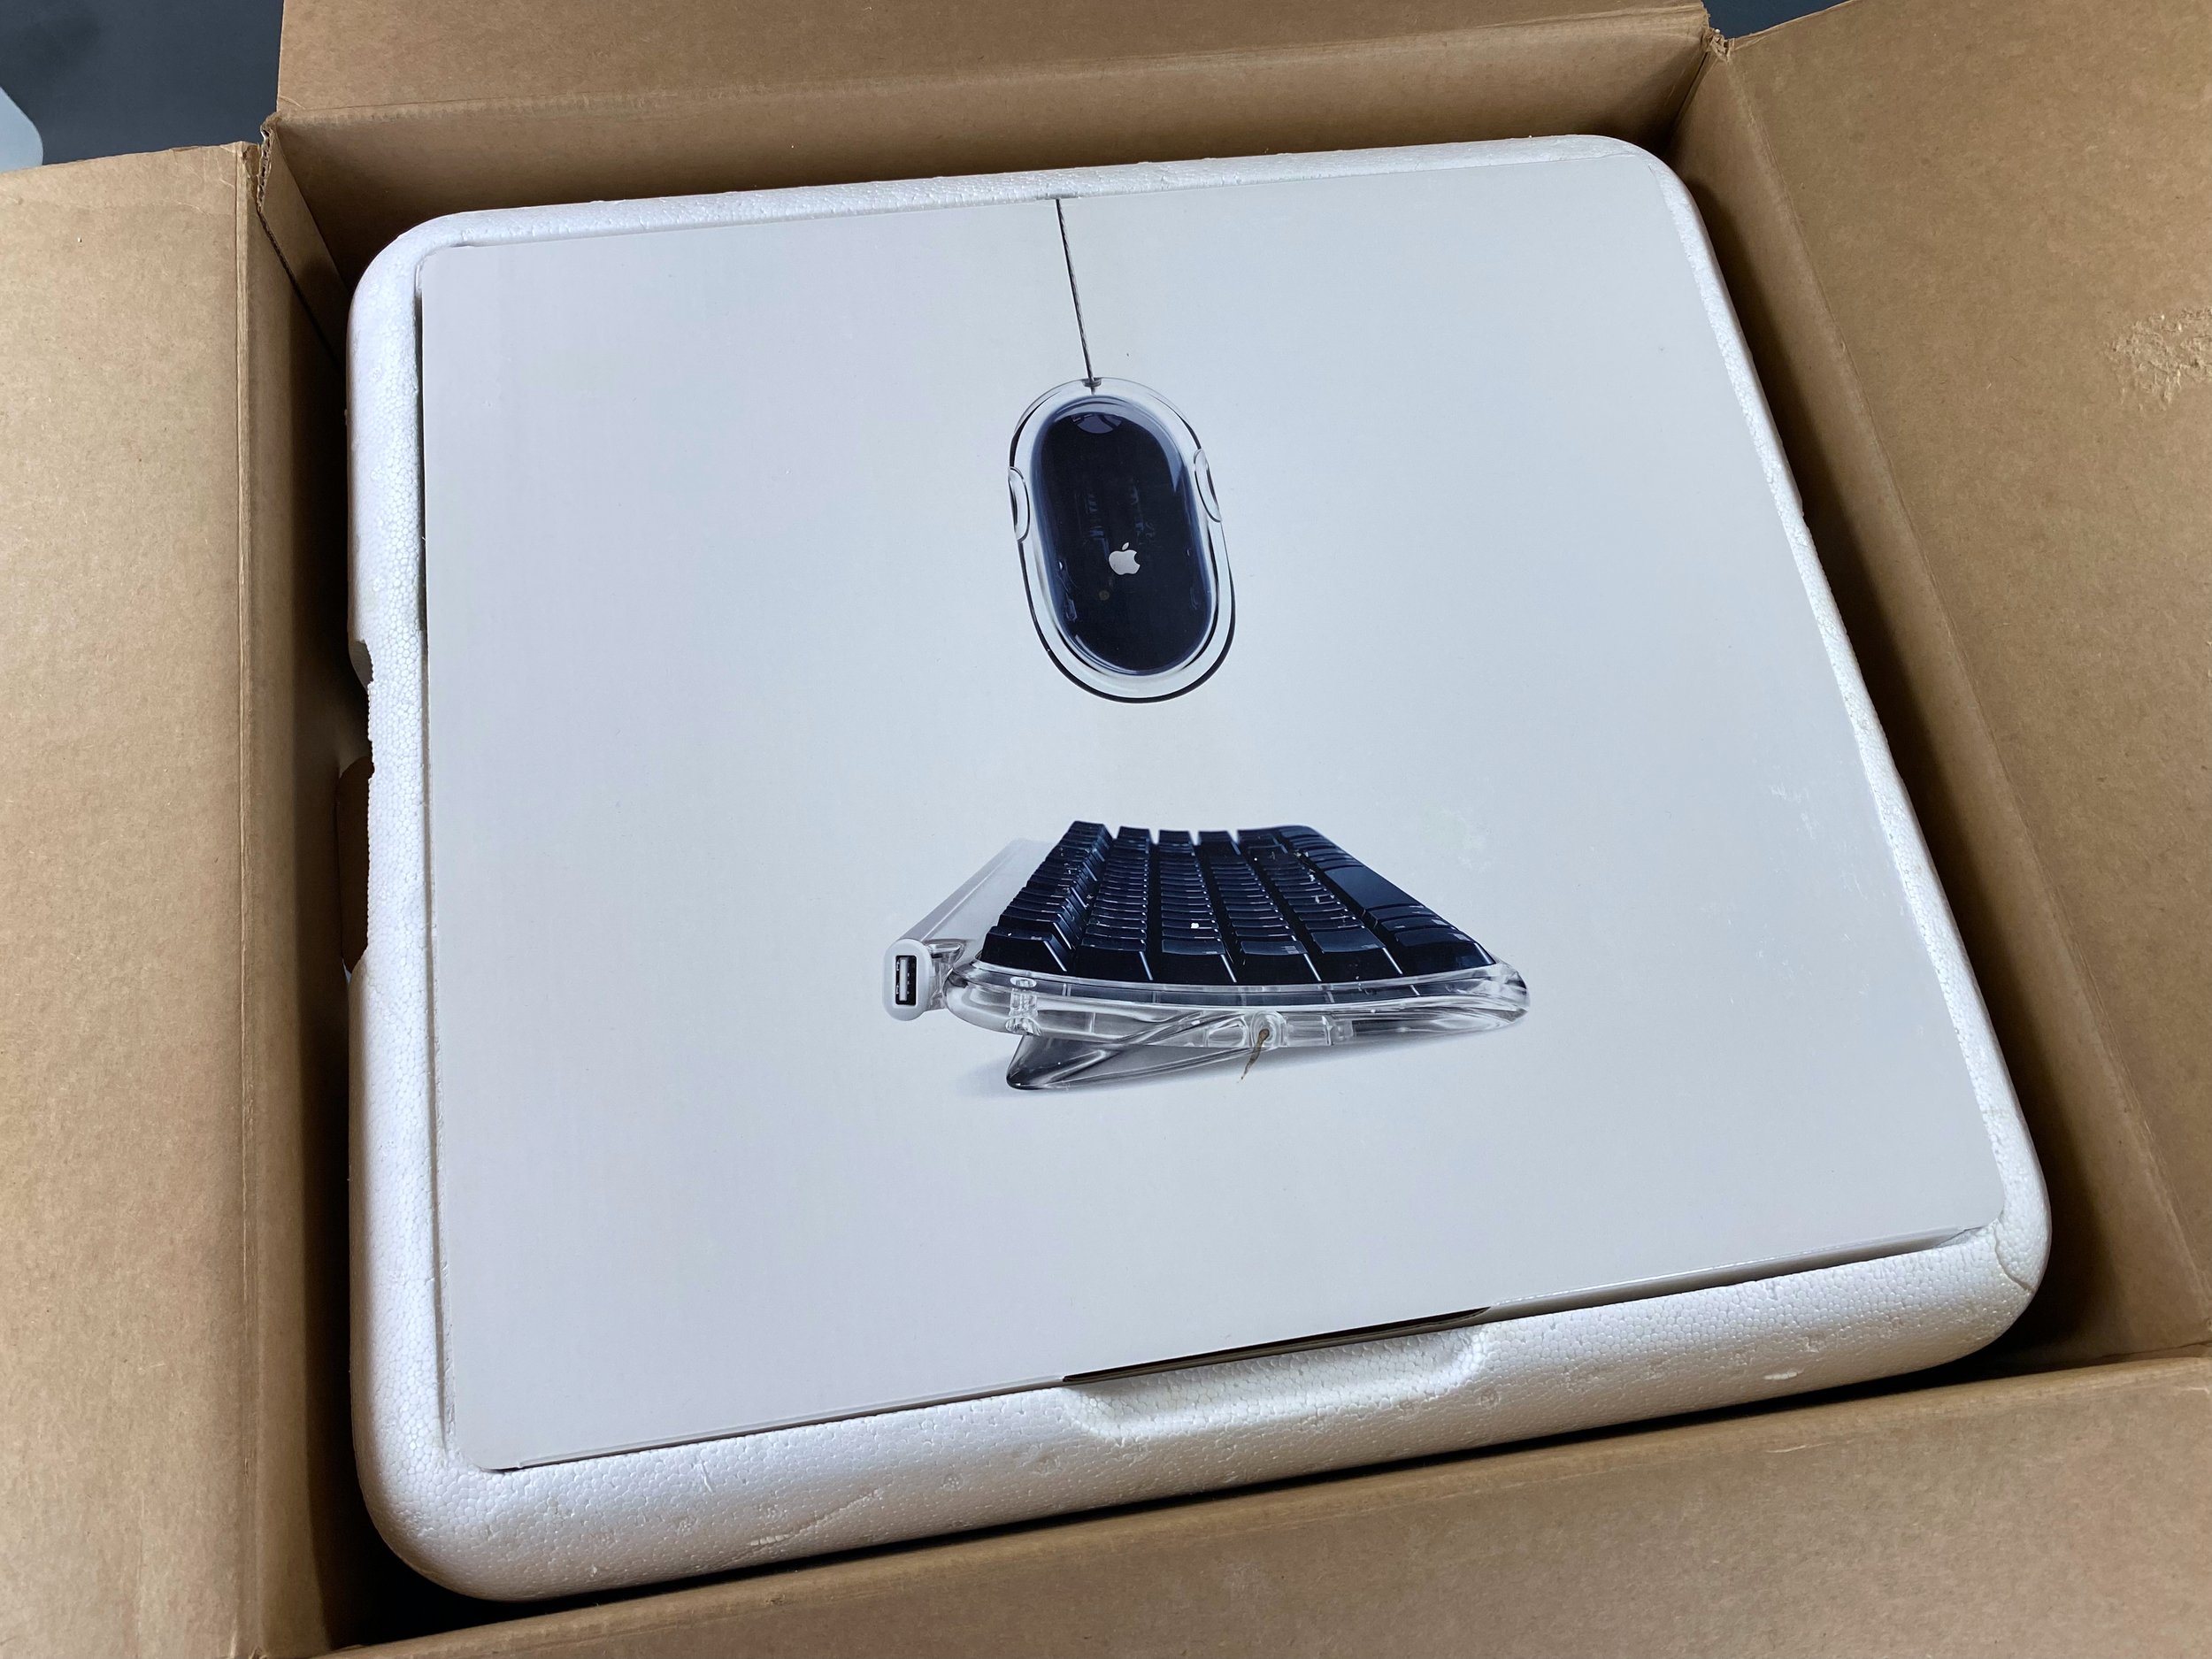
Accessories
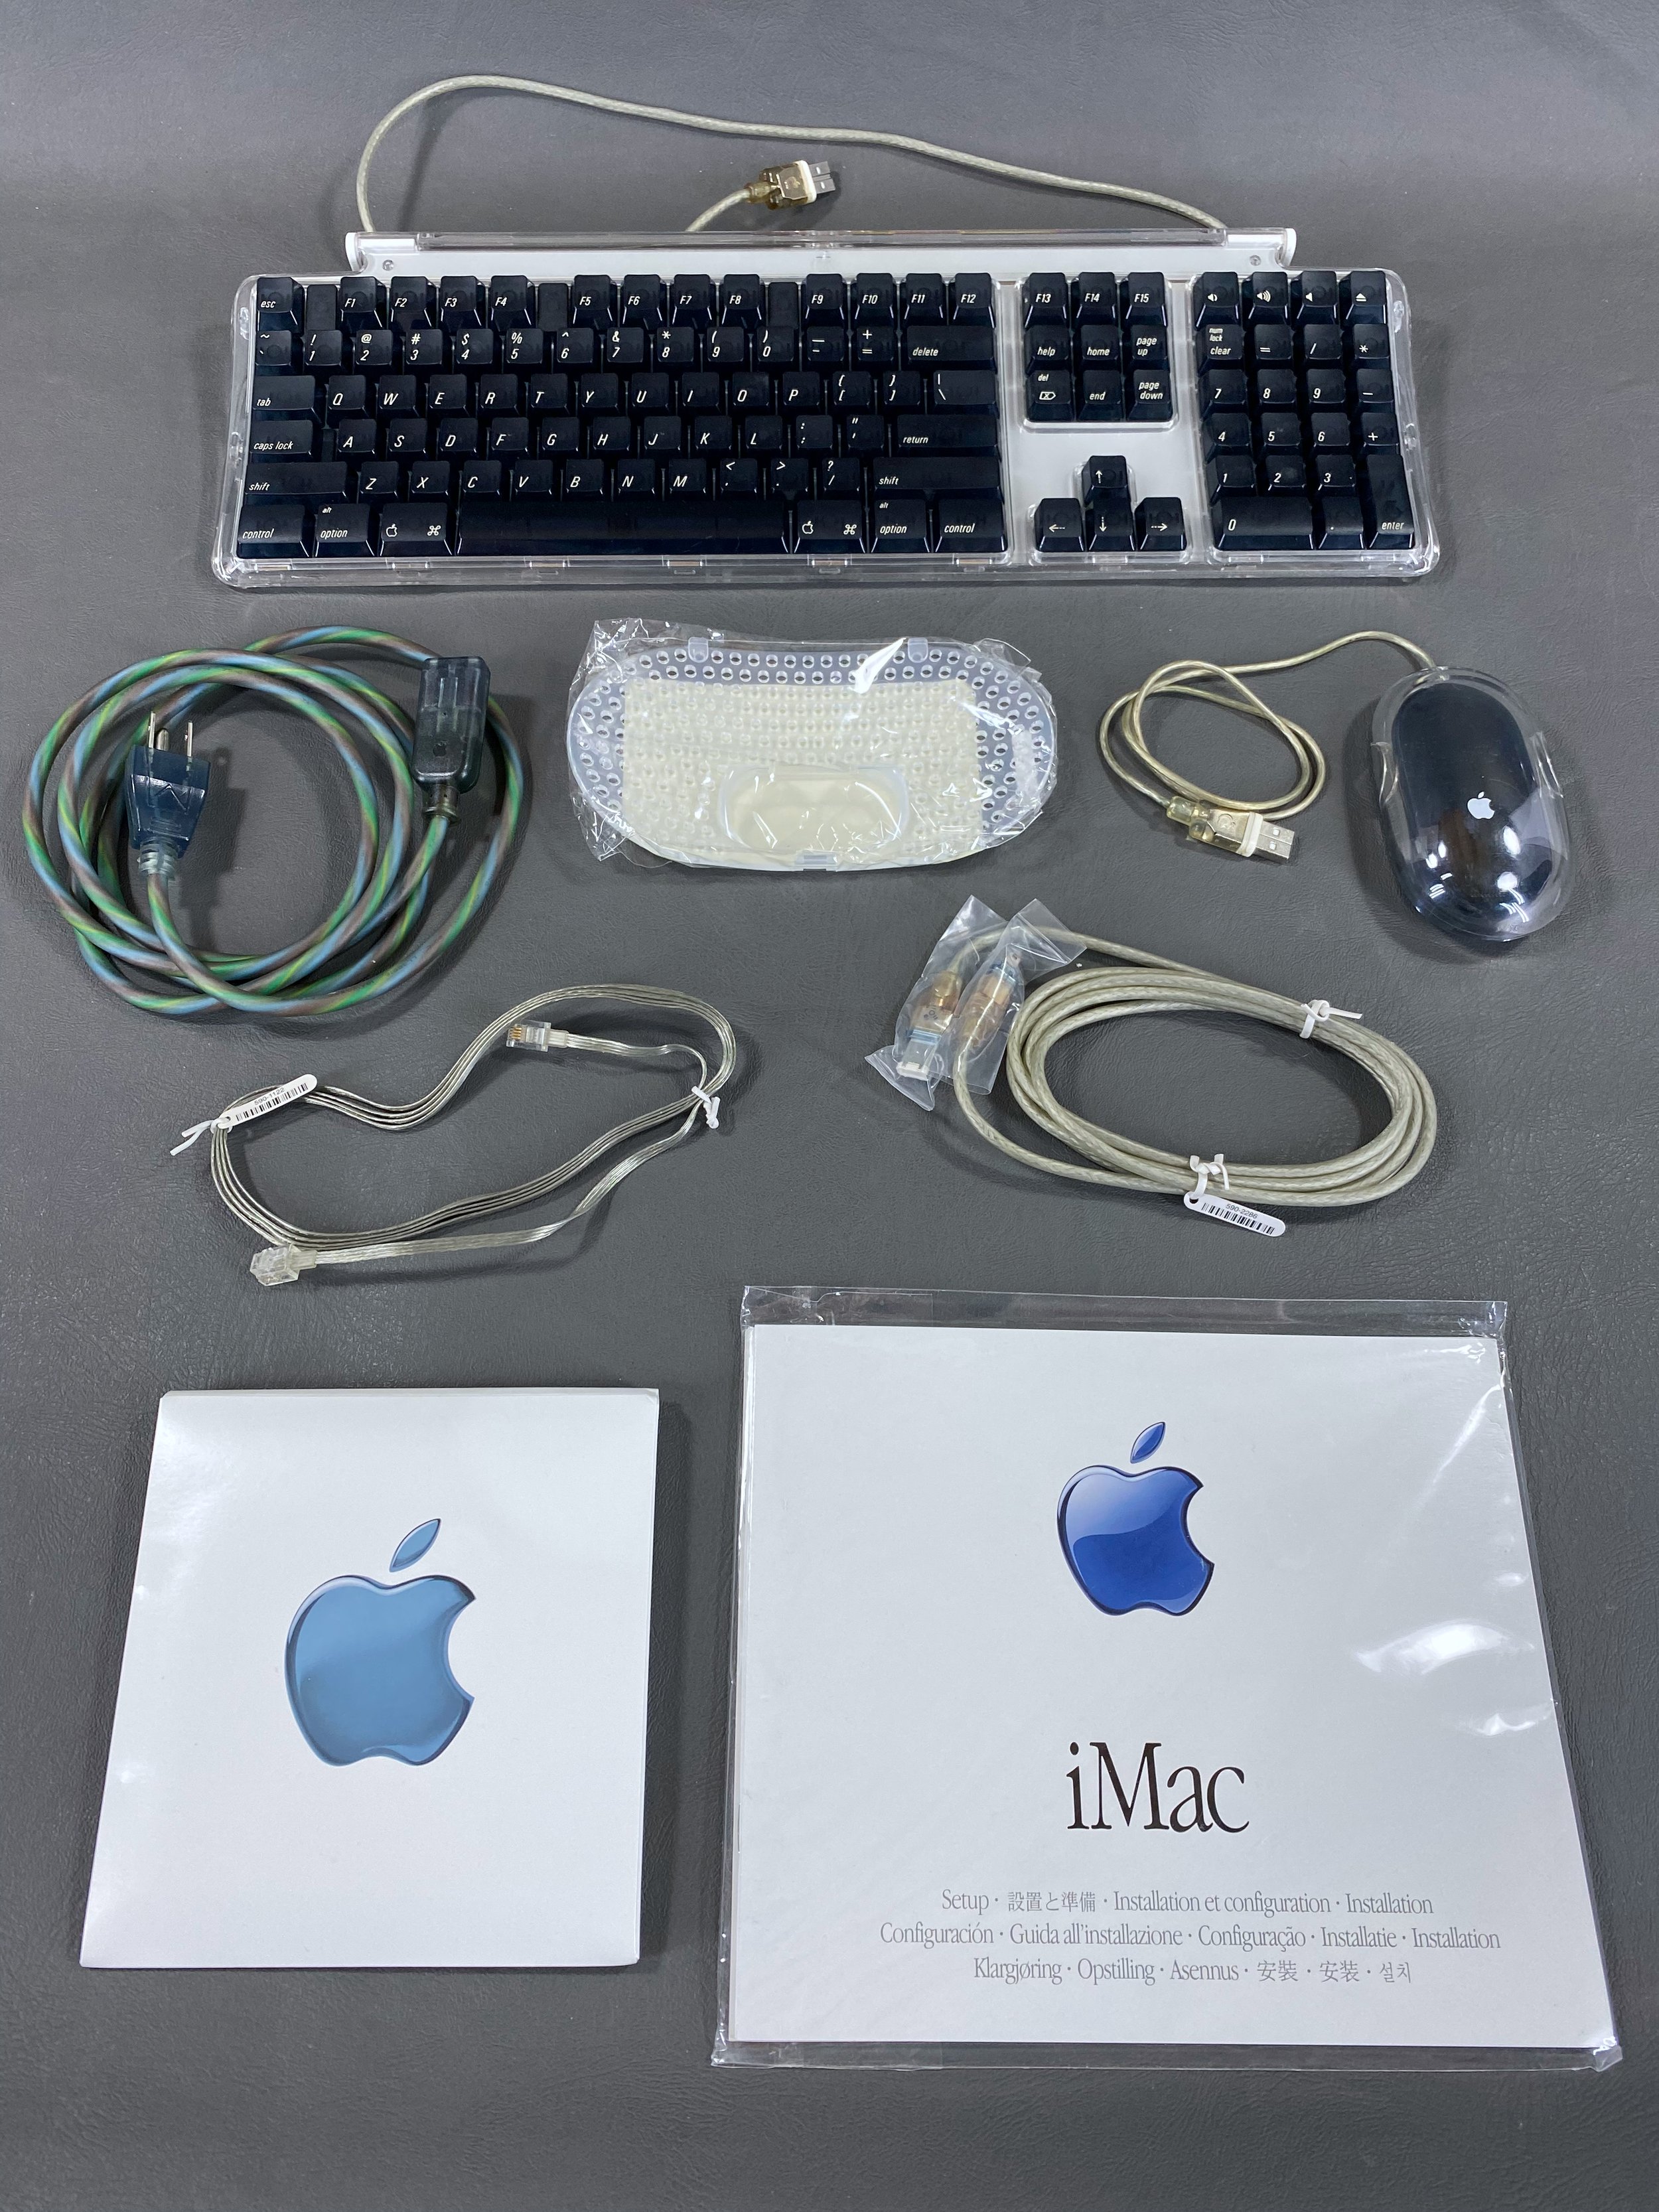
All the original accessories for this iMac G3: Apple Pro Keyboard & Pro Mouse, power cable, modem cable, 4-pin-to-6-pin FireWire cable, VGA vented cover, software CD packet, and documentation.

The iMac Setup Guide fold-out.
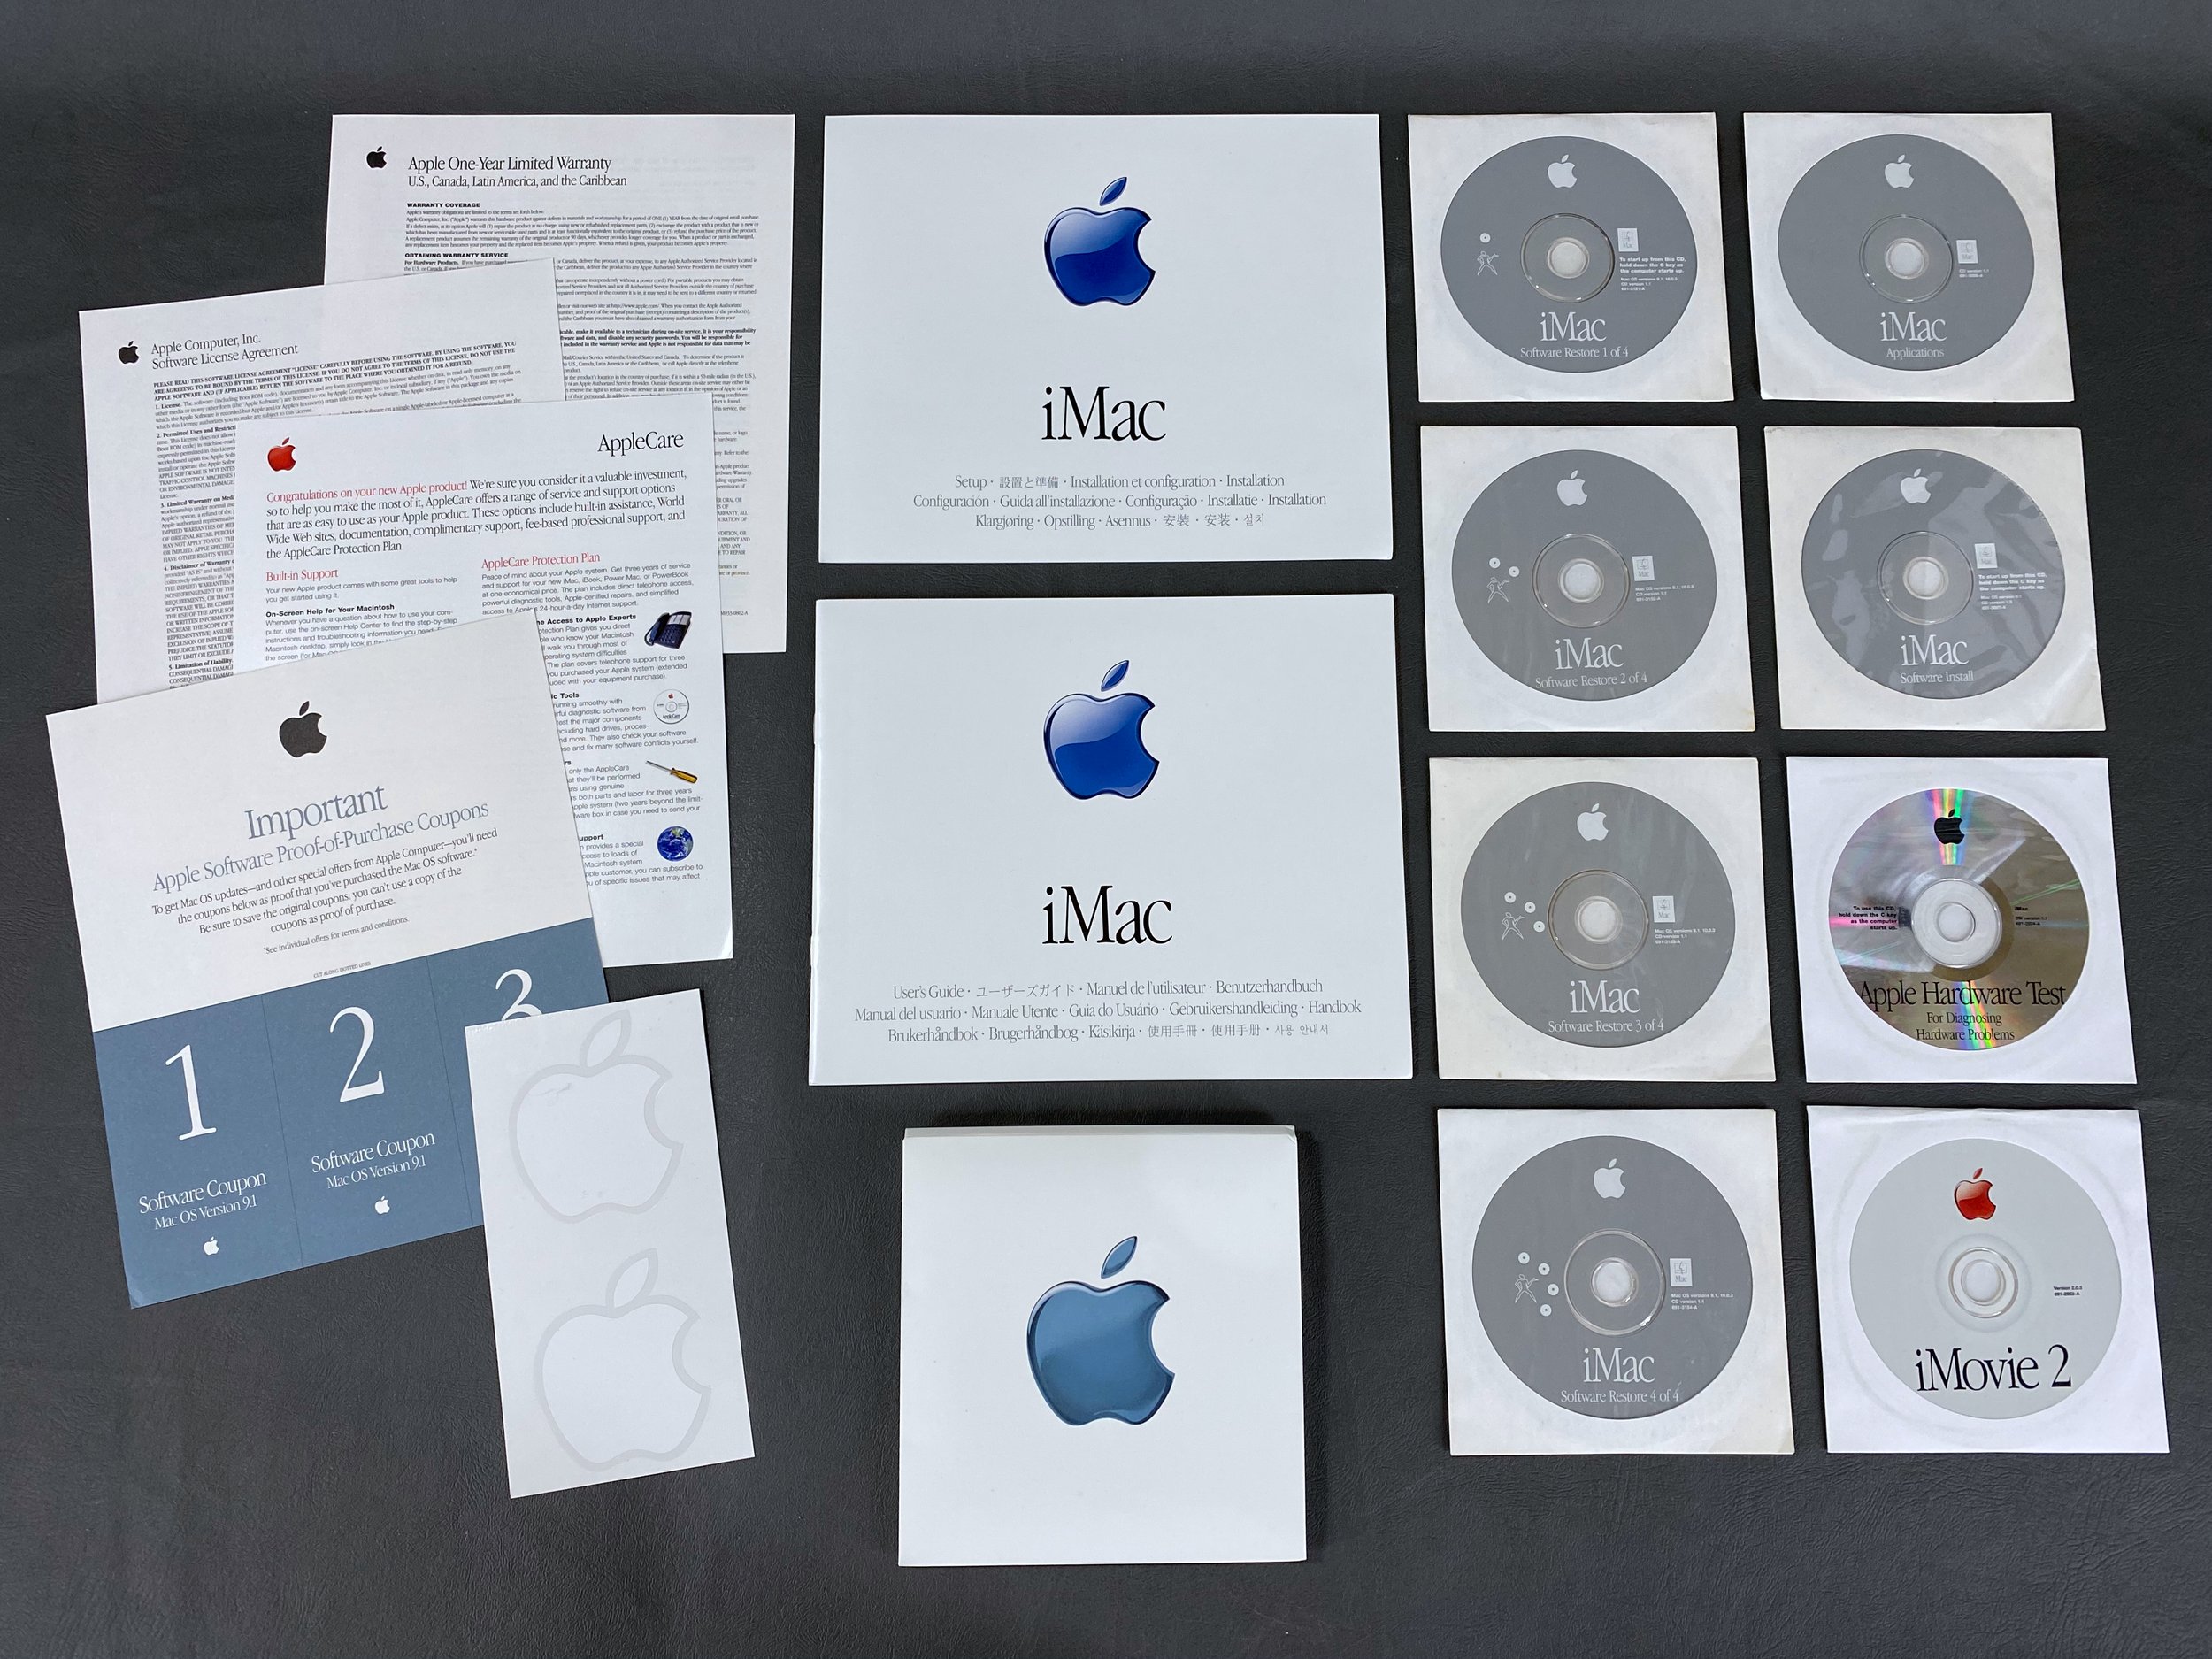
Setup guide, user’s guide, software coupons, AppleCare/license/warranty info, Apple stickers, and software CDs: Software Restore (4), Software Install, Applications, Apple Hardware Test, and iMovie 2.

This “VGA Vented Cover” shipped with all slot-loading iMac G3s equipped with a VGA port in the rear (DV, DV+, and DV SE models). Users could remove the original cover, which blocked access to the port, and install this one, which has a port access hole in it.
System Specs


Speaker Replacement
Both of the iMac’s speaker surrounds had completely rotted out due to age, and sounded terrible. This is an extremely common problem for these models, and is the same phenomenon that happens with the black surrounds of the G4 Cube speakers and the standalone Pro Speakers.
Rather than replace the entire assemblies with OEM parts, which are just as prone to this issue, I opted to replace the drivers themselves with these readily-available replacements in mid-2024. They are direct slot-in replacement parts that come in a convenient 2-pack.
Edit, November 2025: It appears the drivers linked above are no longer available, but others have indicated that these are also a suitable replacement. For more information, see this thread on TinkerDifferent.

Original left speaker - this one had completely fallen apart.
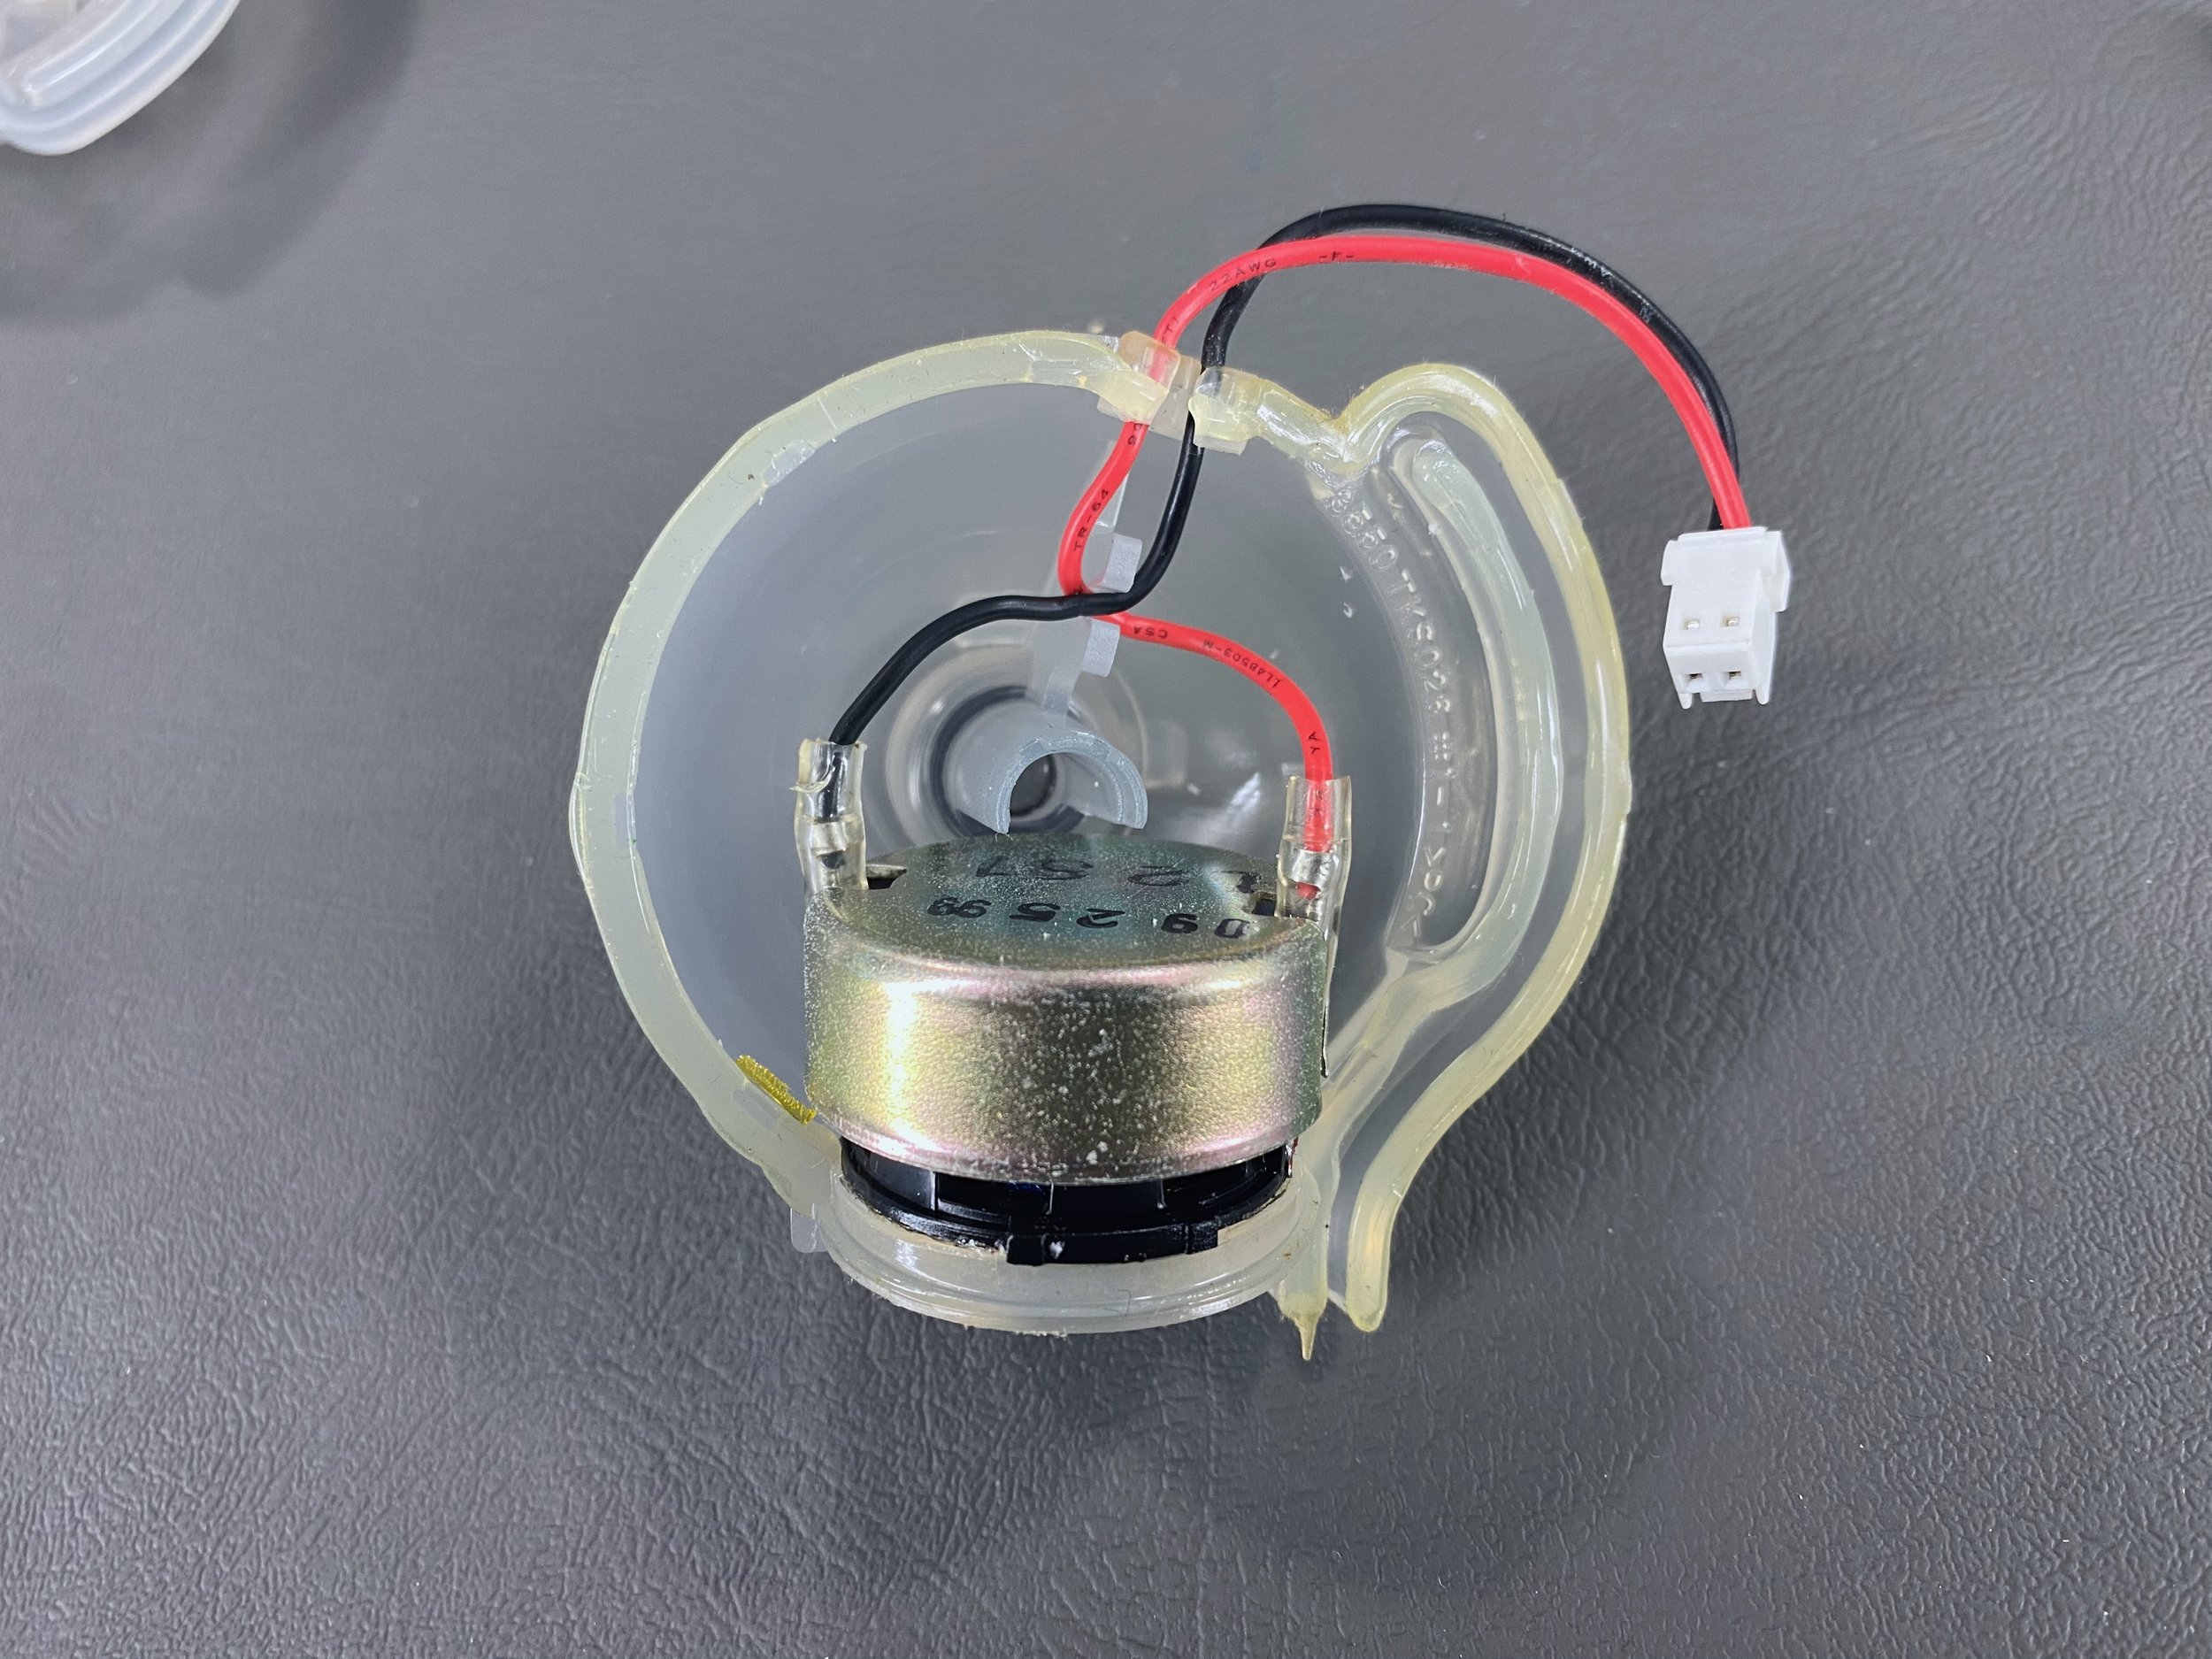
Disassembled speaker housing. There are several video guides available online that have walkthroughs detailing the replacement process, so I won’t go into too much detail here. These use spade connections so no soldering required.
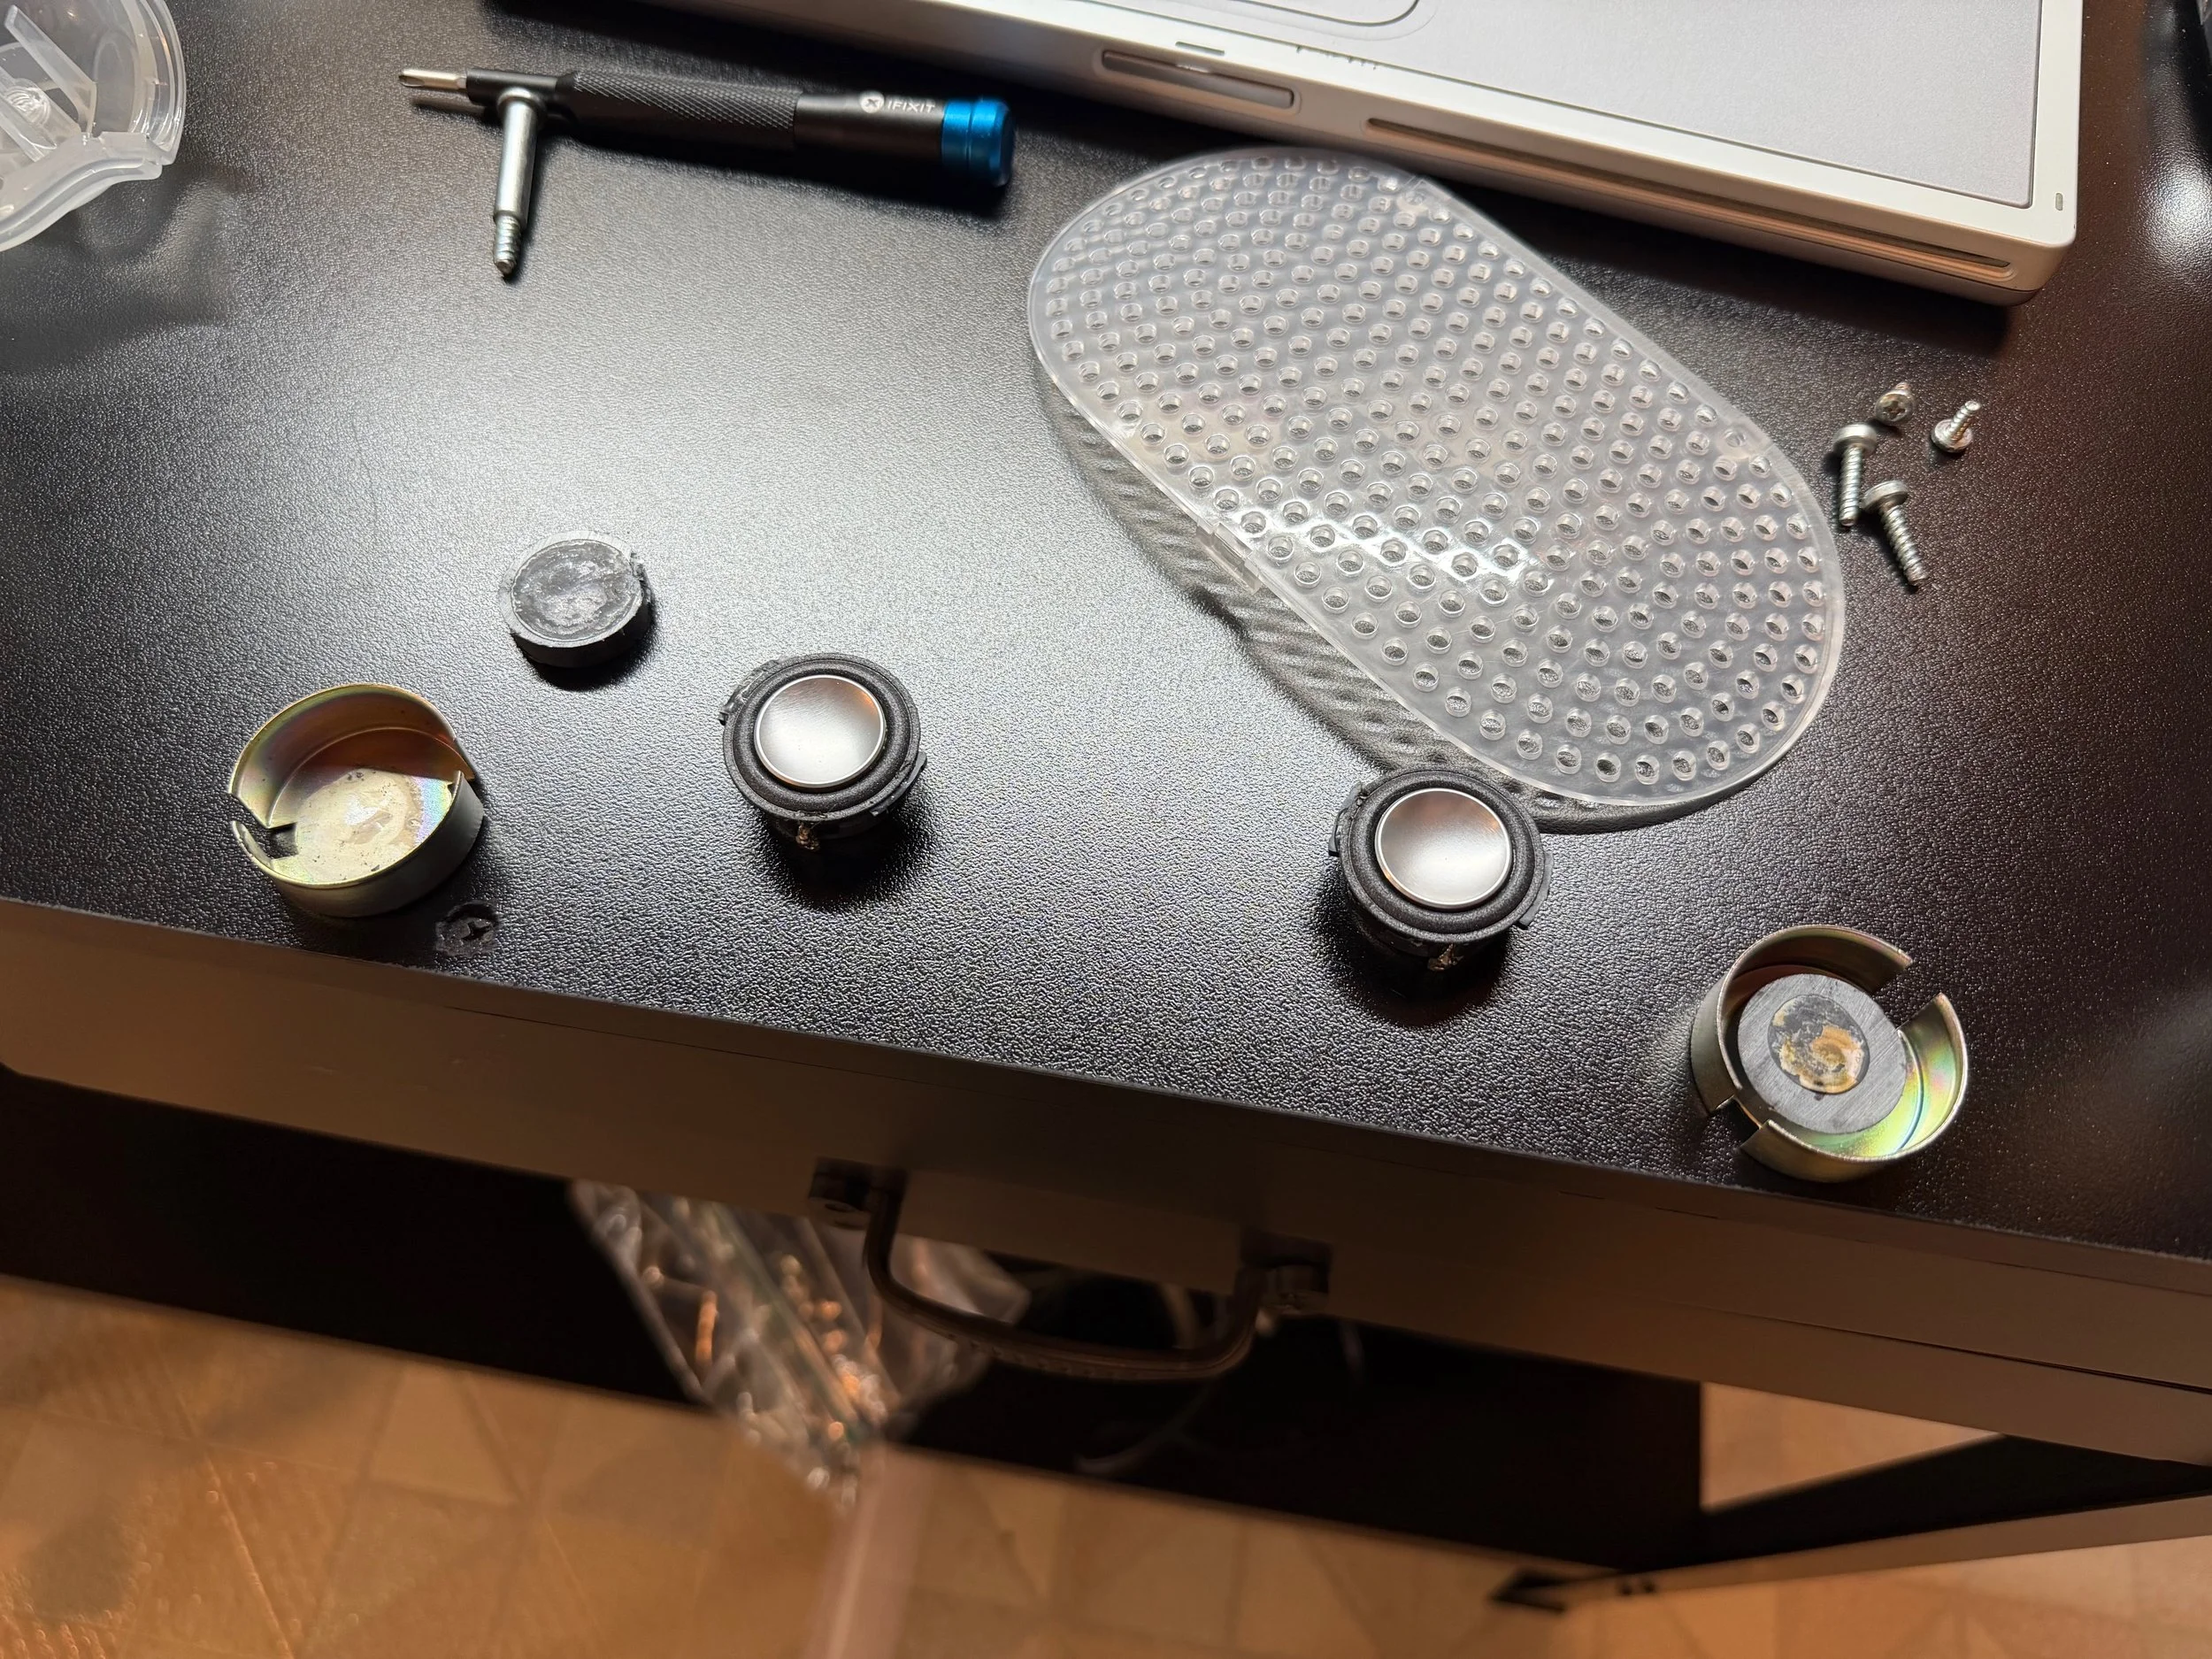
Removing the original magnets and shields to install onto the new drivers. The magnets are glued very tightly onto the rear of the old drivers, so I had to use a hammer and screwdriver as a chisel to separate the two parts. On one driver (right) the magnet and shield came off together, but on the other one (left) the shield popped off first and then I was able to pop off the magnet.

Refurbished speaker assemblies ready to be re-installed into the iMac. They look so much better!

Original right speaker - this one was still barely hanging on.

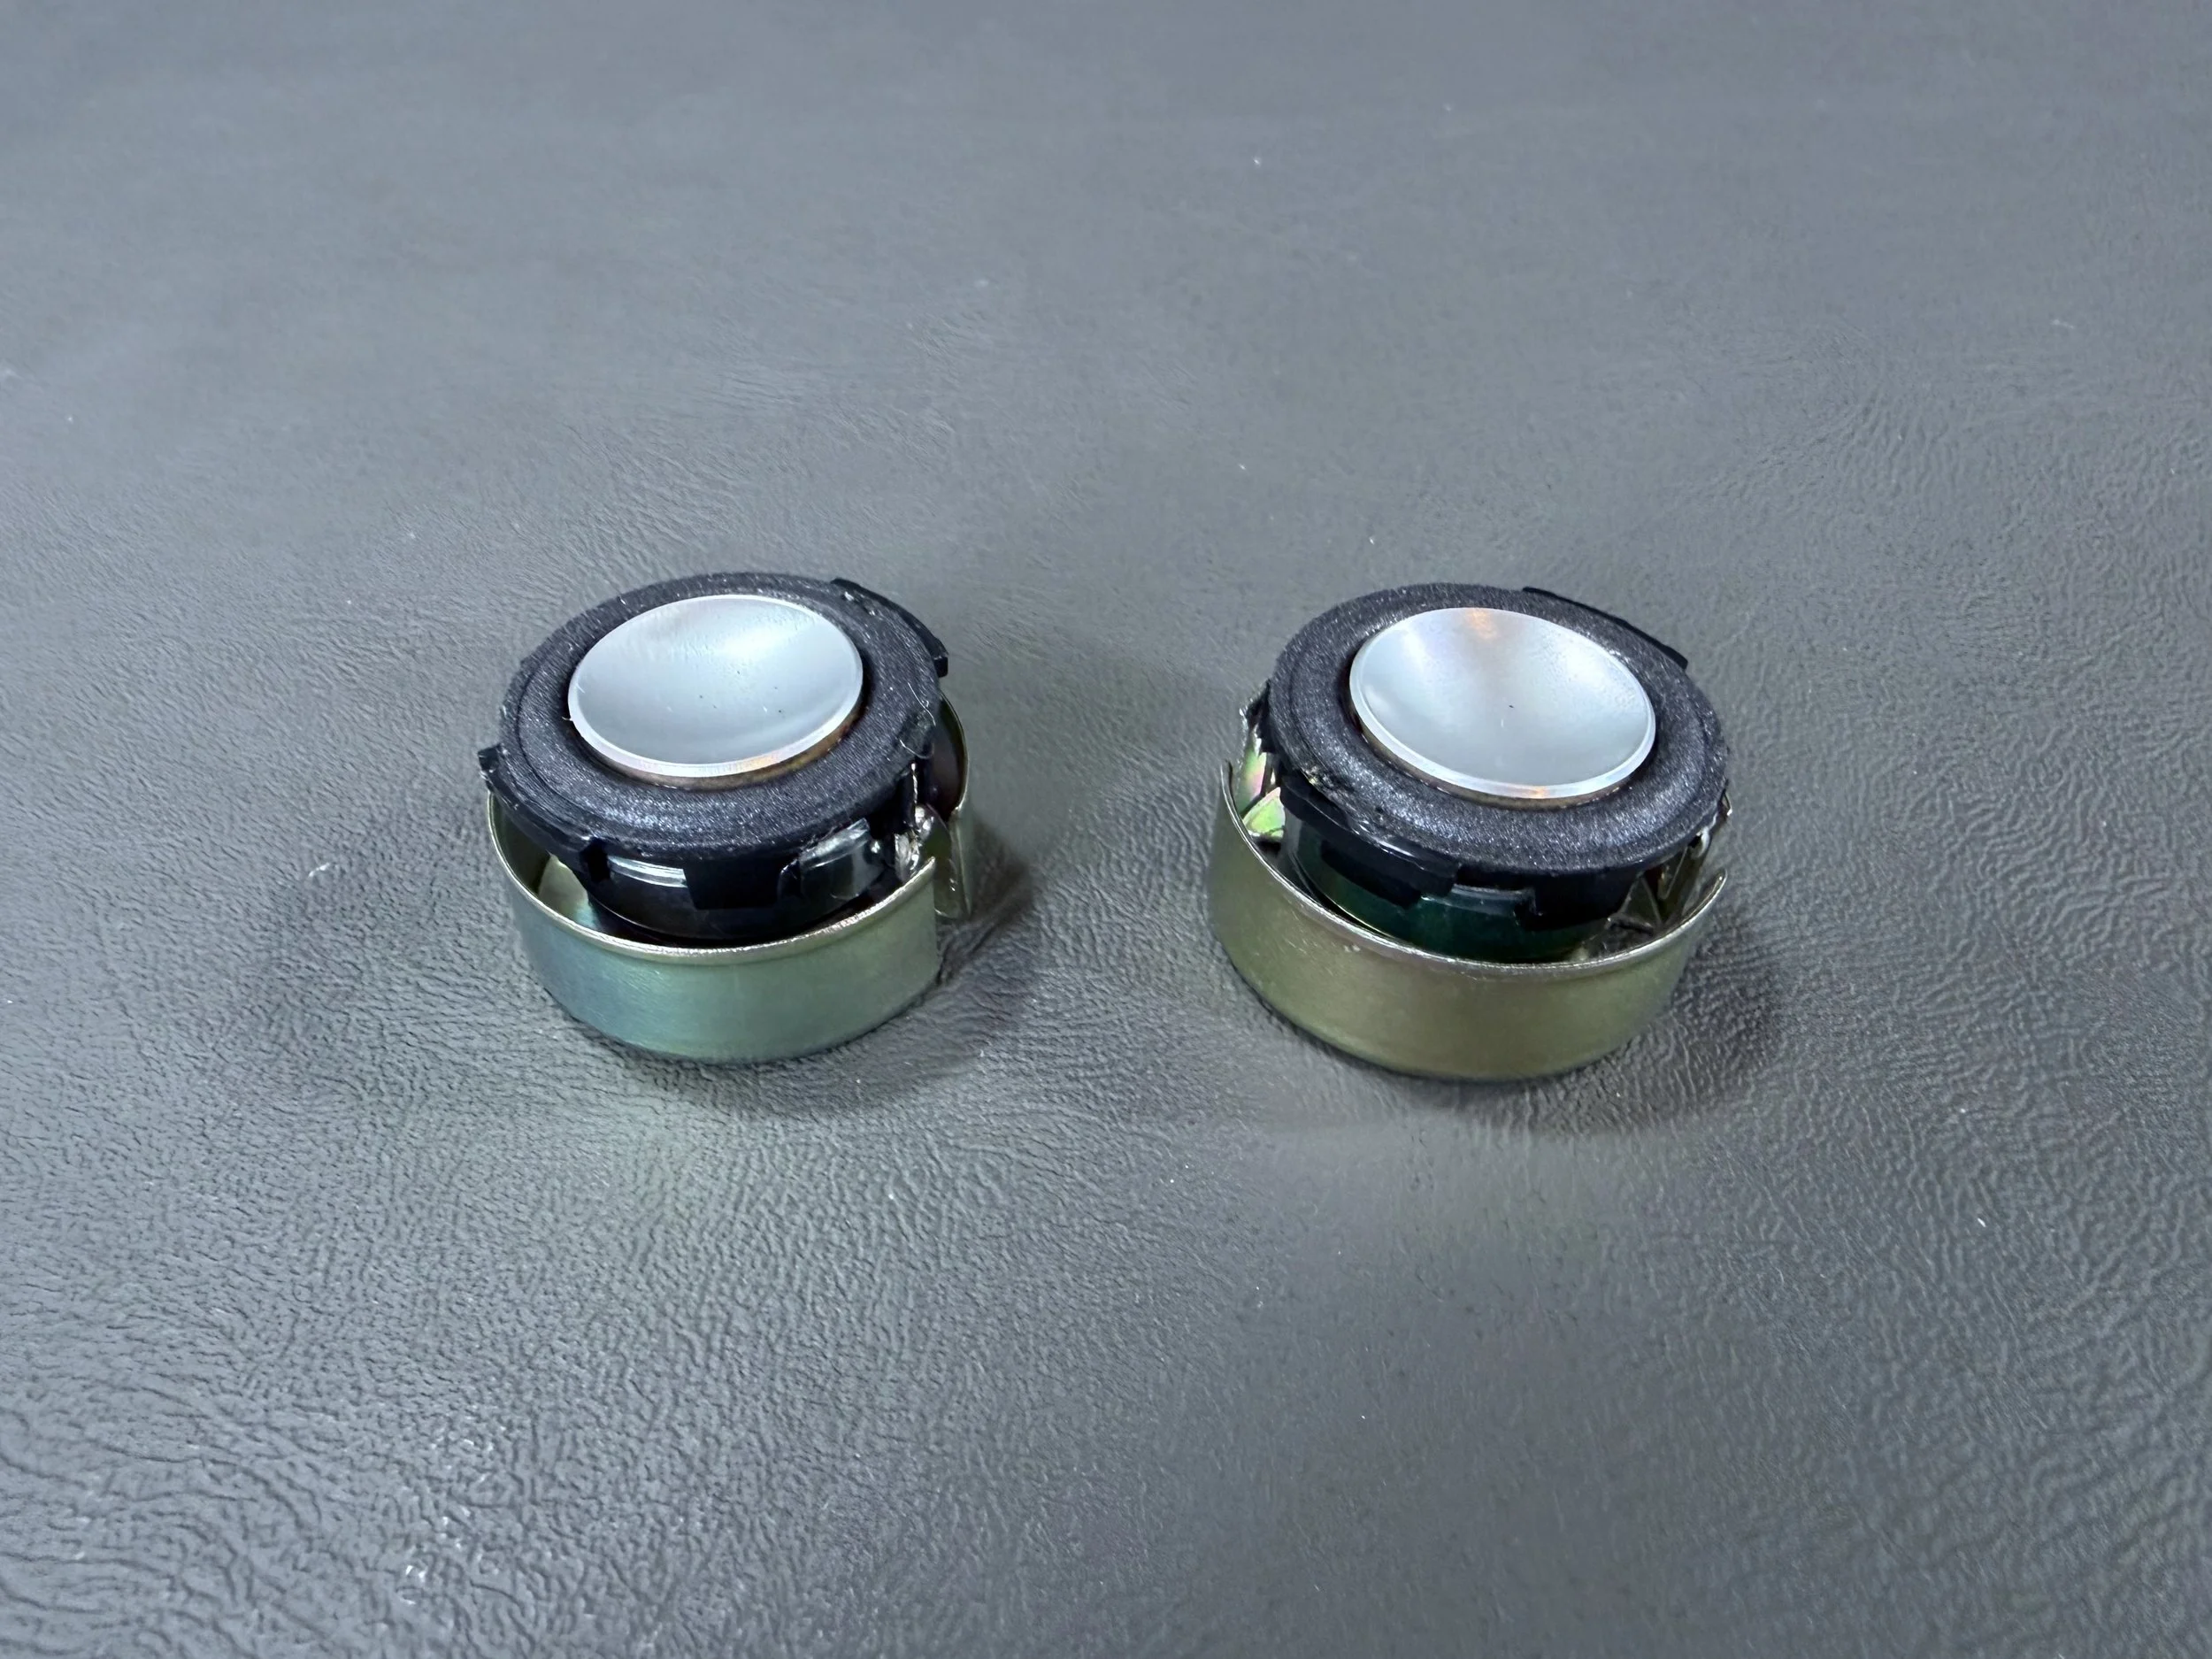
Old driver (left) vs. new driver (right). The original drivers have a metal shield and magnet attached to the back, which should be removed and installed onto the new drivers so that the CRT is protected from magnetic interference.
New drivers with the magnets and shields installed, ready to be reinstalled into their enclosures. I used a dab of superglue to reattach everything back together. Be sure to line up the spade connector tabs on the new drivers with the cutouts in the sides of the shield so the connections can be made, otherwise the connectors will be covered by the sides of the shield.
No more terrible rattling - the iMac sounds great again! Especially when paired with the iSub.
mSATA SSD Installation
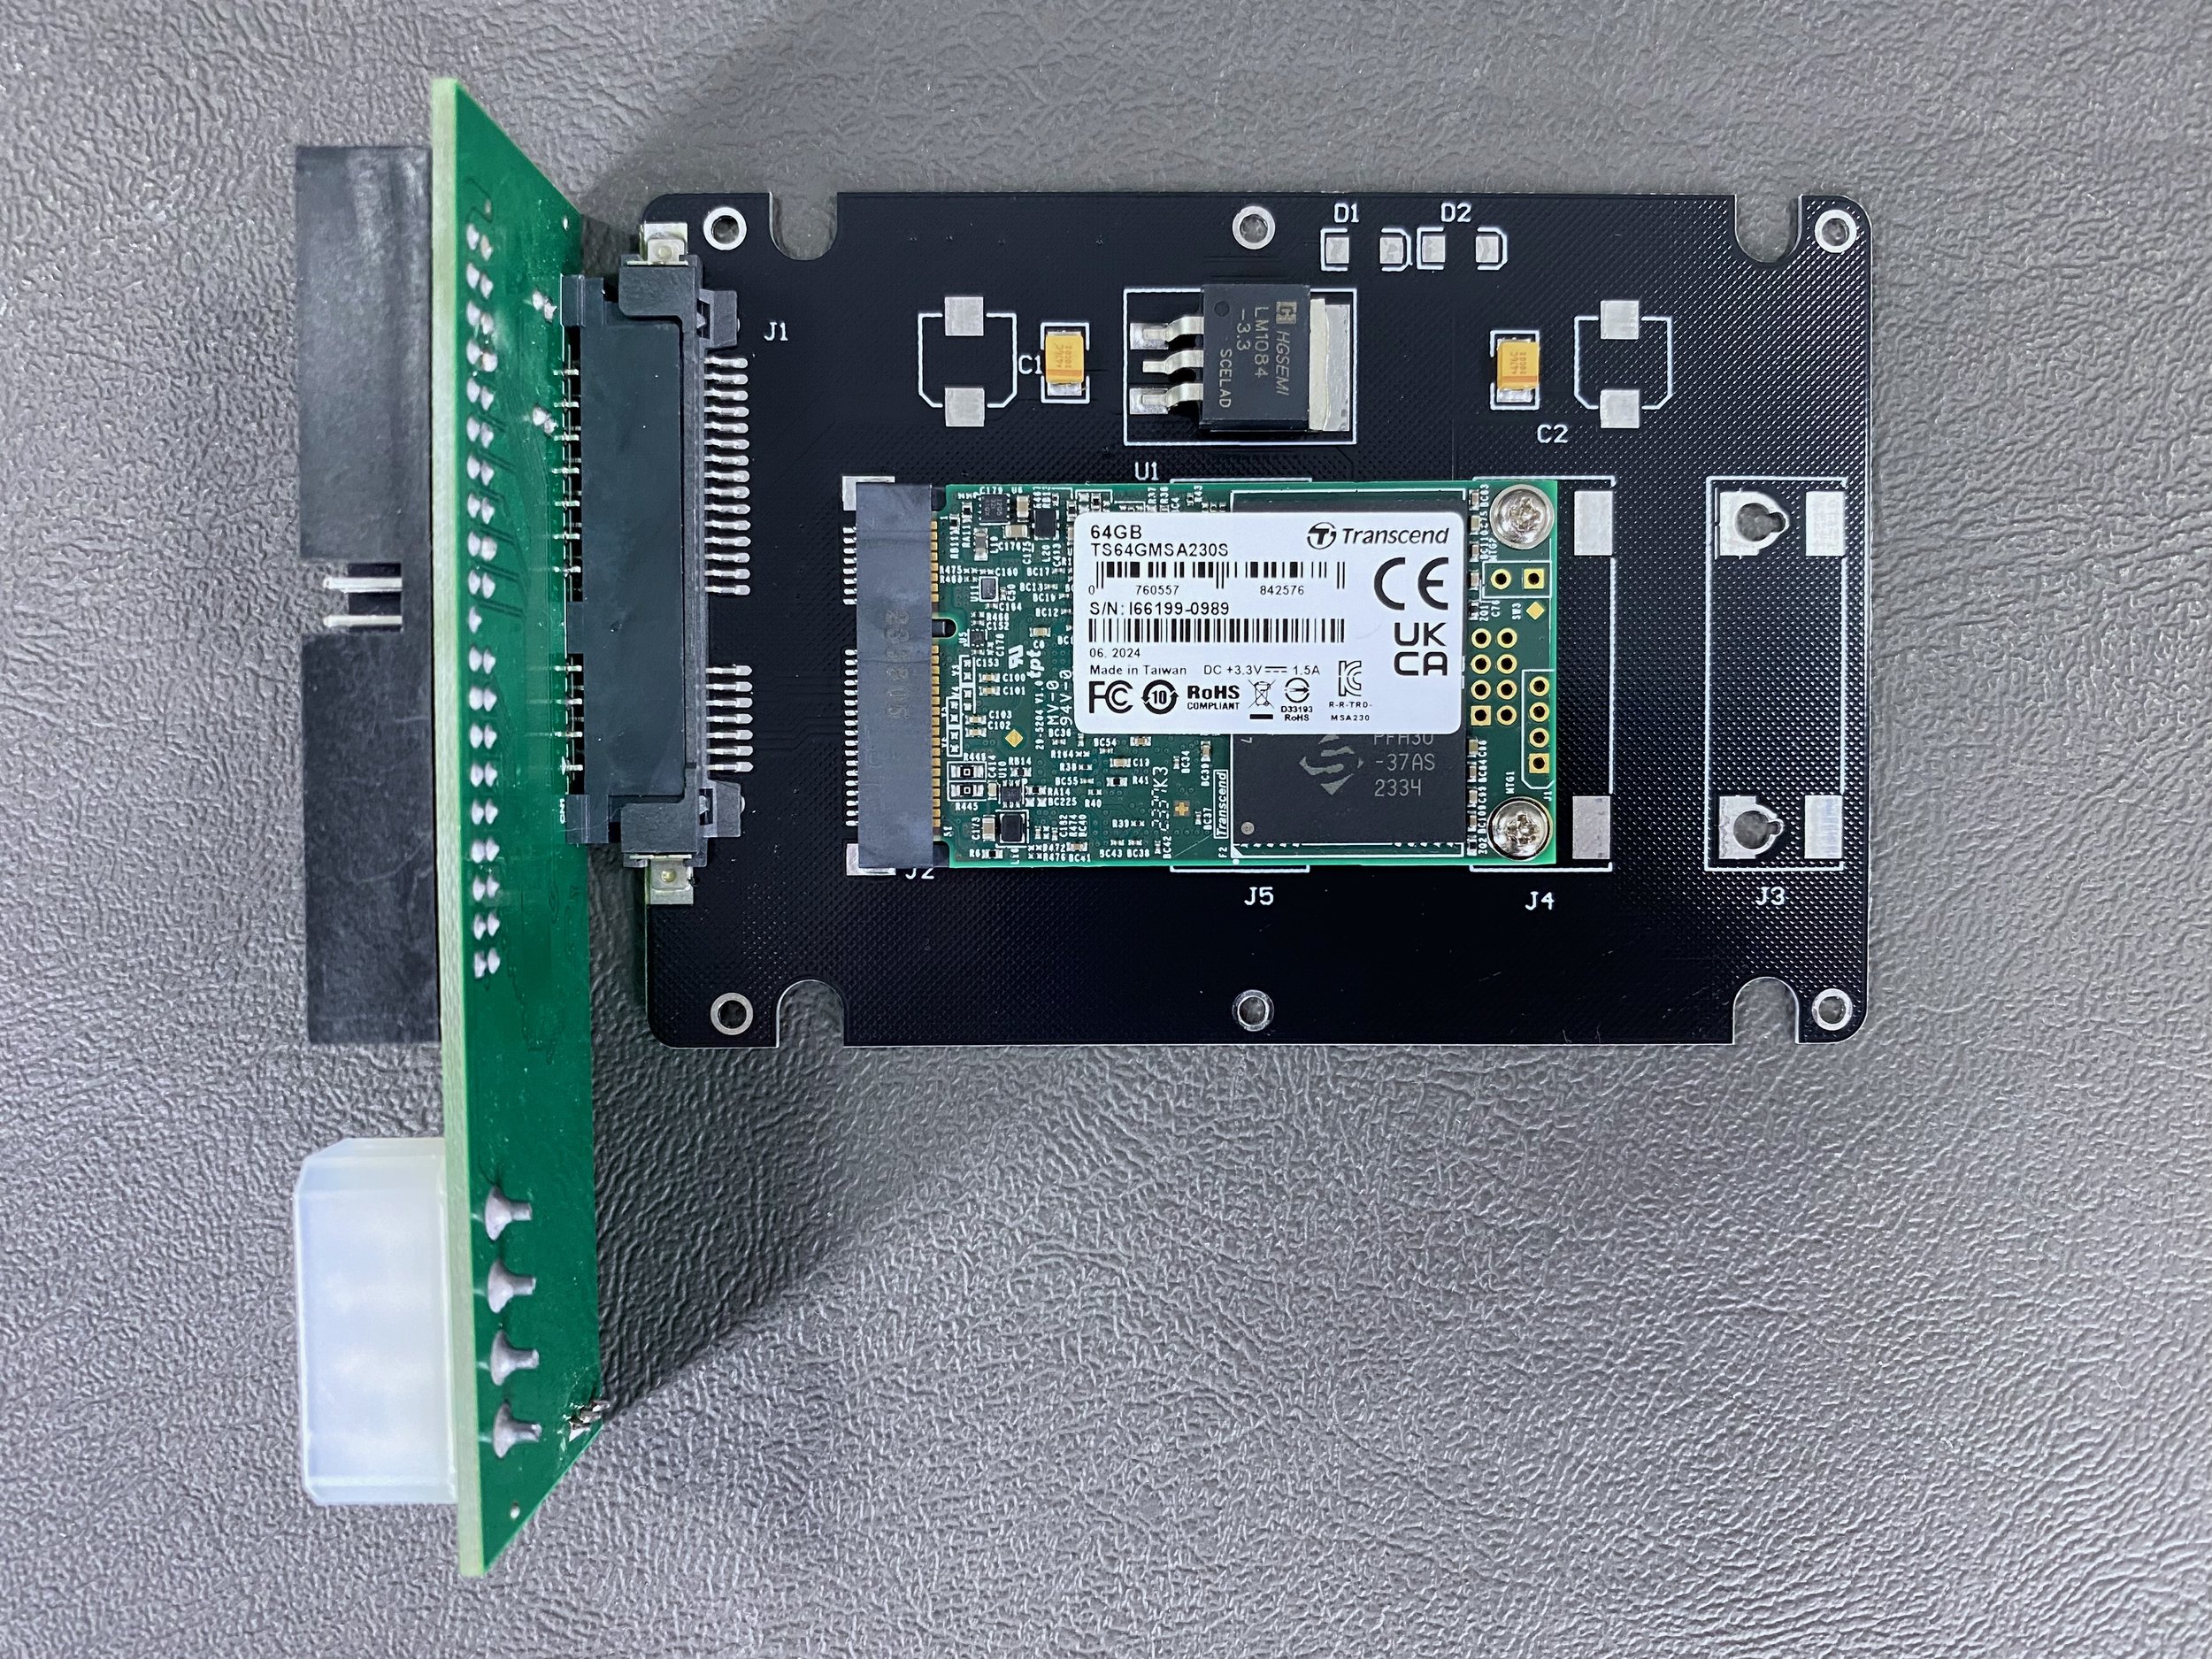
This upgrade makes the computer quieter, faster, and more reliable. I chose to install a 64 GB mSATA SSD using a 2.5” mSATA-to-SATA adapter housing and a 3.5” IDE-to-SATA adapter.
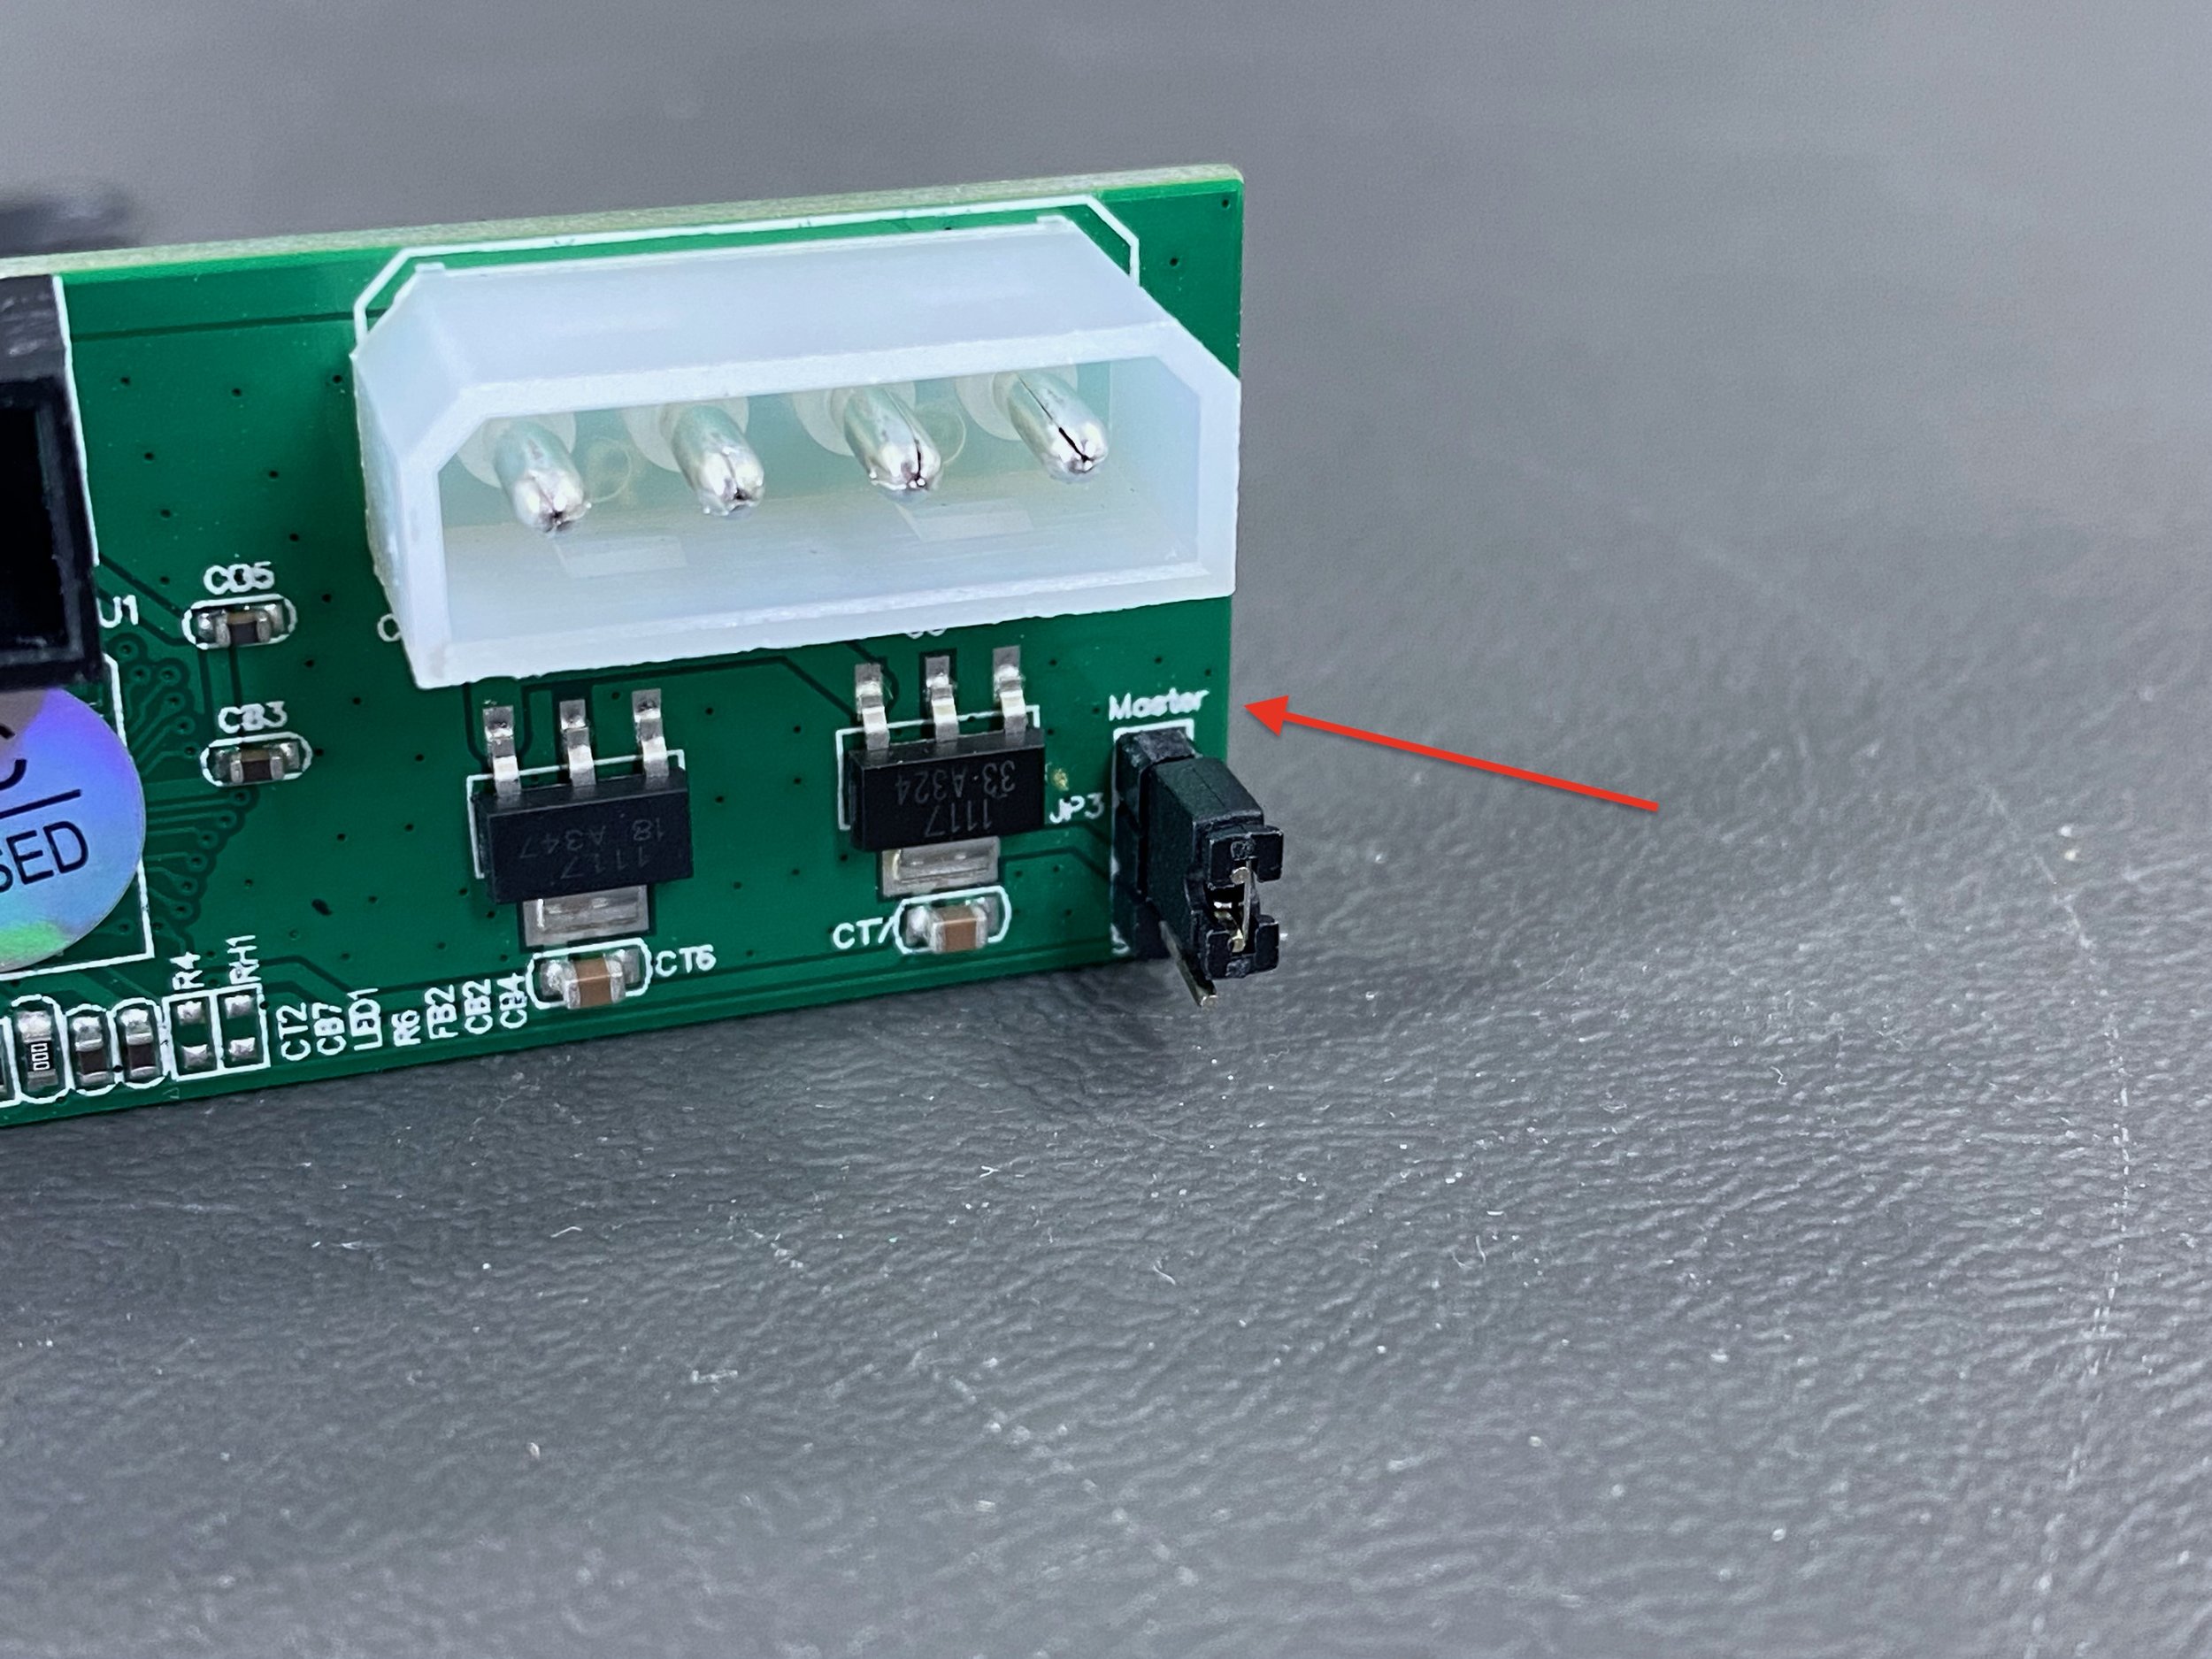
If using an IDE-to-SATA adapter in an iMac G3 (at least the slot-loading models), it MUST have a jumper for master/slave configuration. The SSD should be configured as the master drive.

This SSD was a plug-and-play solution with the original IDE interface. I used some thick double-sided mounting tape to mount it inside the drive bay.
Inner Bezel Replacement
In 2026 I replaced the inner bezel in my iMac with a modern injection-molded replacement part from MacEffects. The inner bezels in these iMacs are known to become yellowed and brittle with age, and they’re a structural part so they need to be replaced. MacEffects is now producing replacement bezels, which can be found on their online store here.
Watch the video below for more!
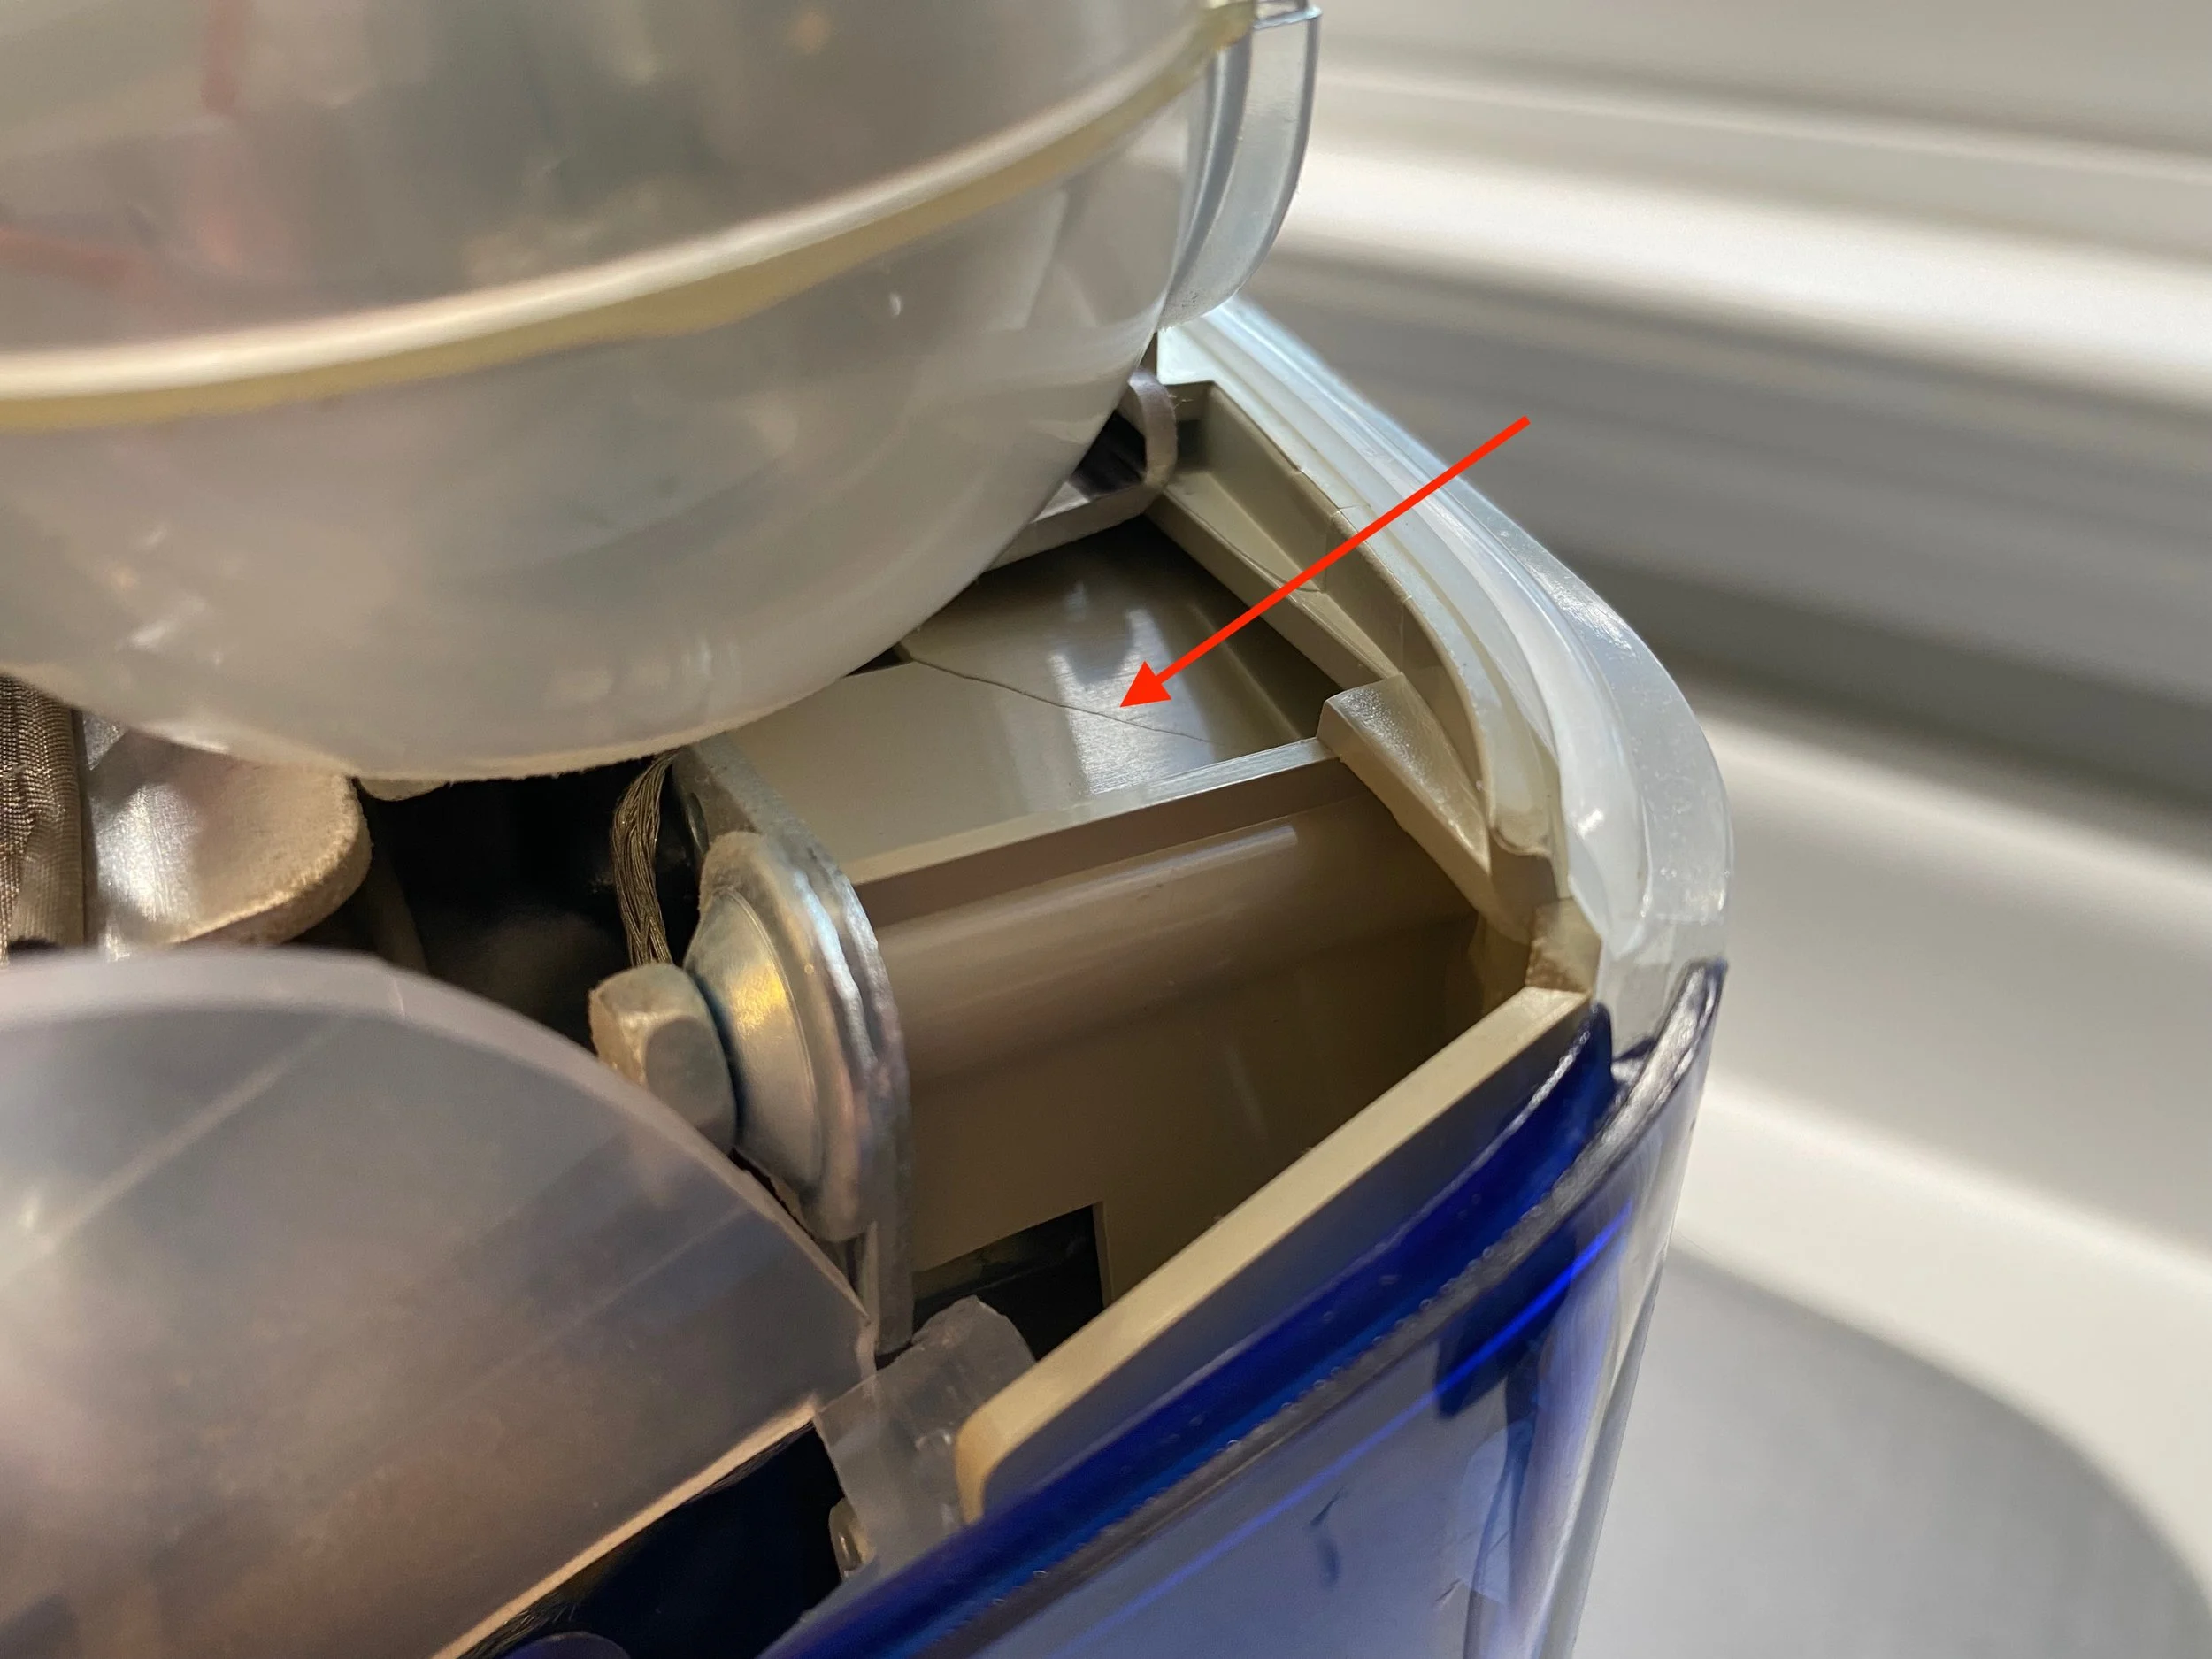
The original inner bezel is infamous for becoming very brittle with age, even in machines that were taken very good care of. Mine had developed large cracks near both of the lower CRT mounting posts.
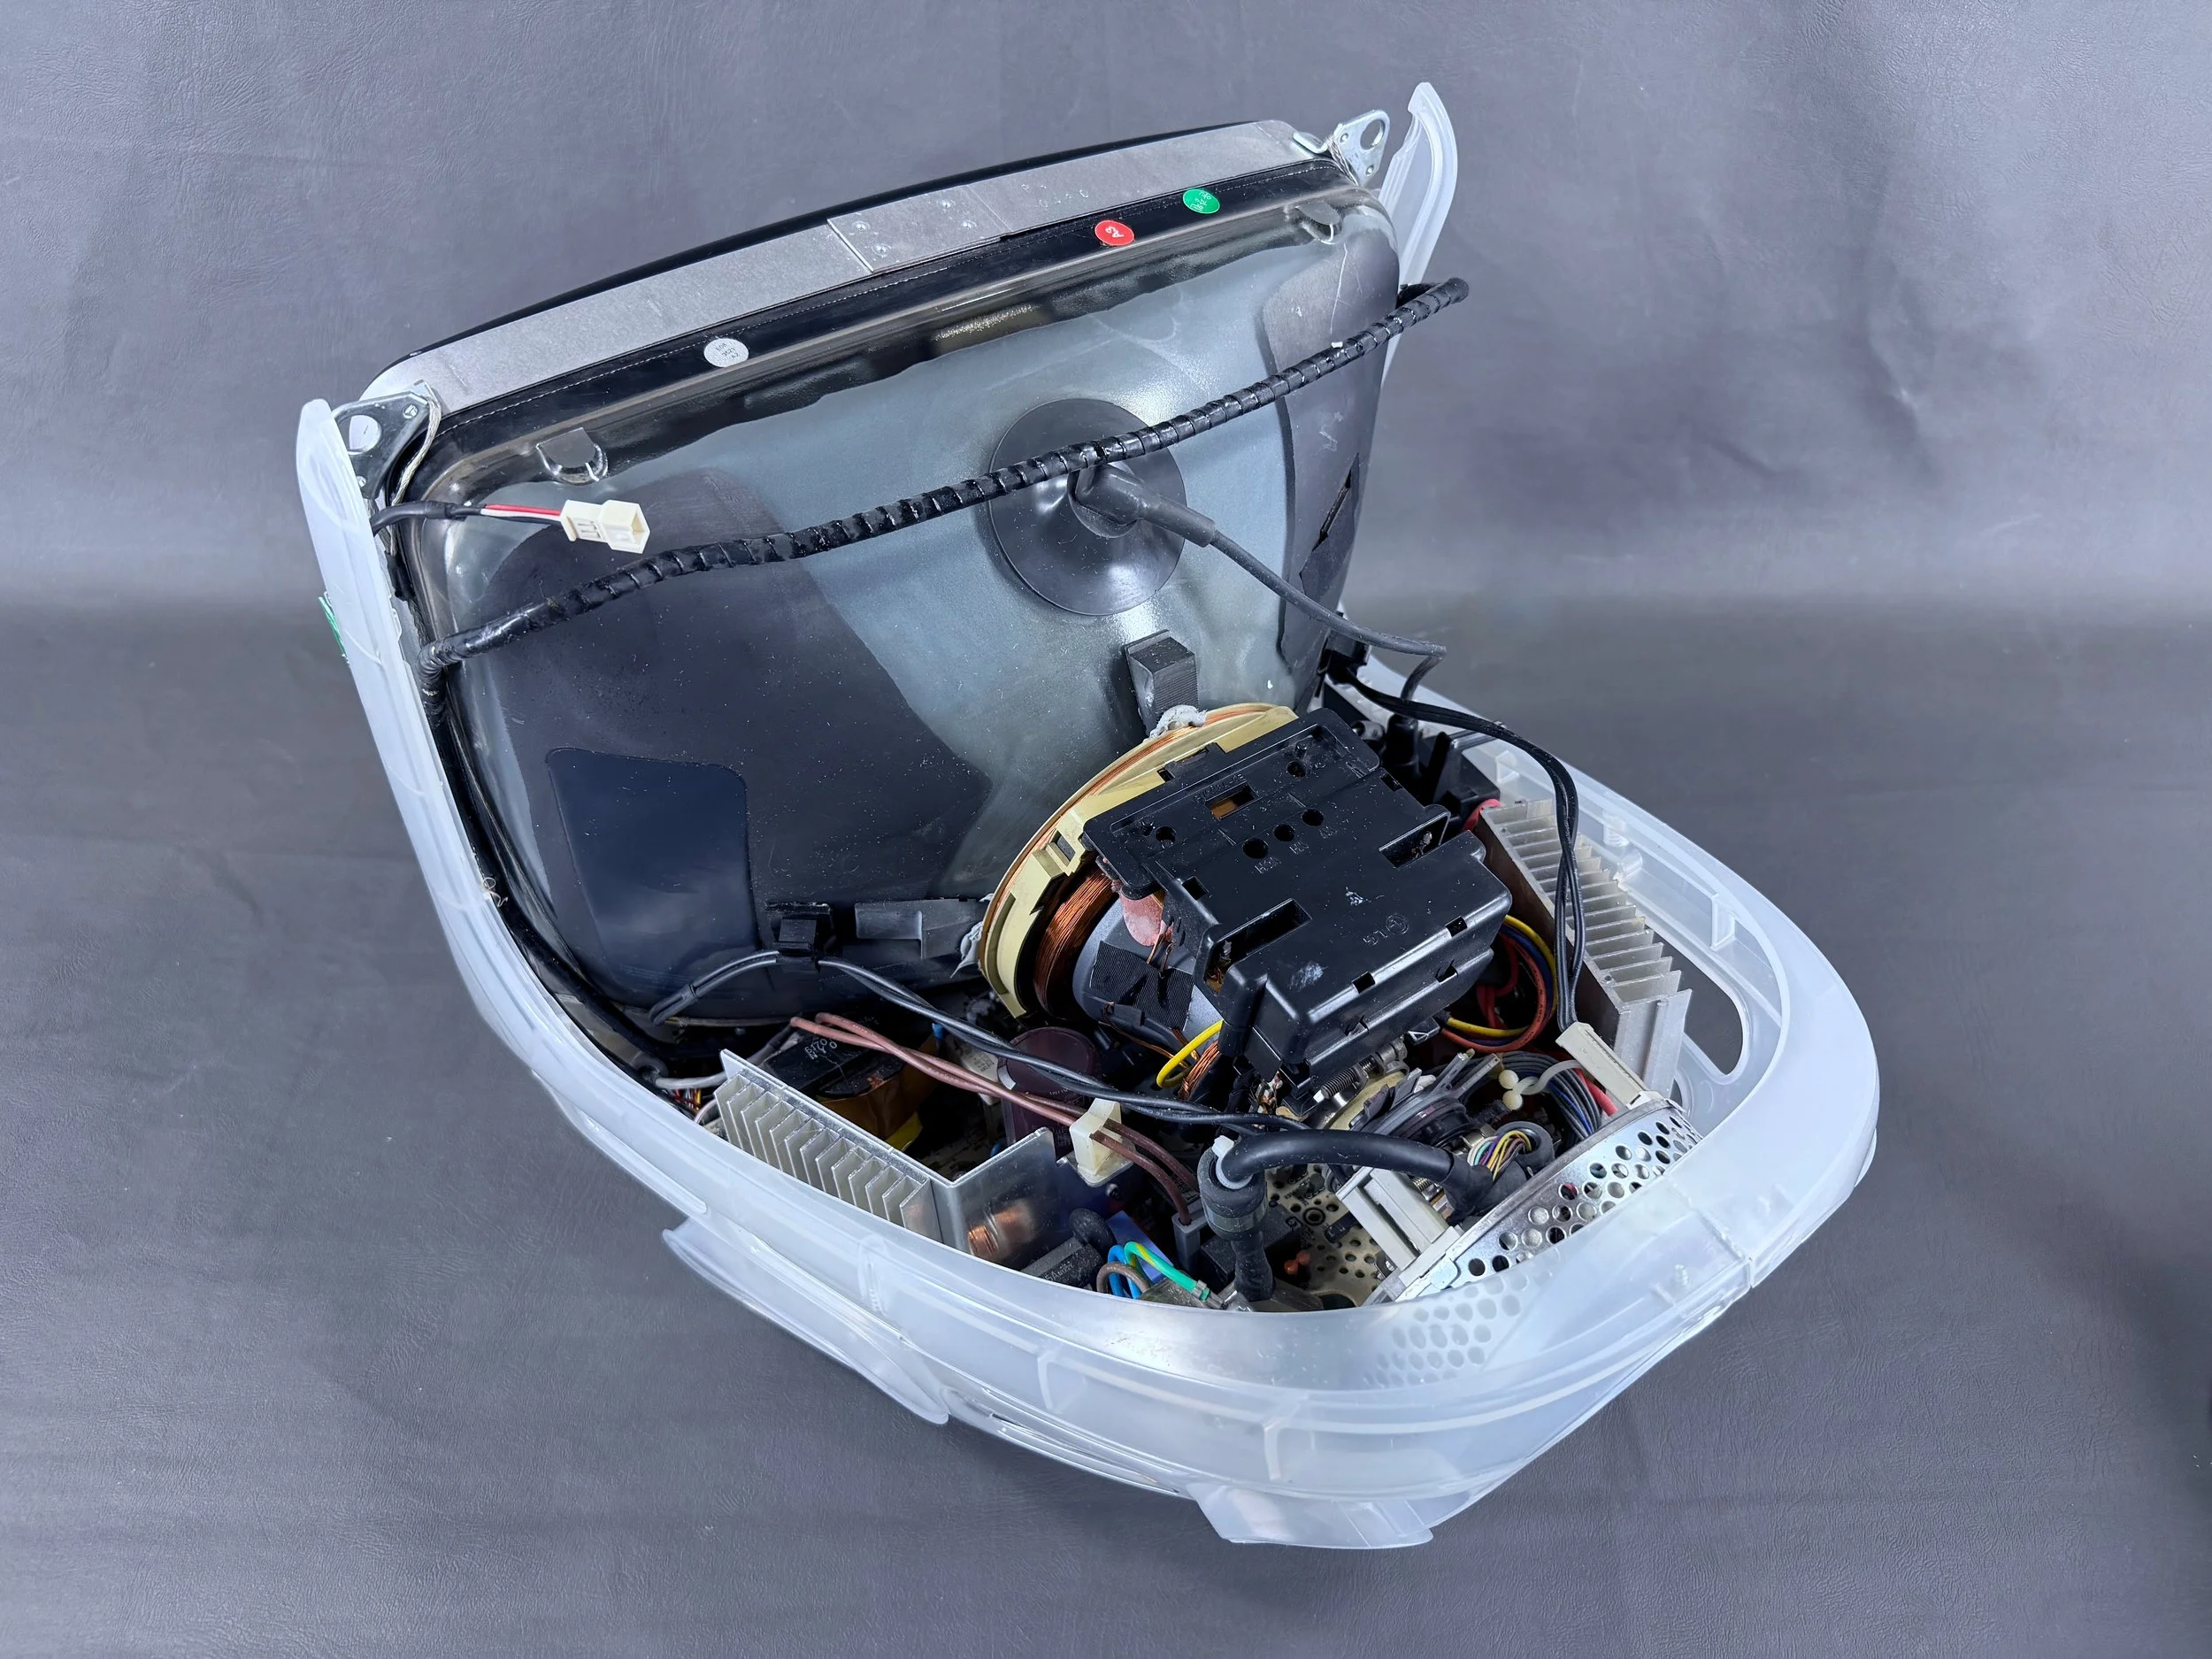
Replacing the bezel involves an extensive teardown of the machine, including the entire case.
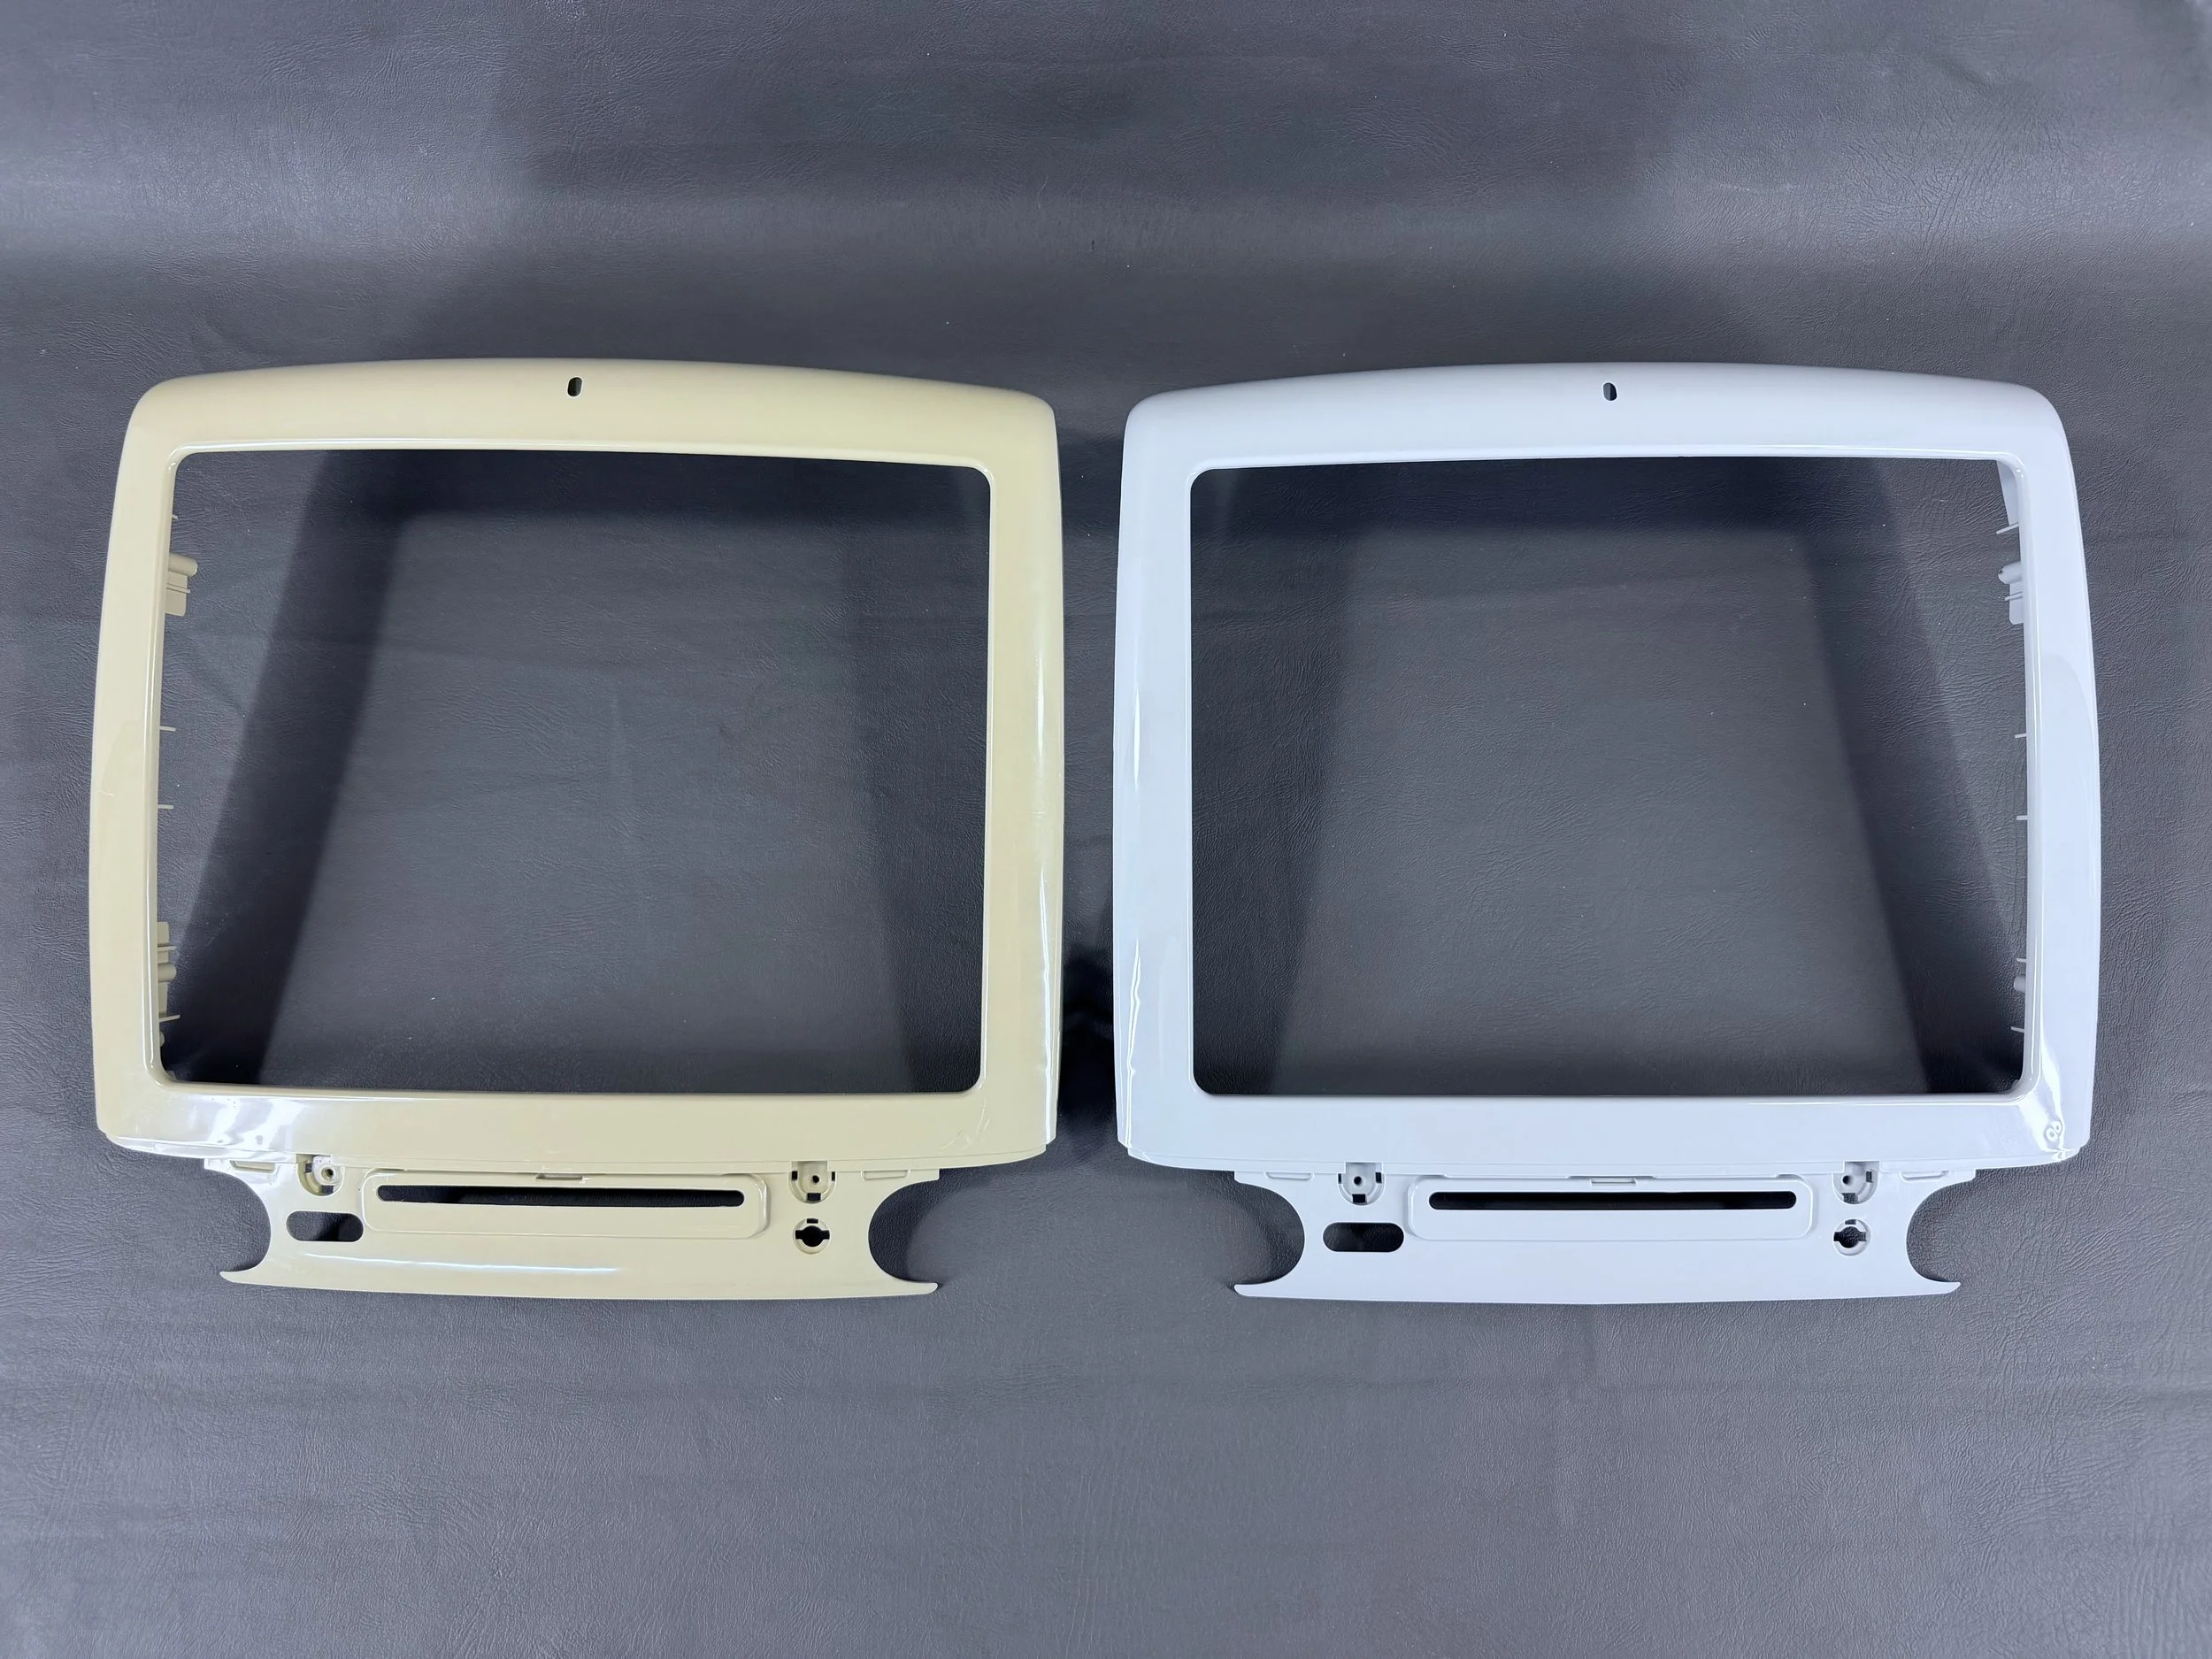
The original bezel (left) alongside the new one (right). In addition to the structural importance, this part is also visible through the translucent outer bezel so it impacts the iMac’s overall apperance.

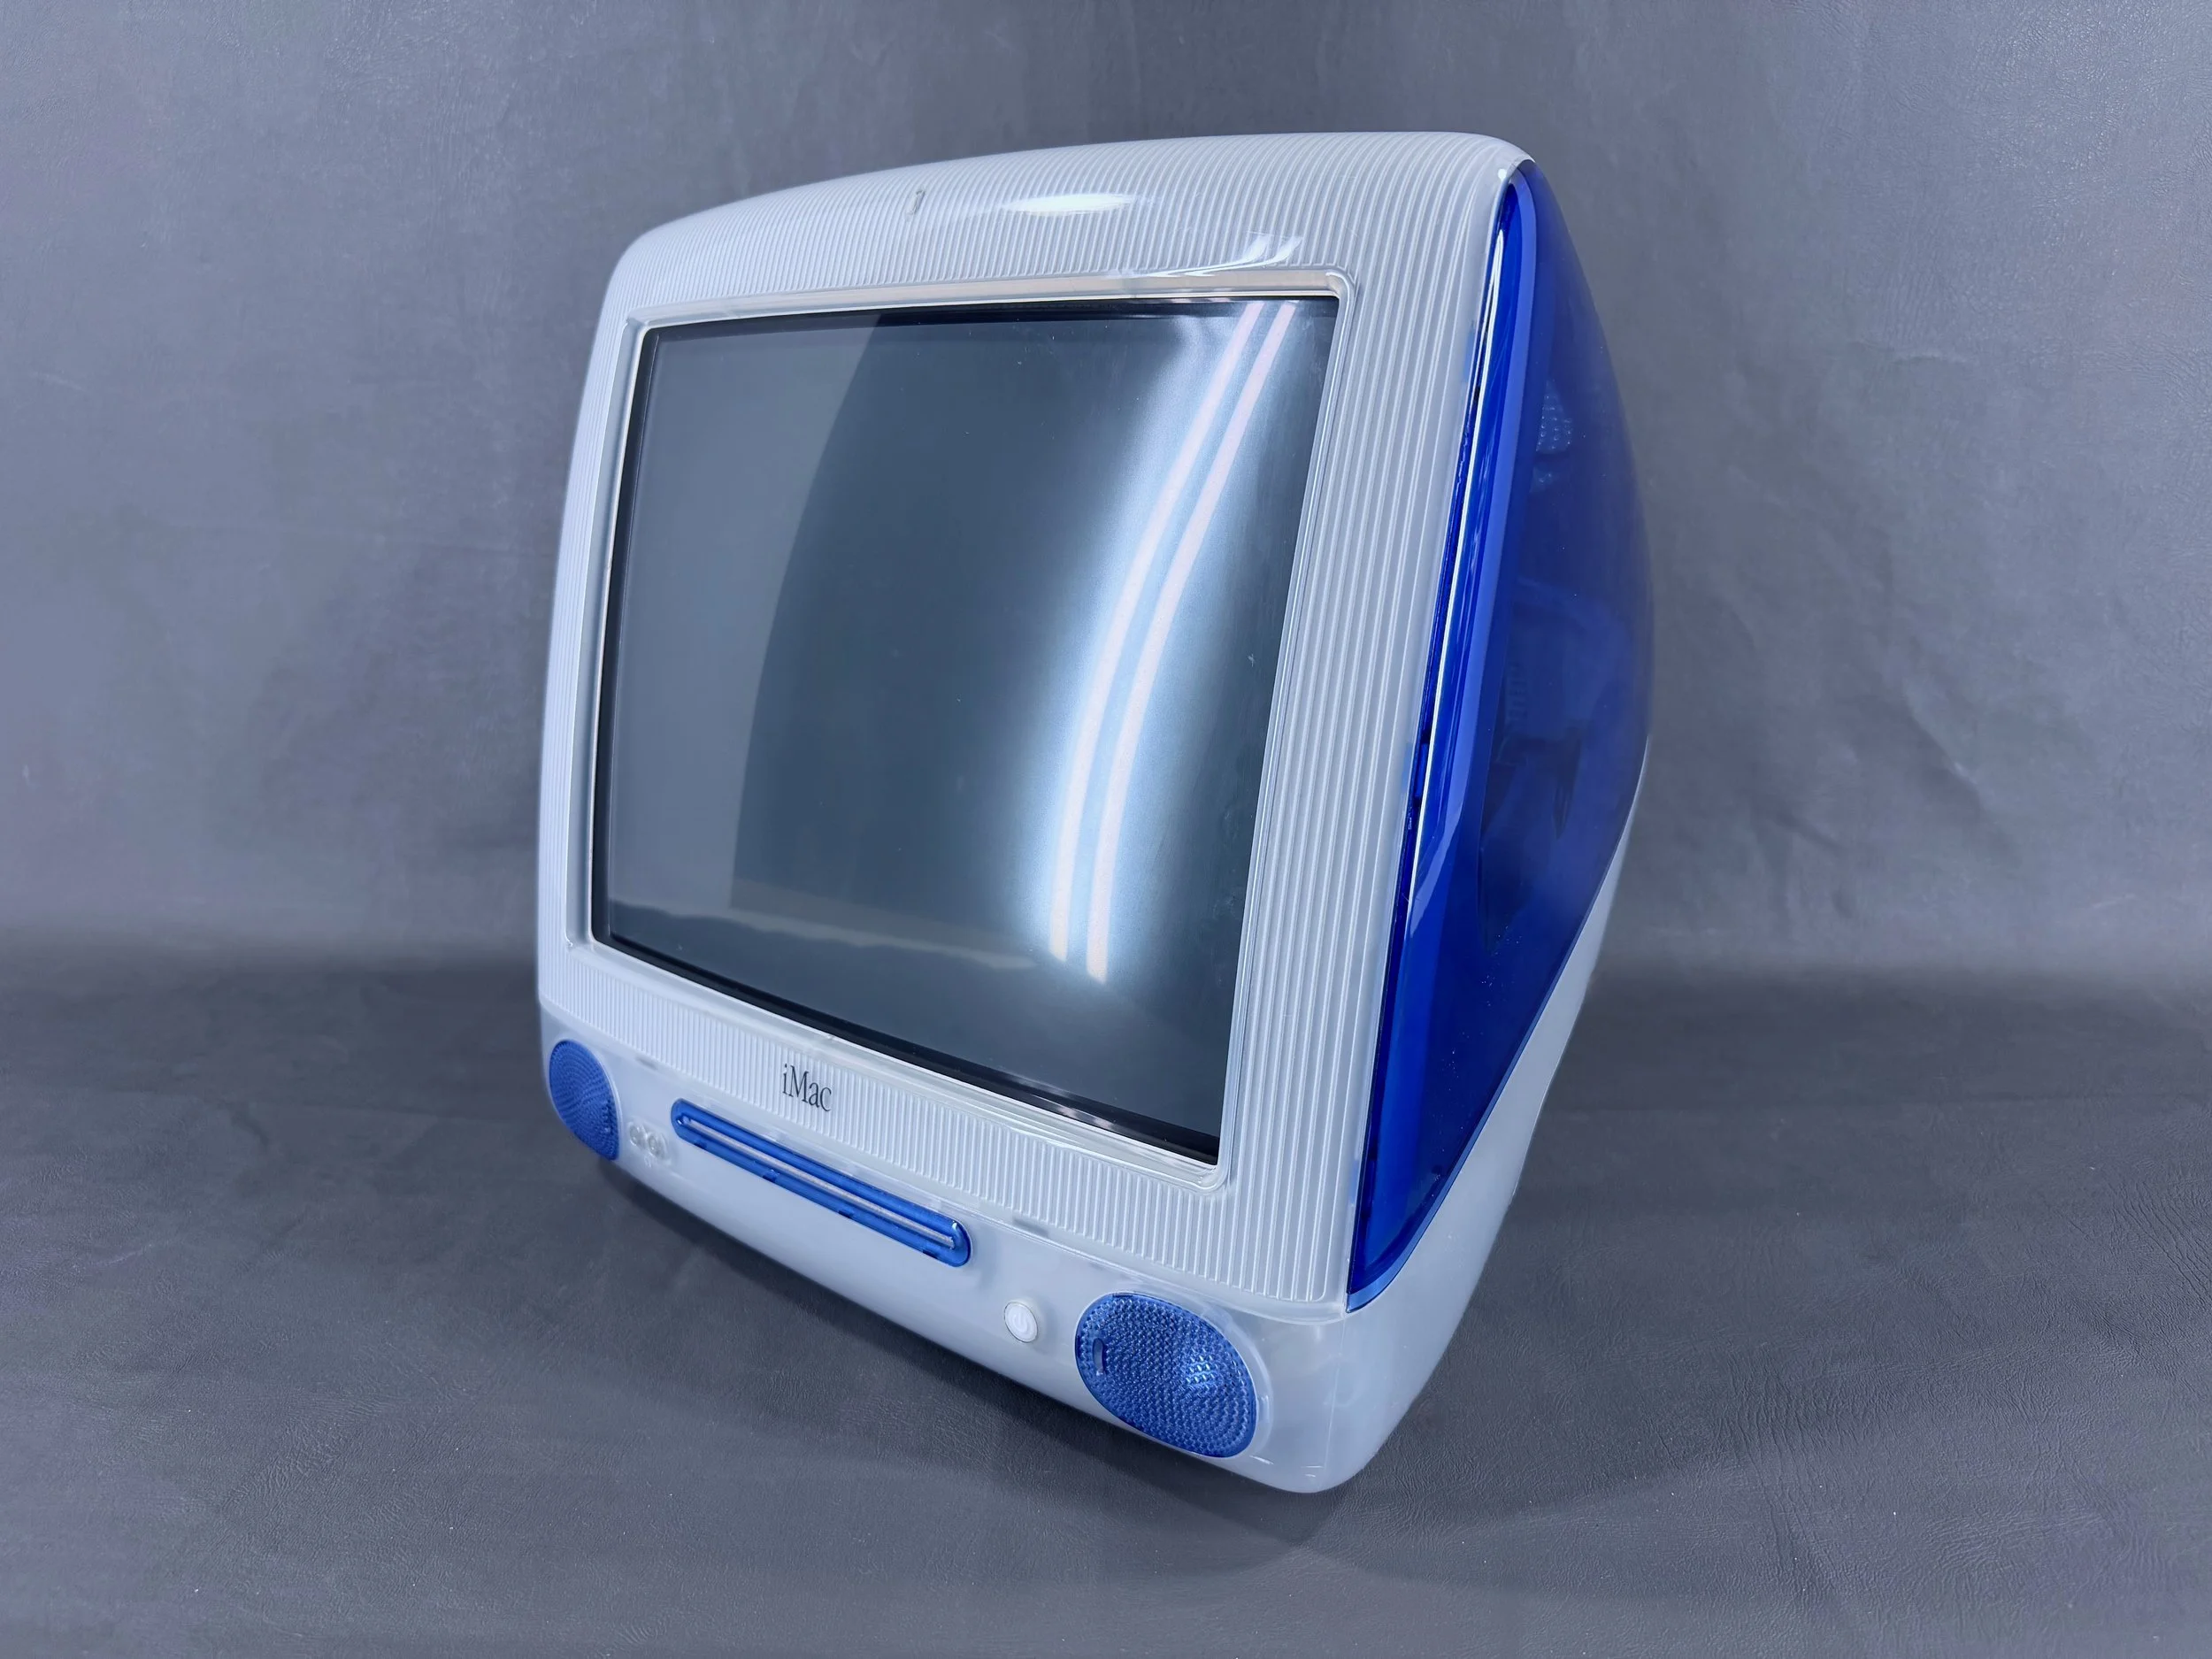
The iMac seen here after the replacement job. Much better, both structurally and aesthetically!
Comparison with Tray-Loading iMac G3
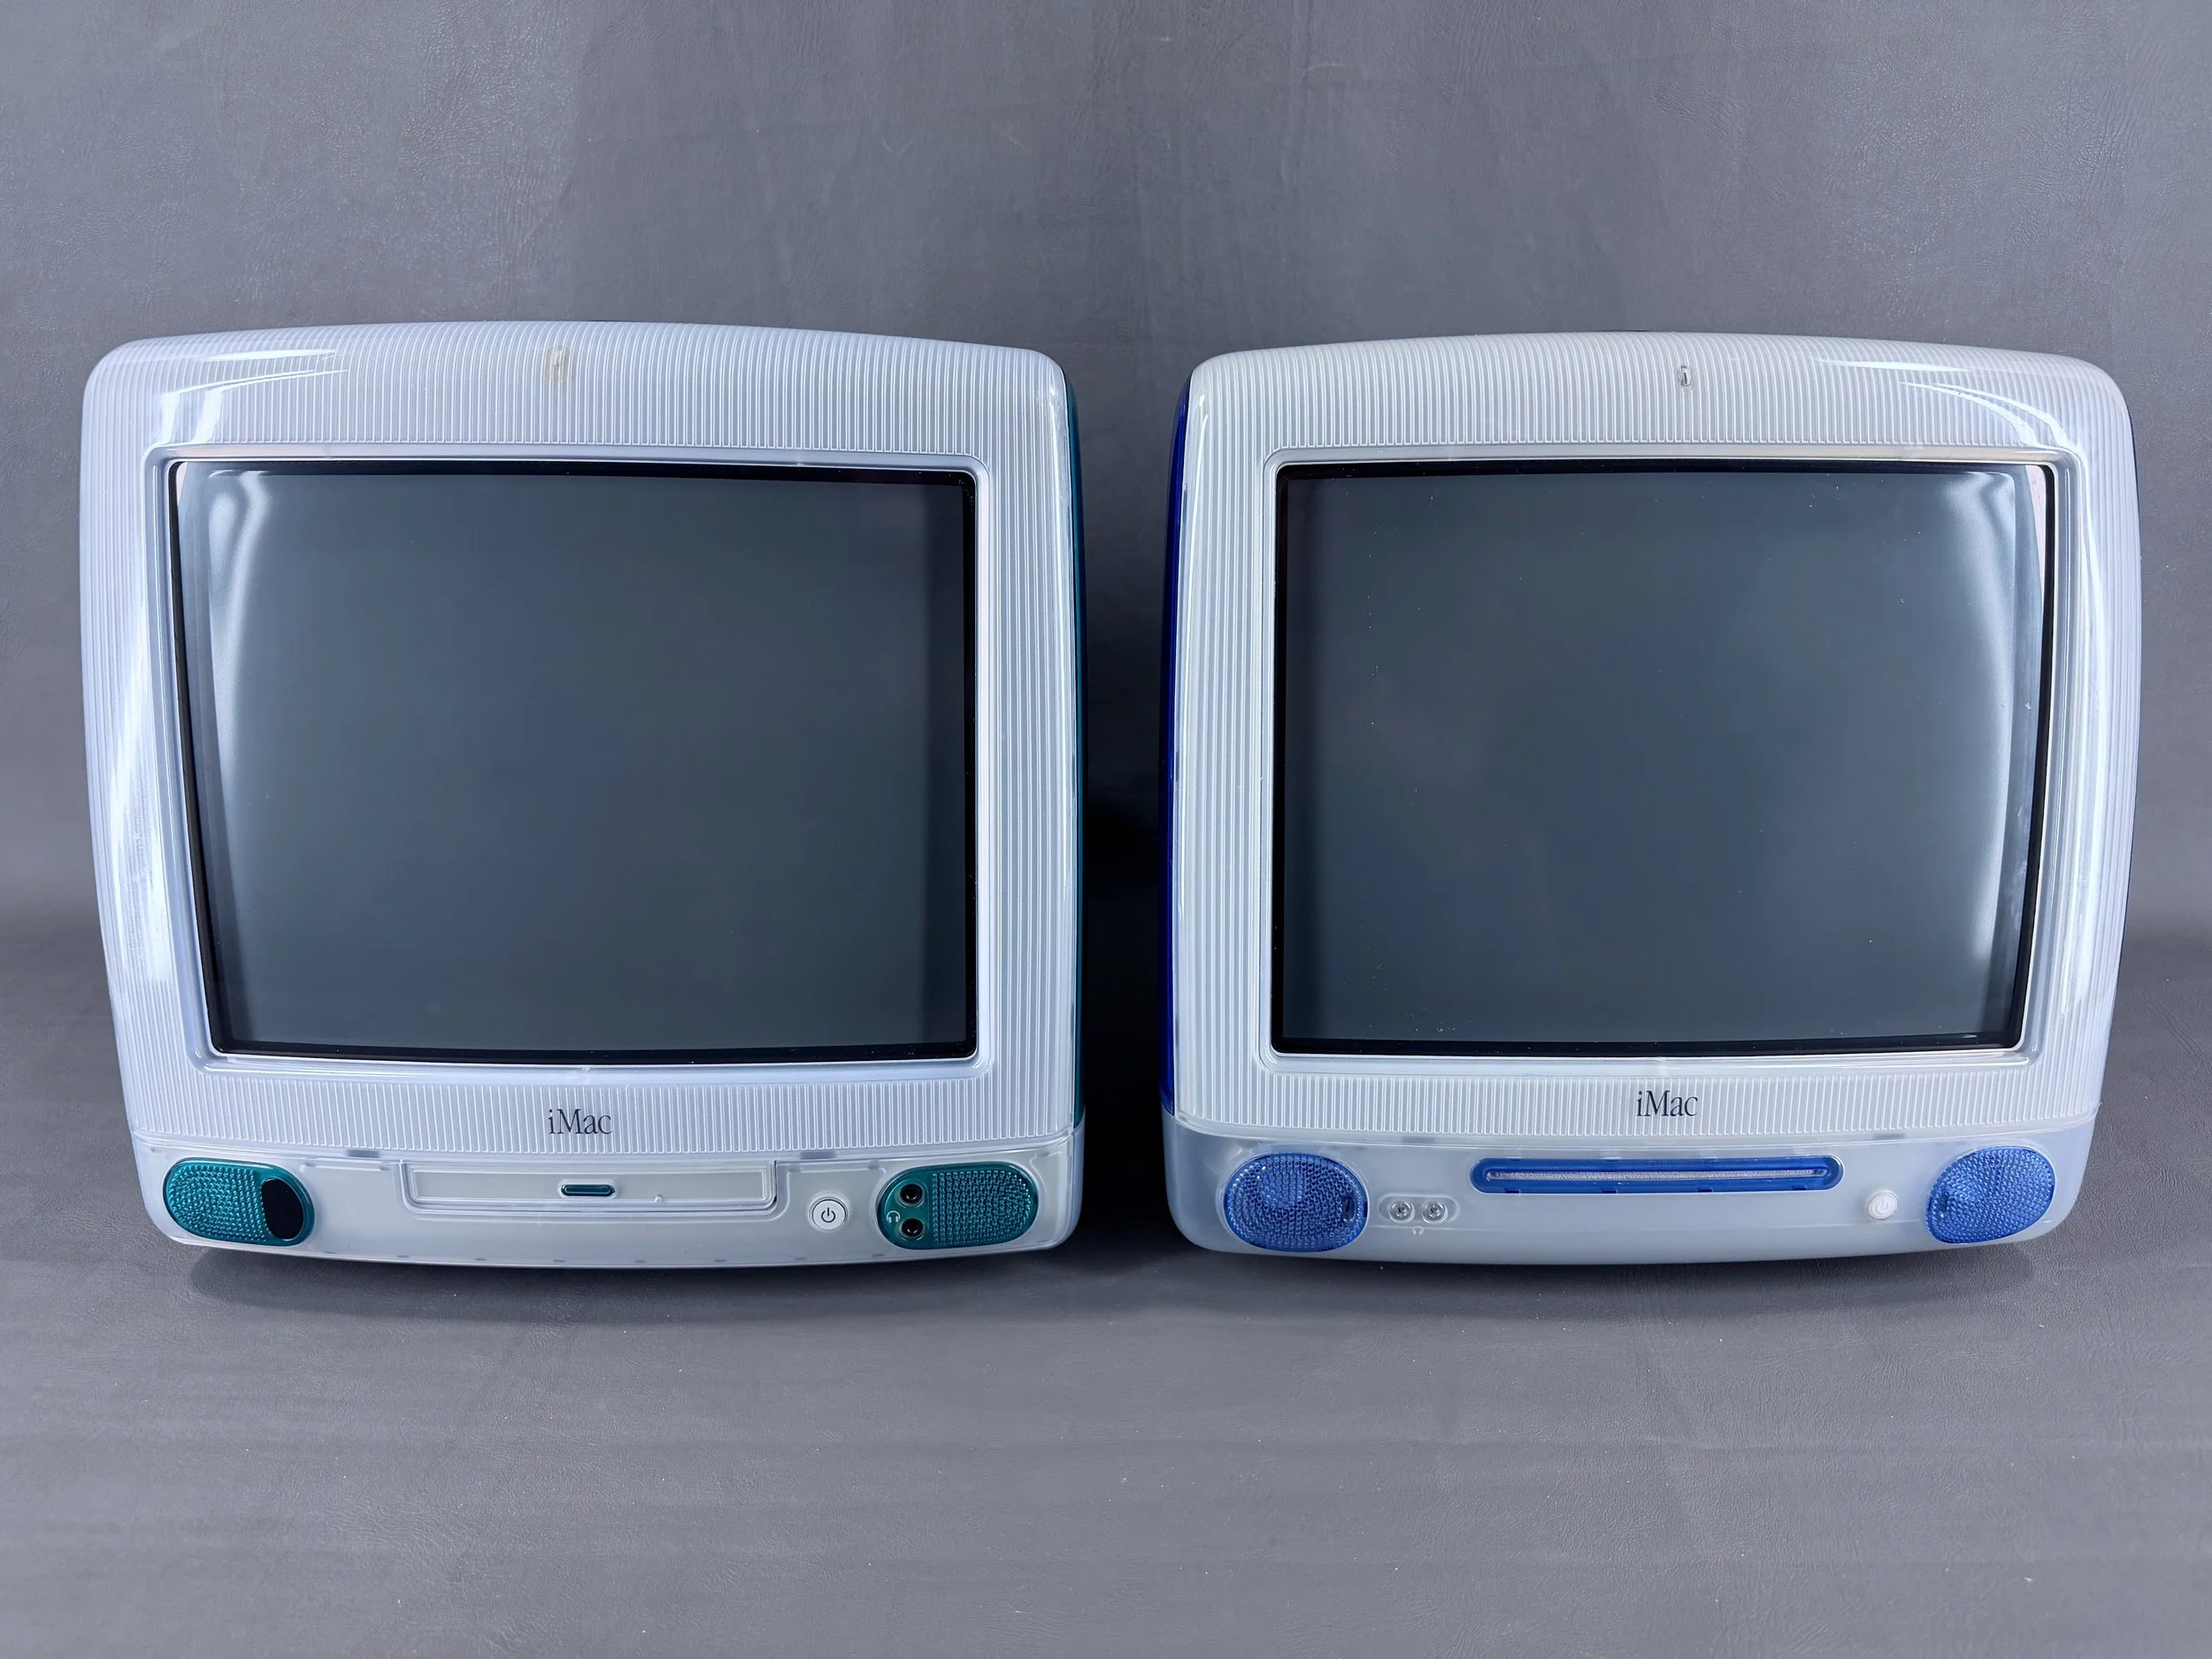
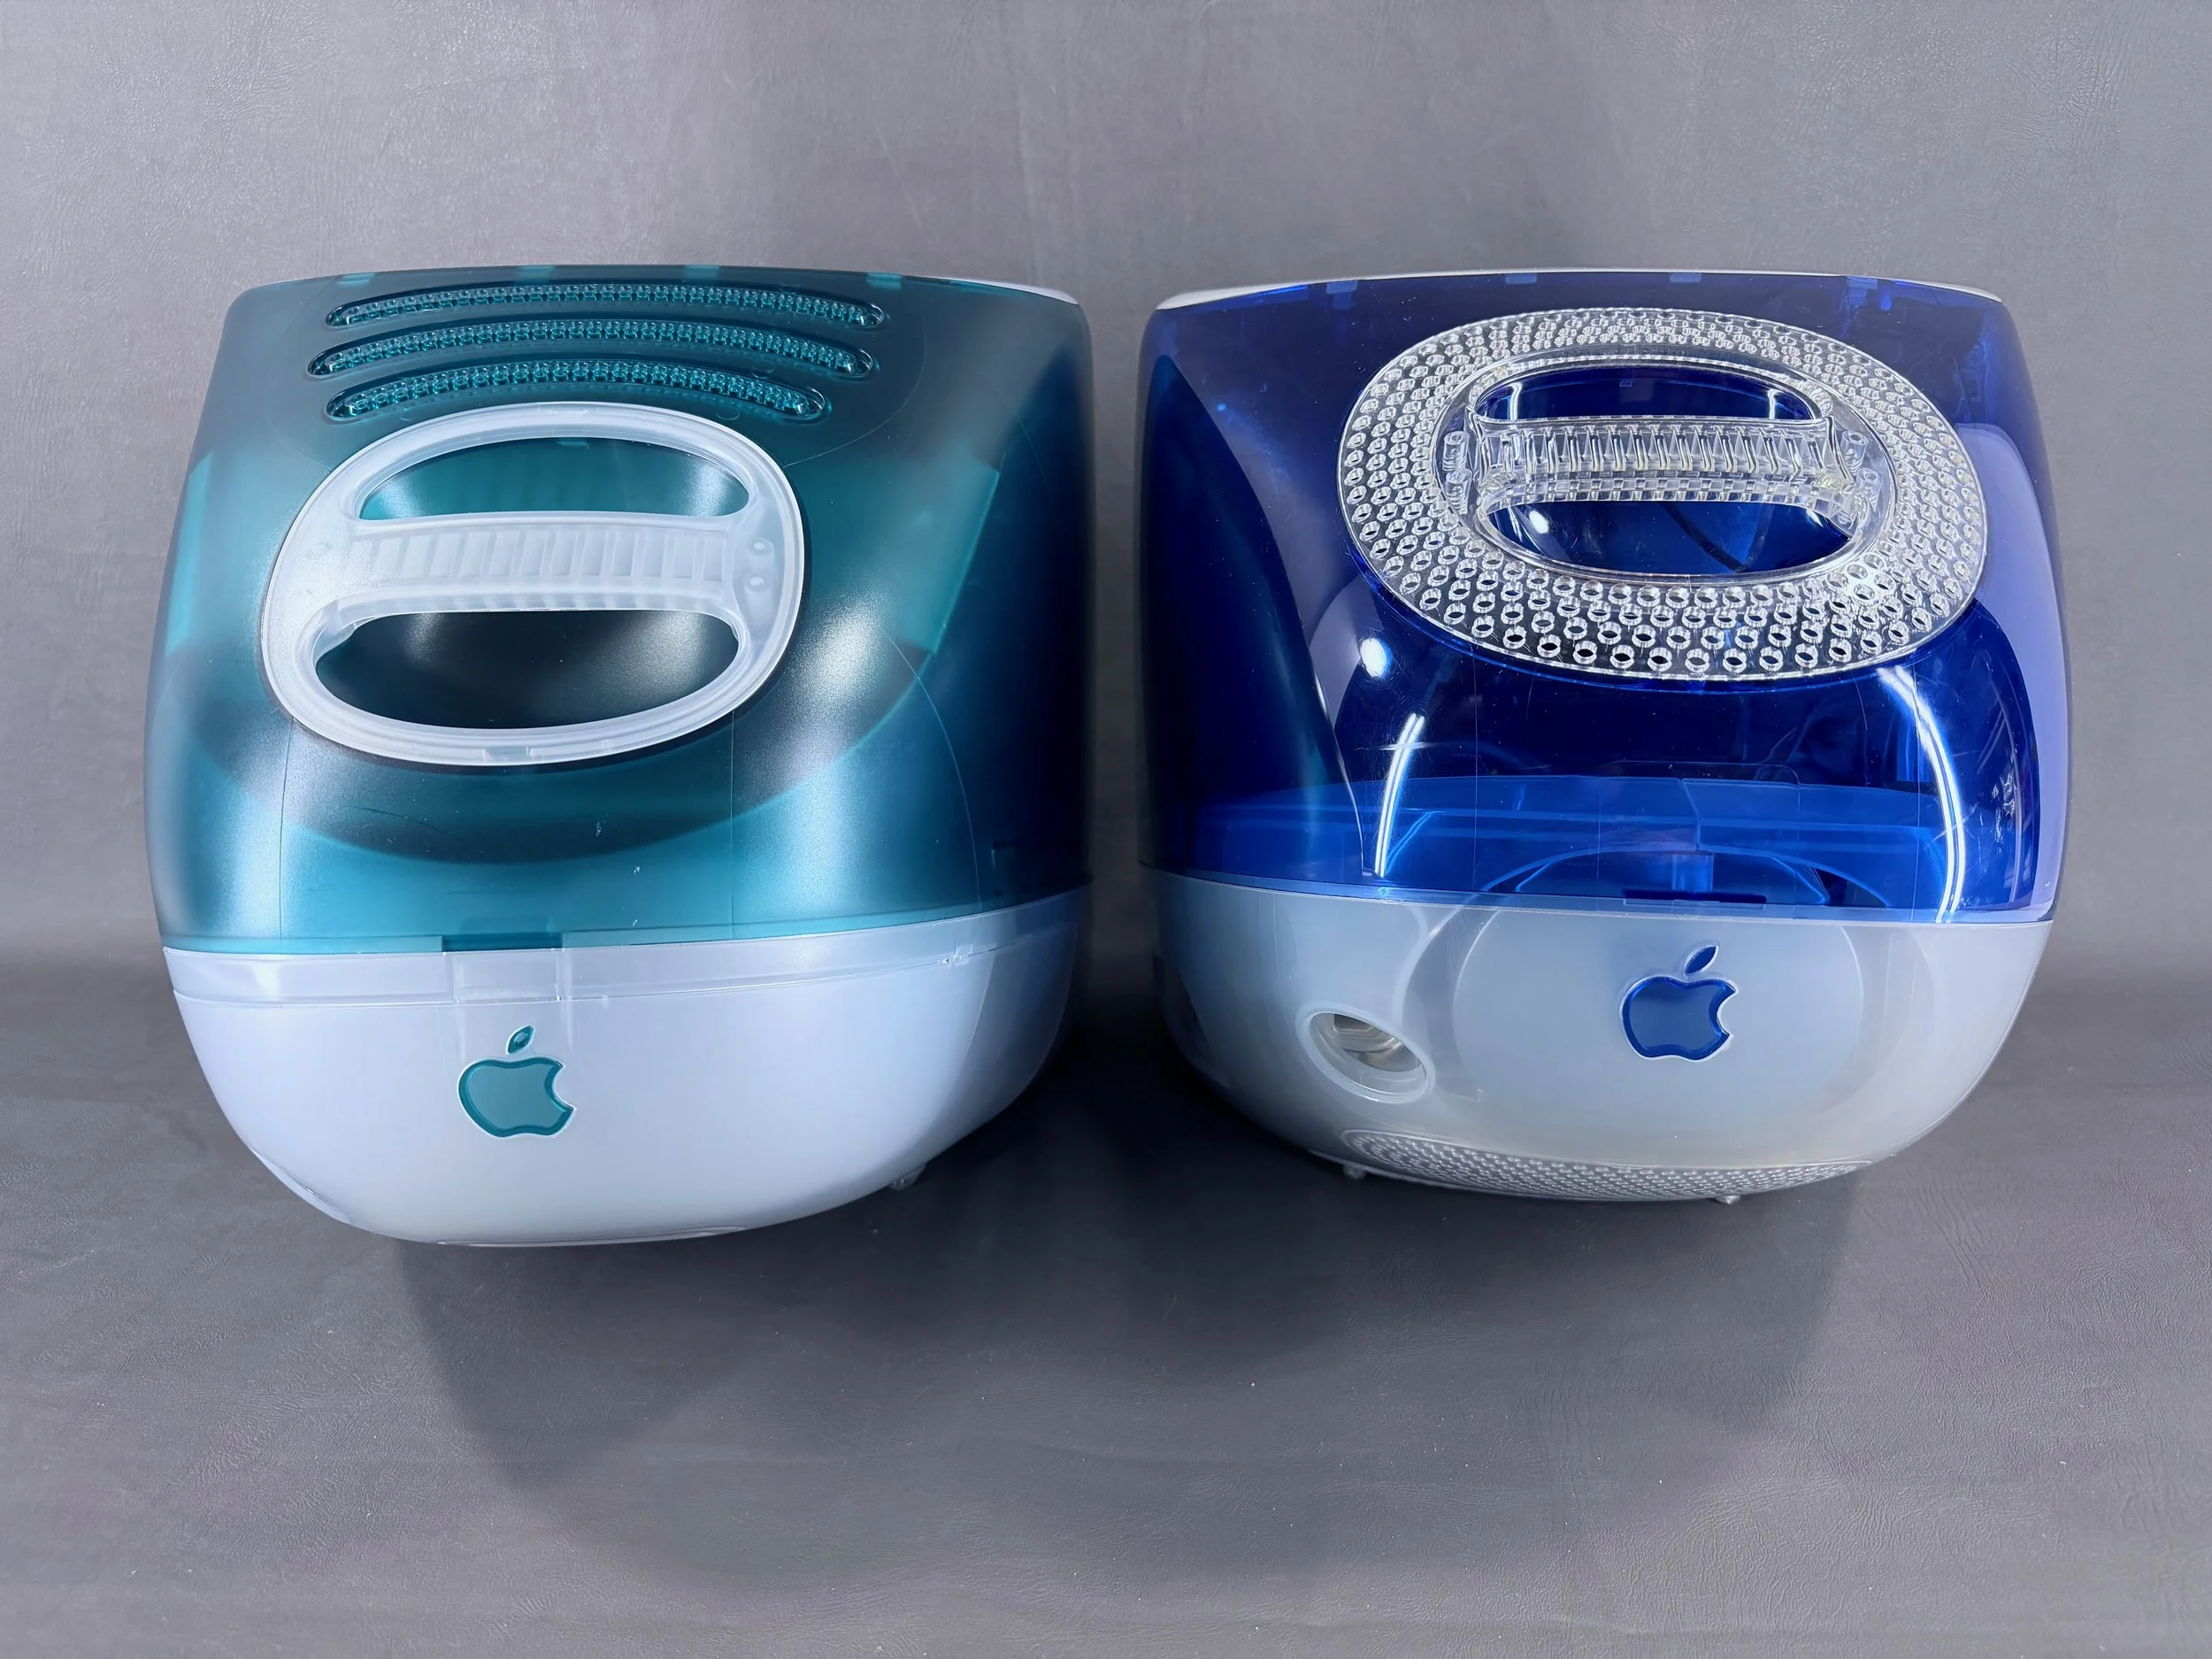
Tray-loading (Bondi Blue) iMac, left, next to a slot-loading (Indigo) iMac, right. When compared side by side, there are quite a few noticeable differences between the two generations.
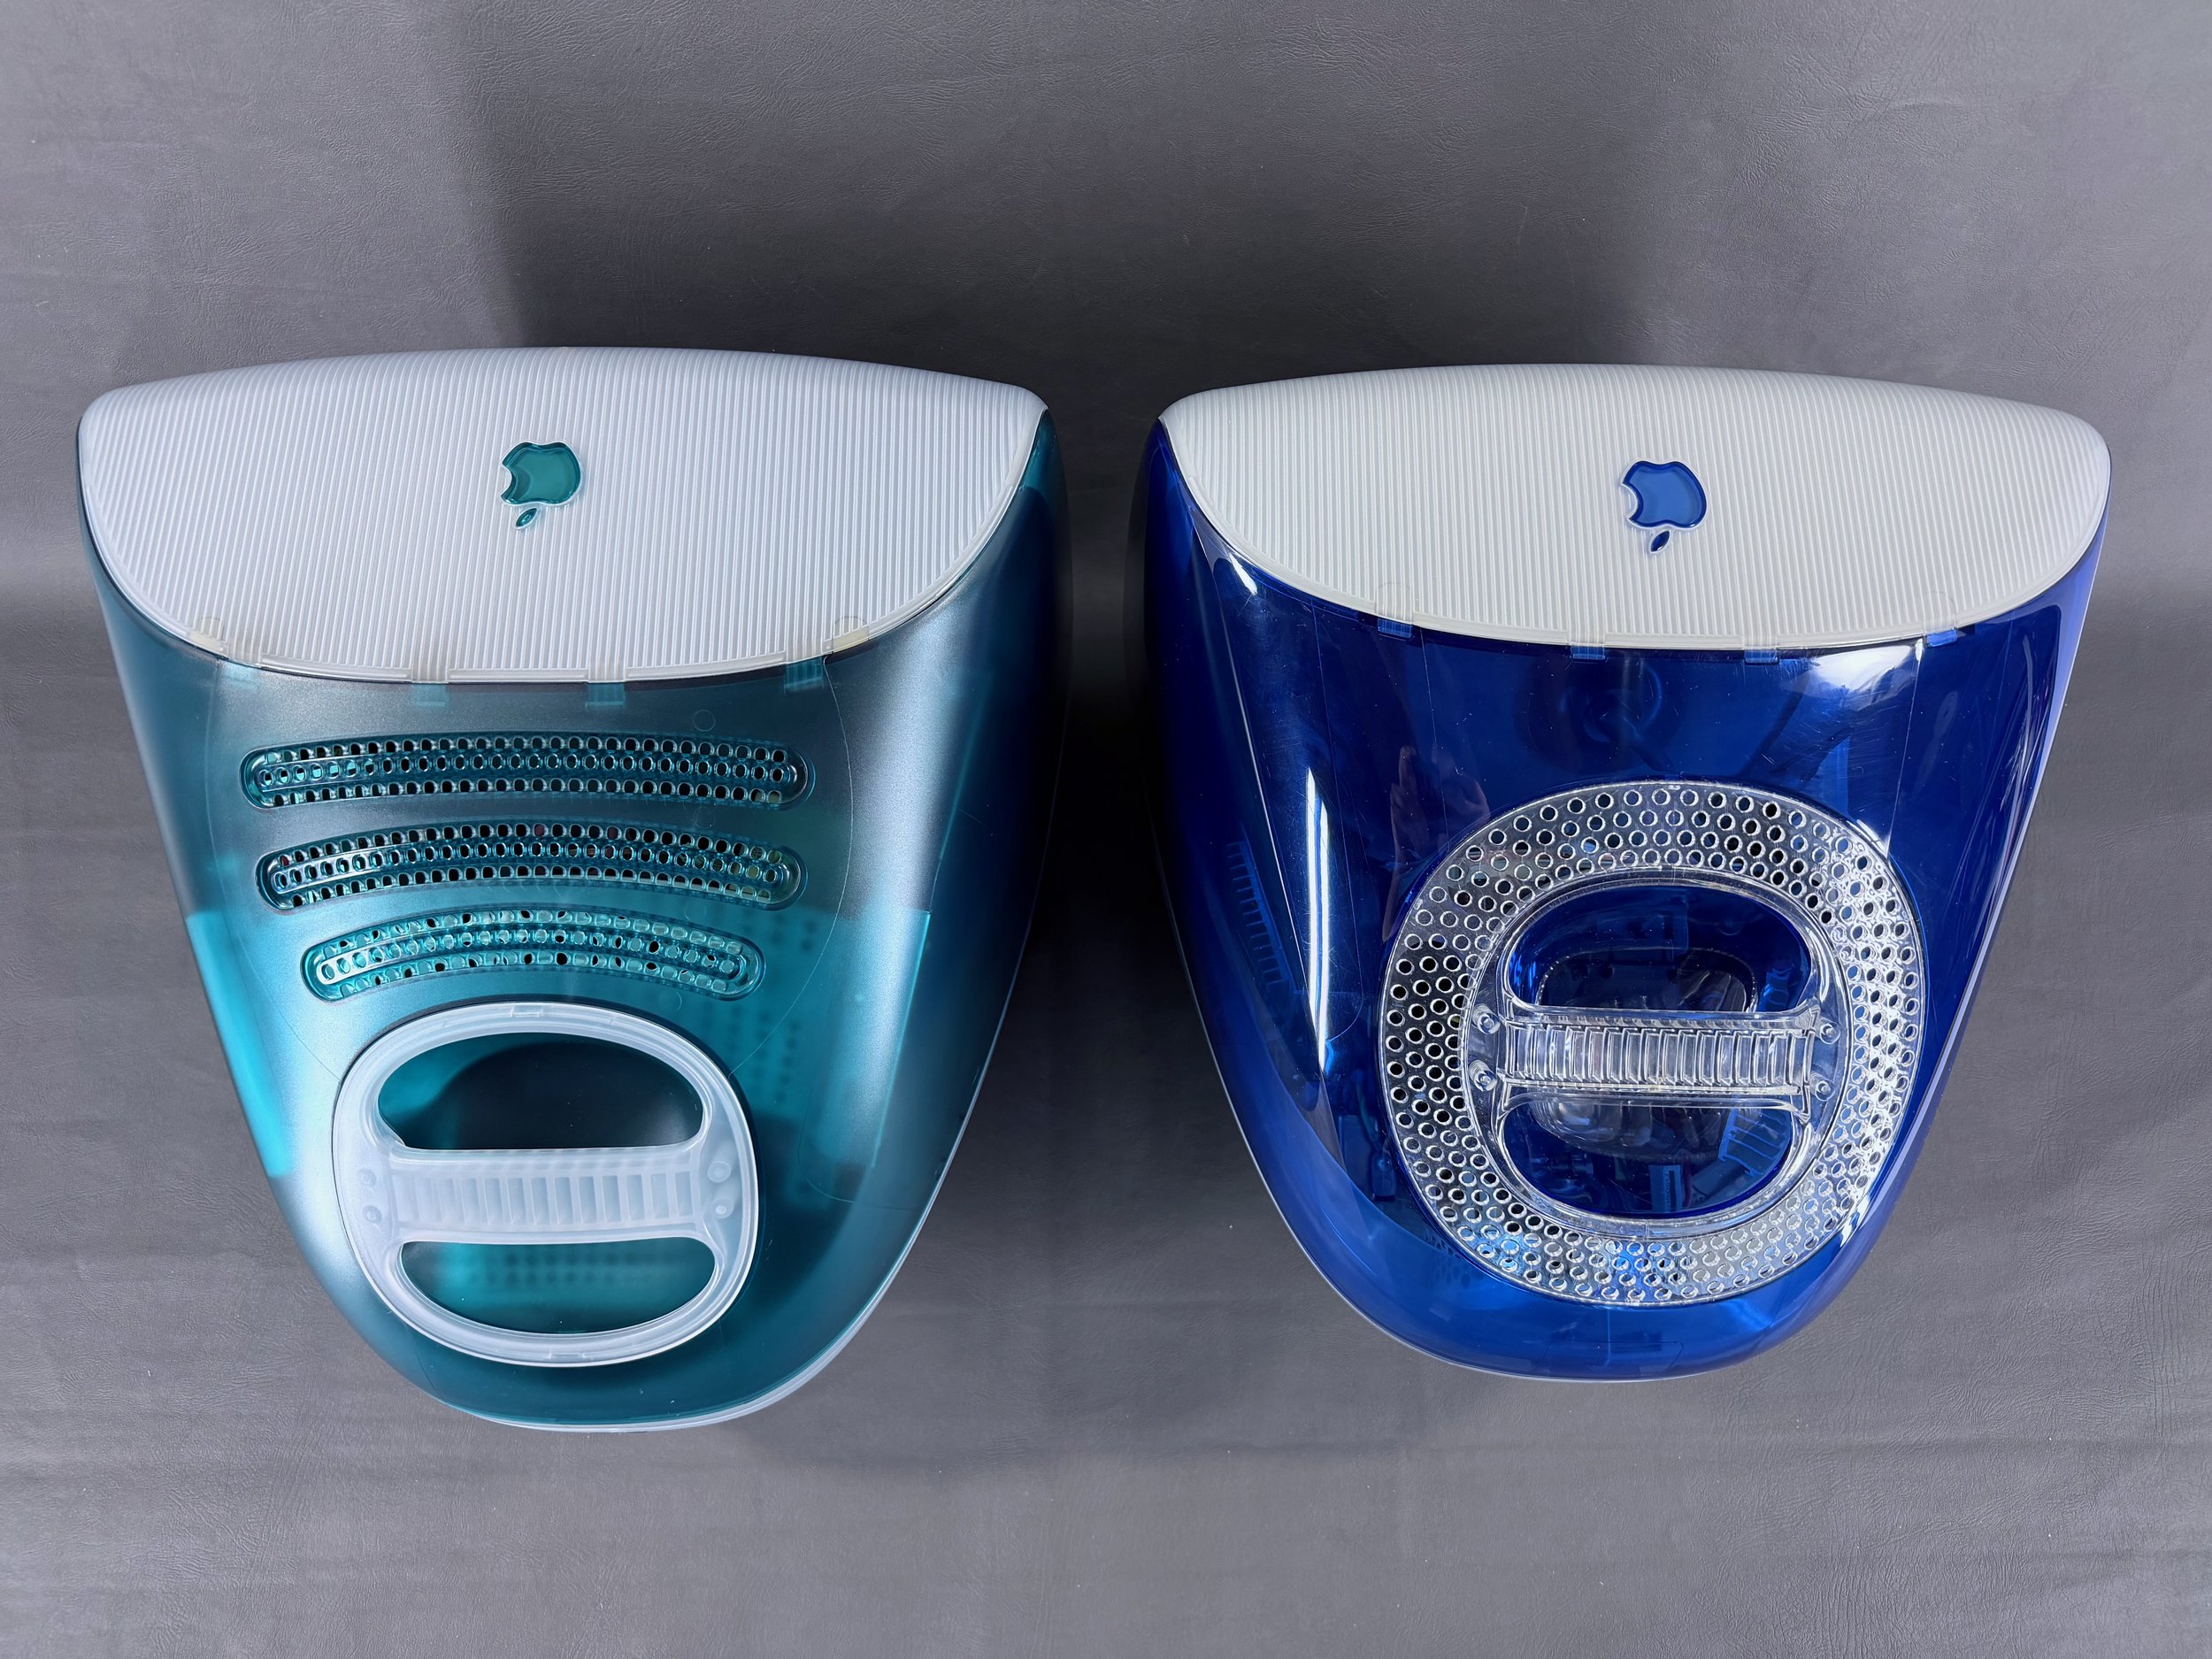
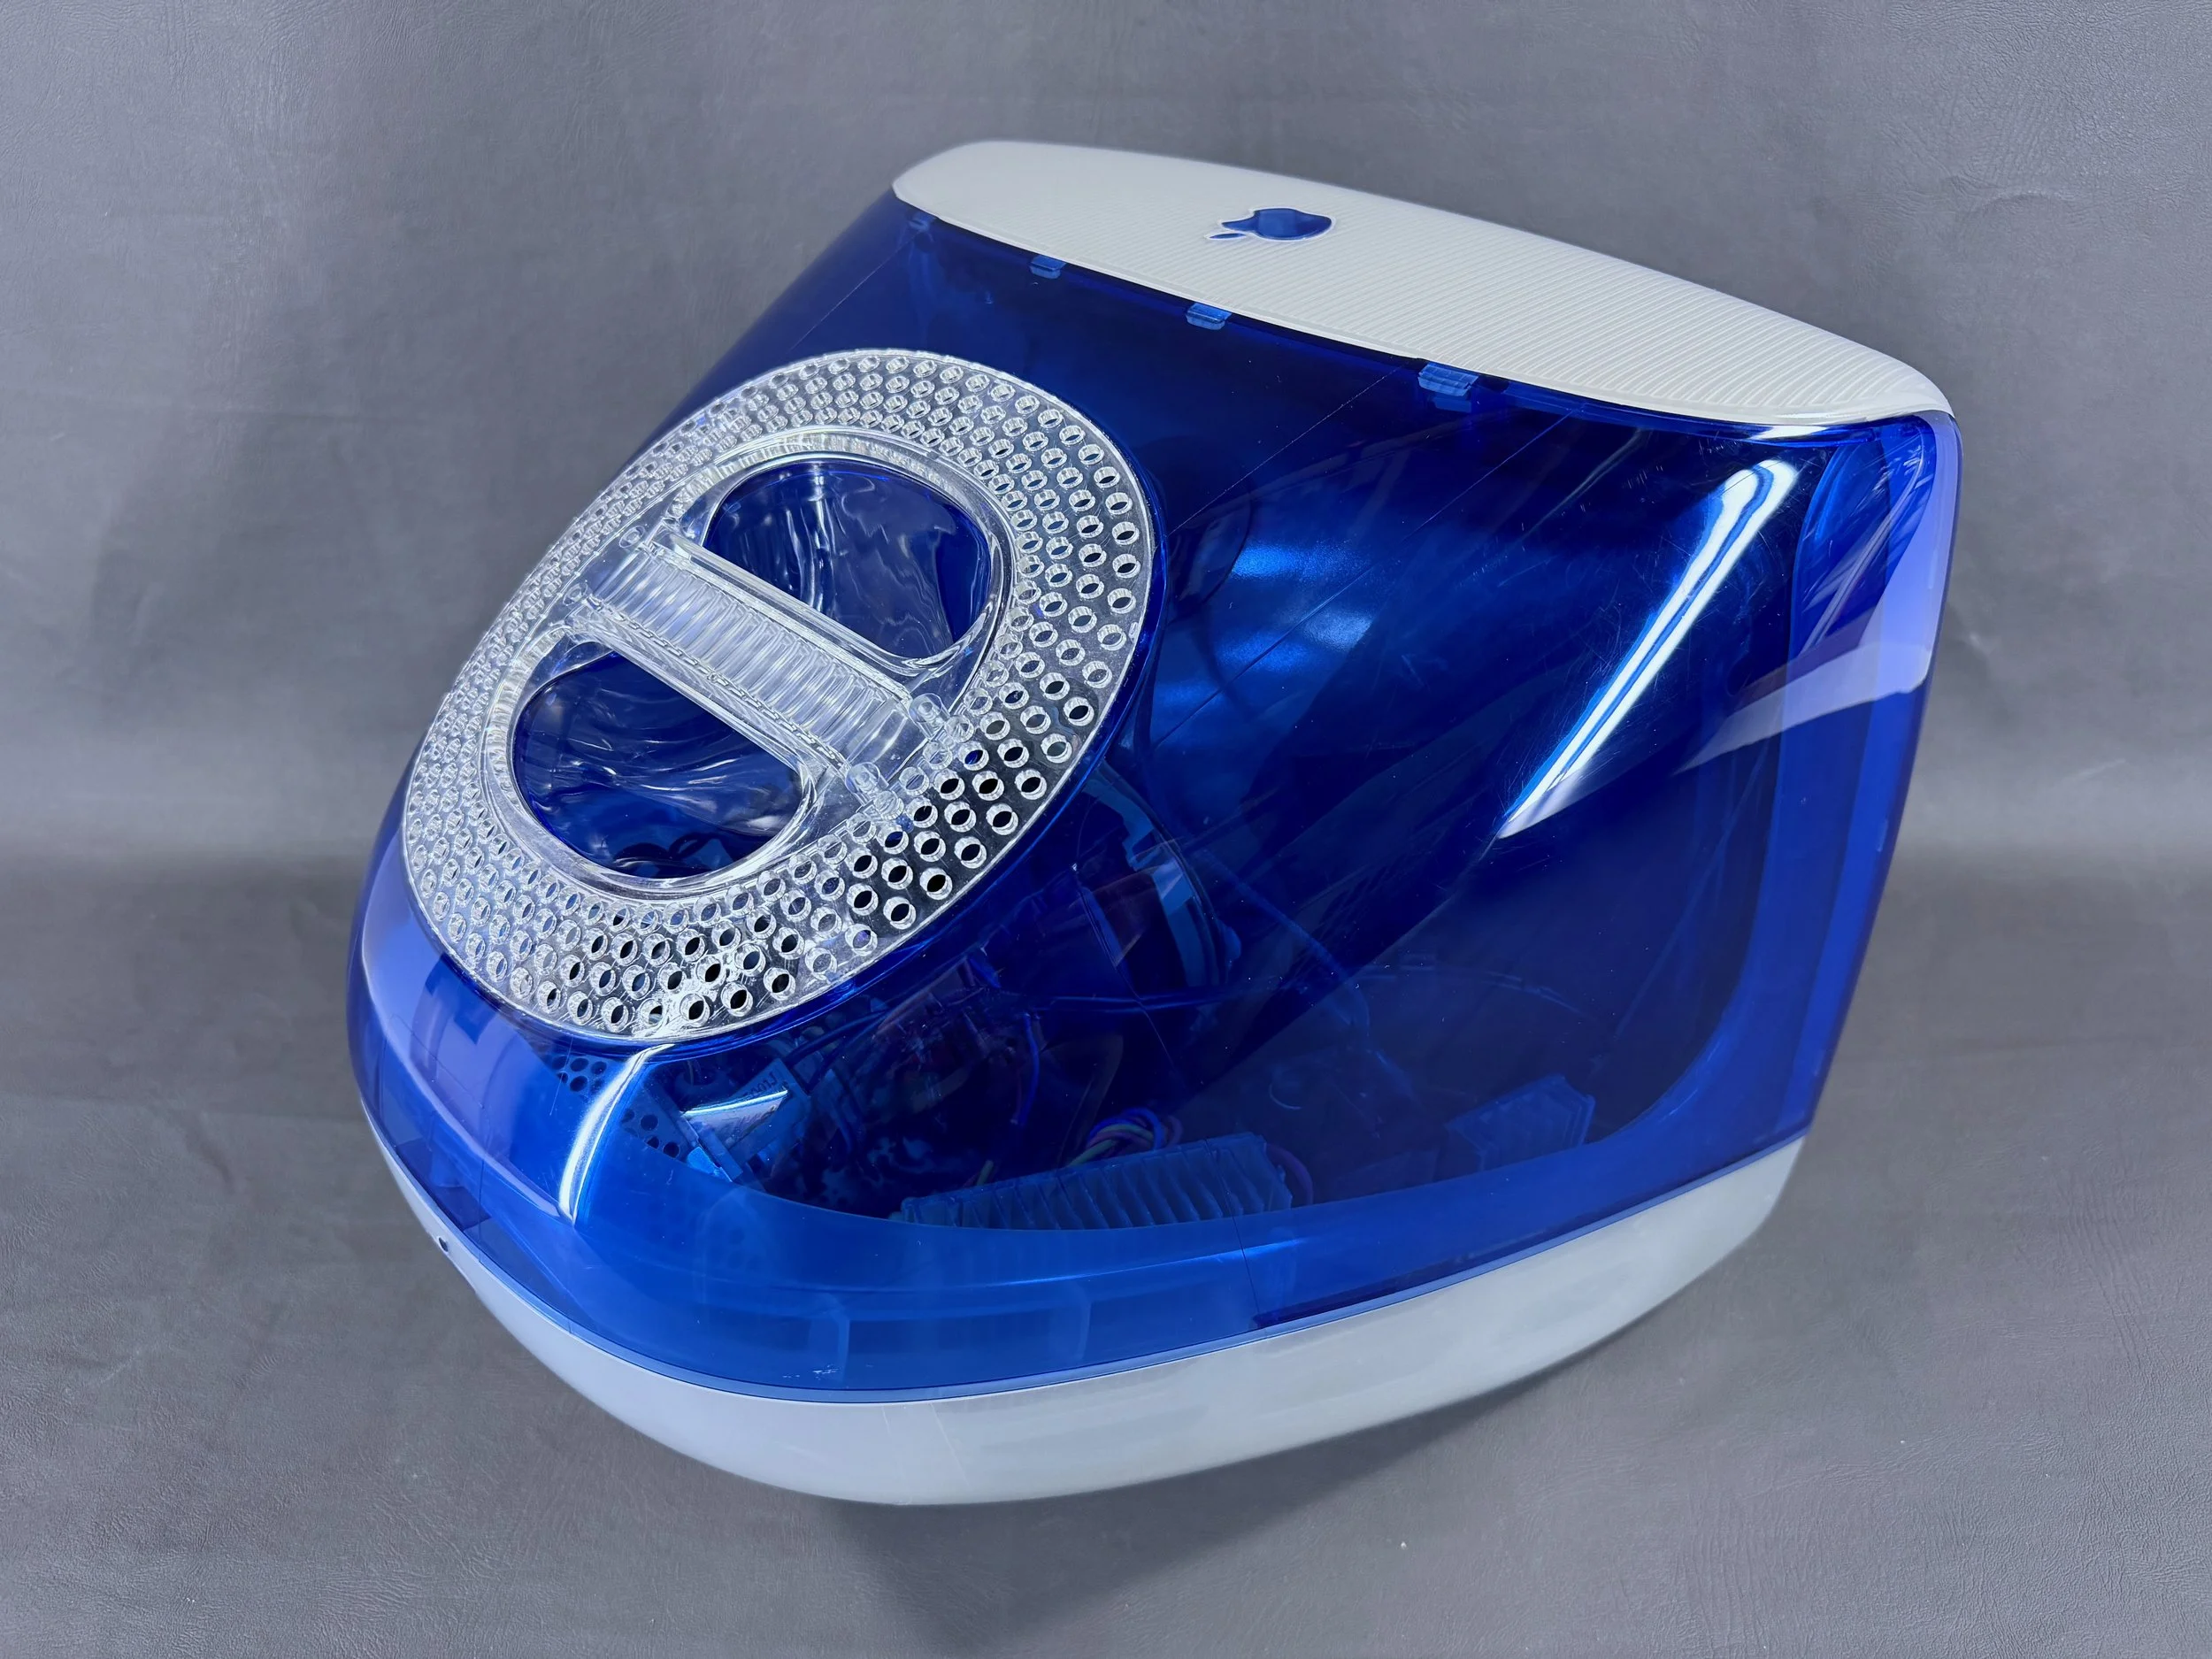
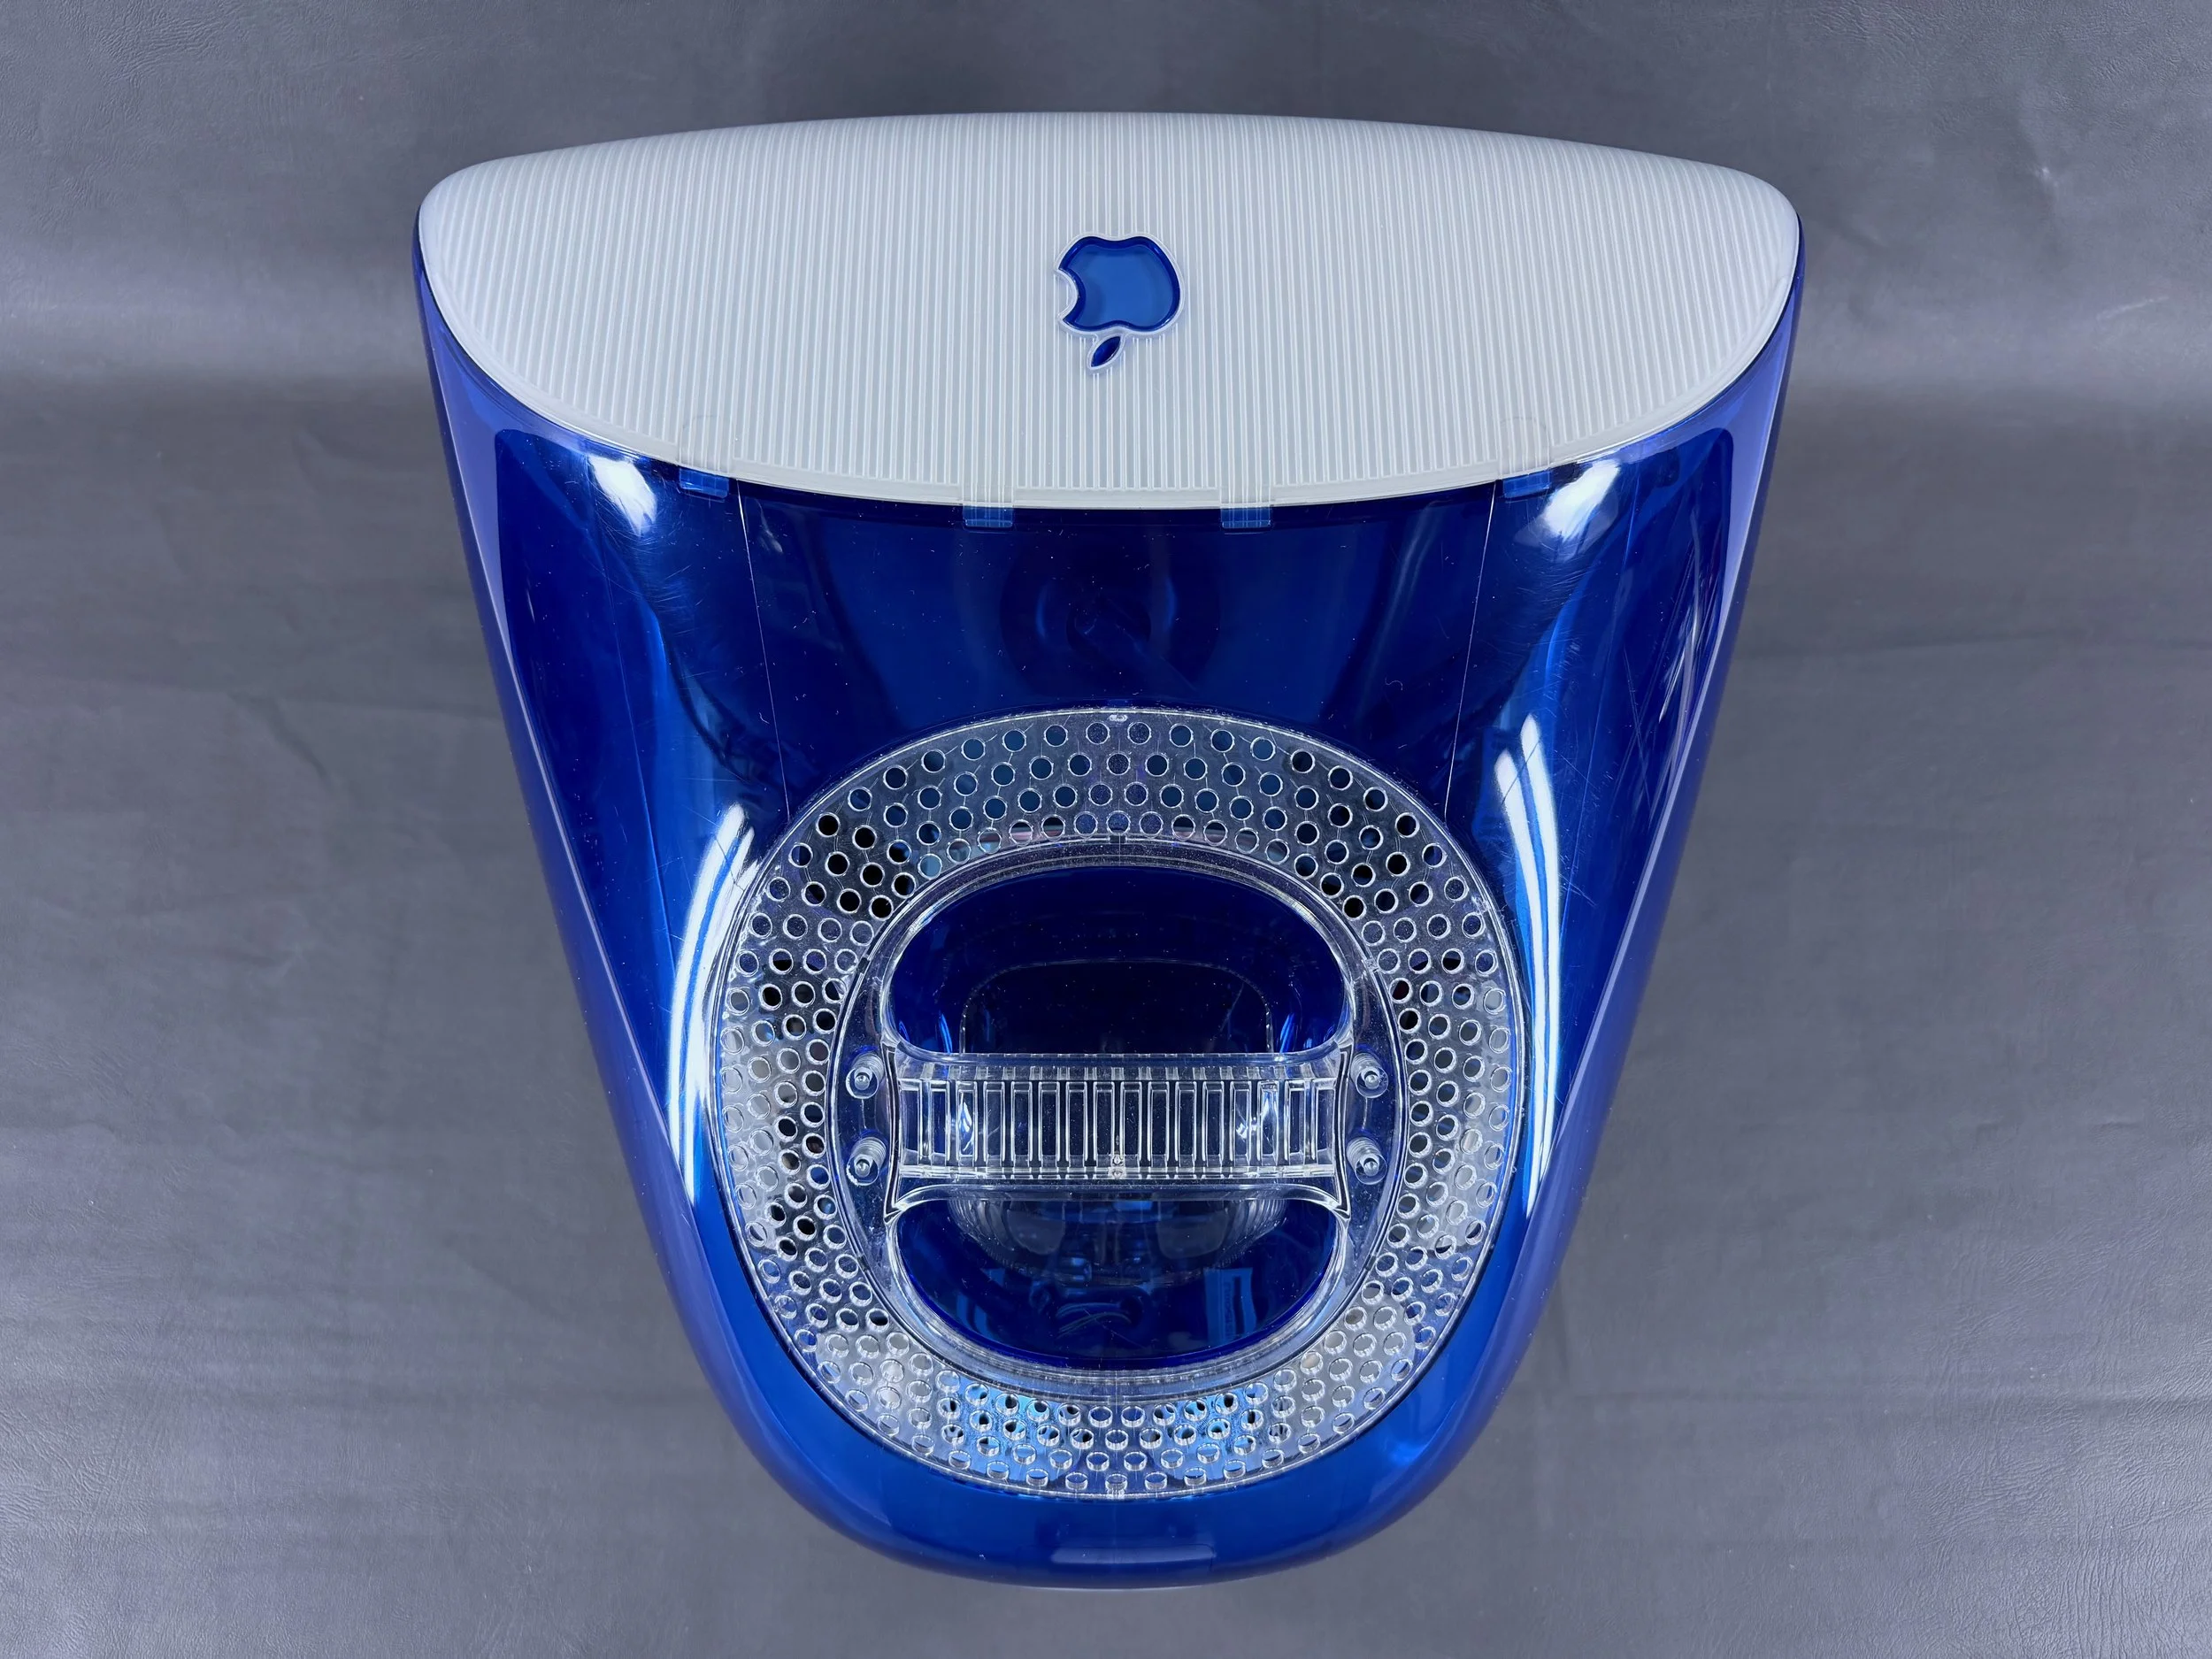
The slot-loaders are about an inch shorter than the tray-loaders. The slot-loaders also incorporate the ventilation grille holes into a neat circle around the handle on top.
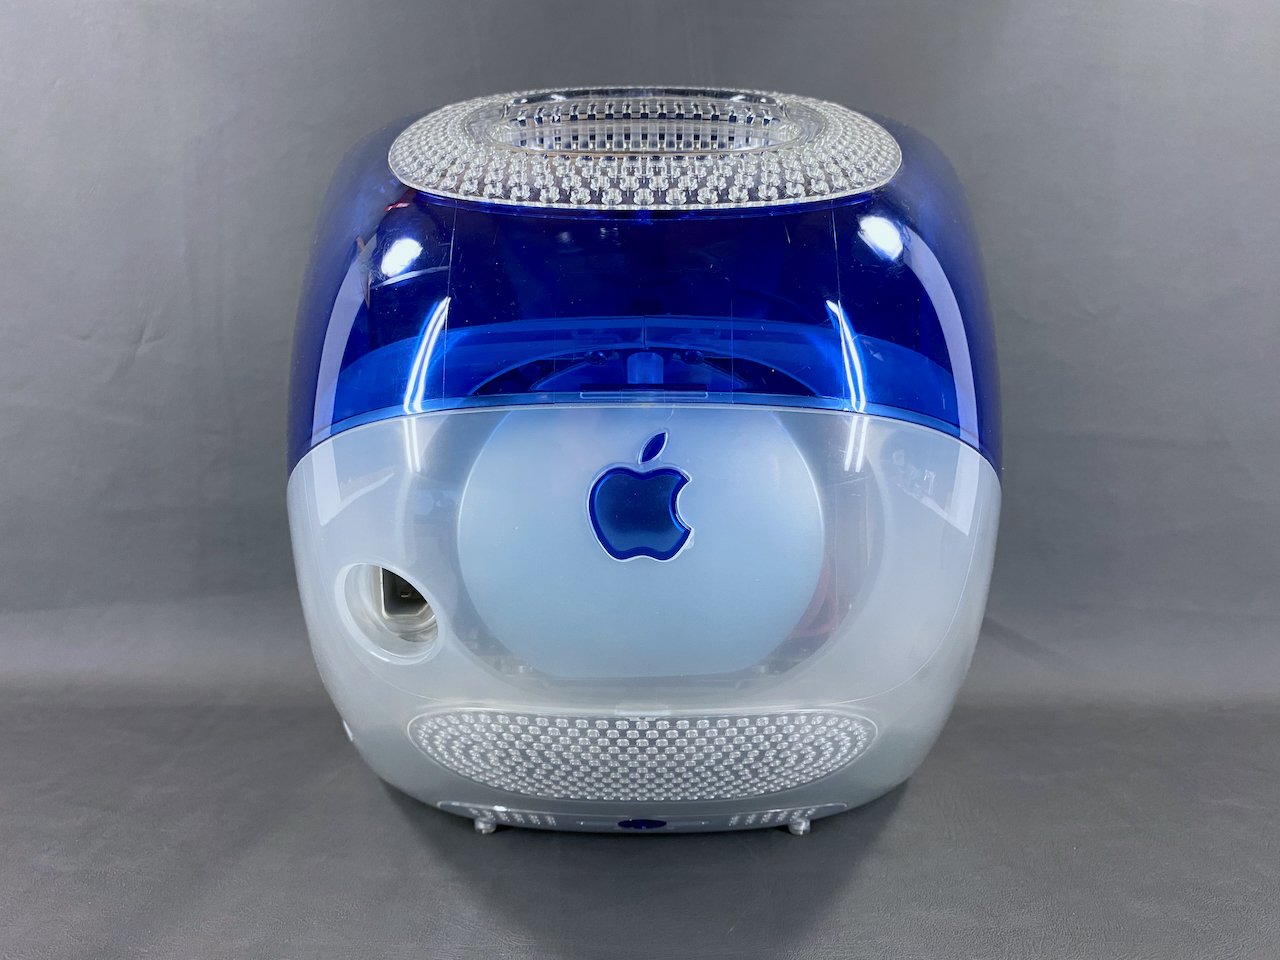
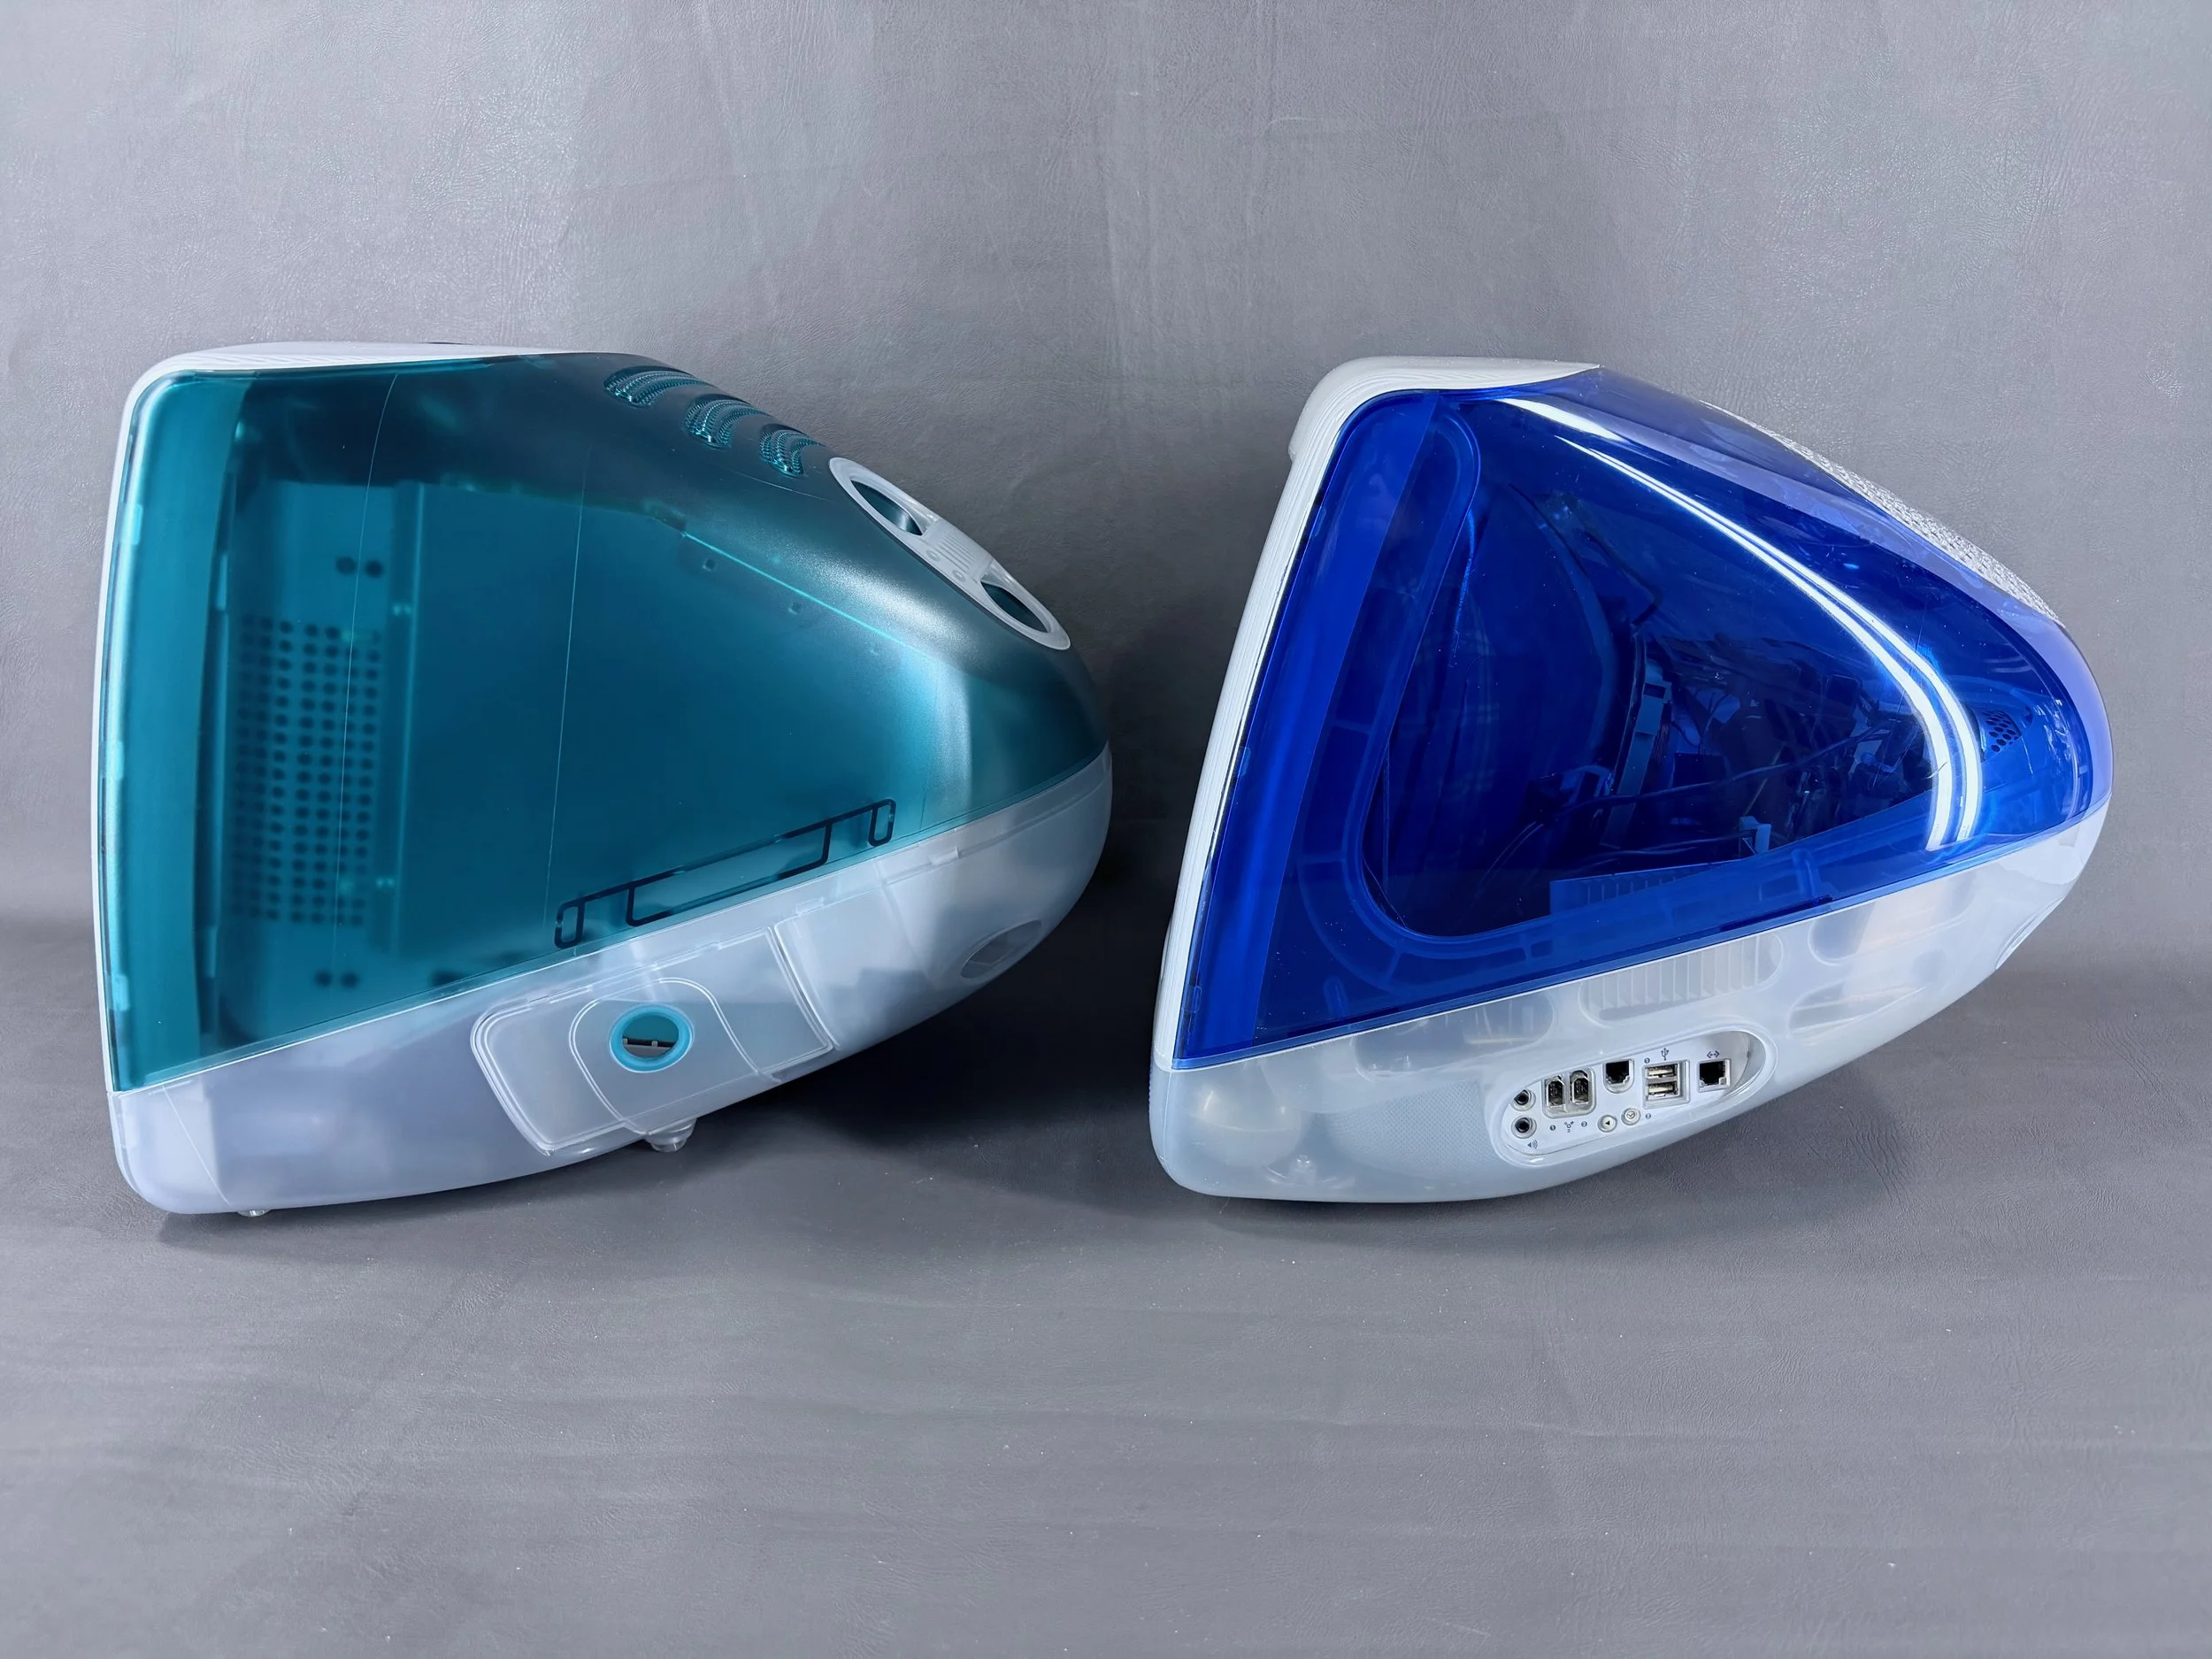
The rear of the slot-loaders features a clearly visible circle inside the case where the CRT’s neck board assembly is clearly visible, whereas this is hidden on the tray-loaders.
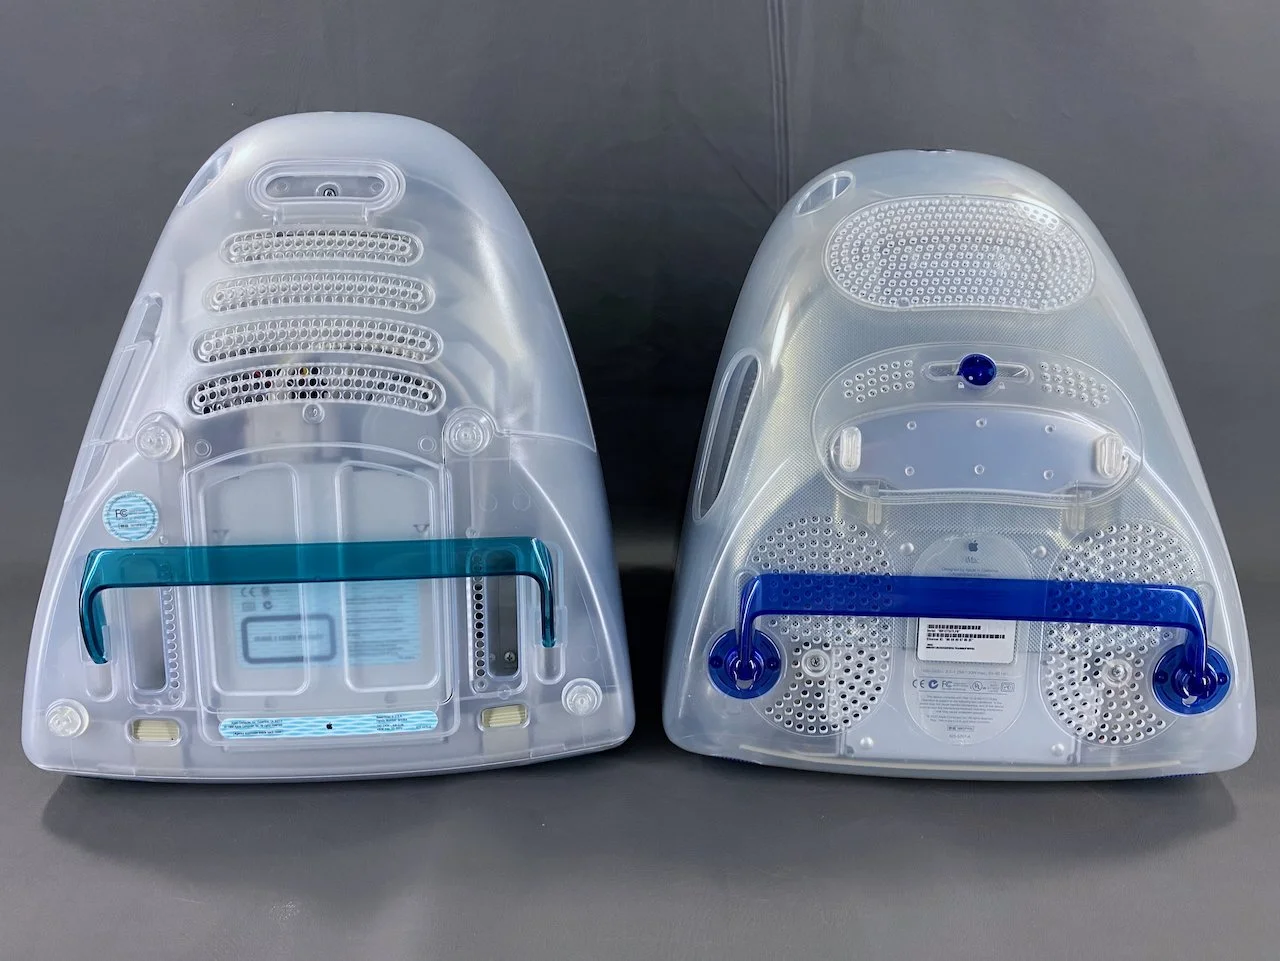
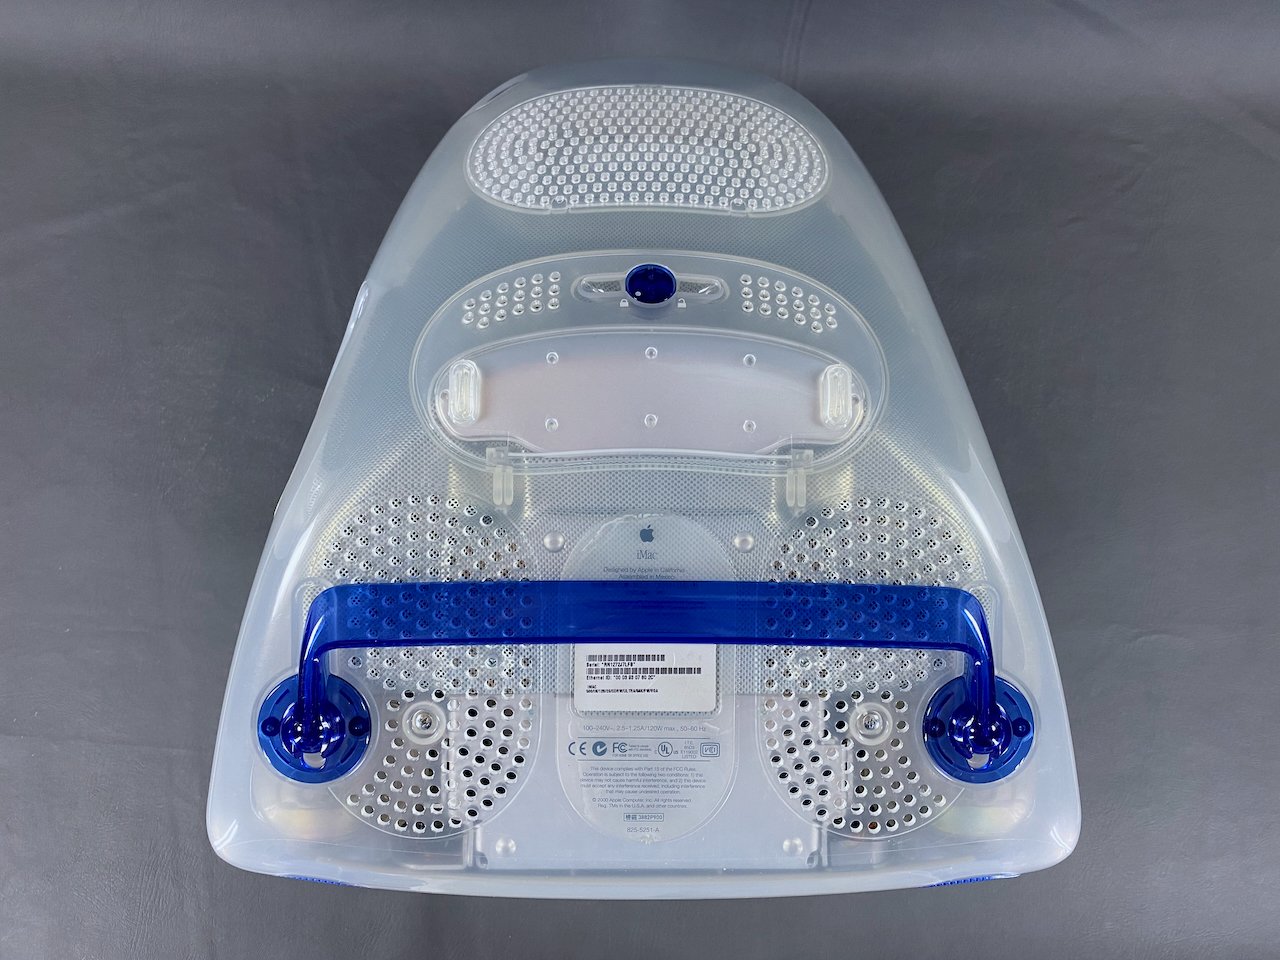
The way that the two machines are put together is completely different, as seen on the bottom. The tray-loaders have a bottom cover that is separate from the bottom case, whereas the slot-loaders have a single bottom case piece that is removed as one part.